
Did you know that we have authored a series of articles to get you on the right path to learning how to install your own dashcam? This is the second of three articles in this "How-To Identify" Series. You can use the links below to continue to the other articles. Part 1: How To Identify Your Vehicle's Fuse Type. Part 3: How To Identify a Proper Ground Point.
How To Identify Constant And Switched Fuses
Need help on how to DIY install your dashcam using an installation kit or a BlackVue Power Magic Pro? You’ve come to the right place.
Our how-to video and these instructions will teach you step-by-step how to identify your vehicle’s constant and switched fuses and explain why it is important to do so.
Hardwiring your dashcam to your fuse box has its benefits: not only does it free up your 12v cigarette outlet, it hides distracting wires to improve your windshield visibility and makes your dashcam install look clean and professional.

If you have a BlackVue dashcam, you can utilize your parking mode feature without affecting the health of your battery with a Power Magic Pro or a direct wire harness.

Need help finding your fuse box and figuring out which fuse type you have? Check out Part I: How To Identify Your Fuse Type.
To start, we want to explain why it’s so important for you to take a look in your fuse box and get out the test light in the first place.
What is the difference between a constant and switched fuse?
Your vehicle uses electrical circuits, just like the ones in your home. These circuits supply power to the electrical components located throughout your car, like your headlights, your radio, and your door locks.
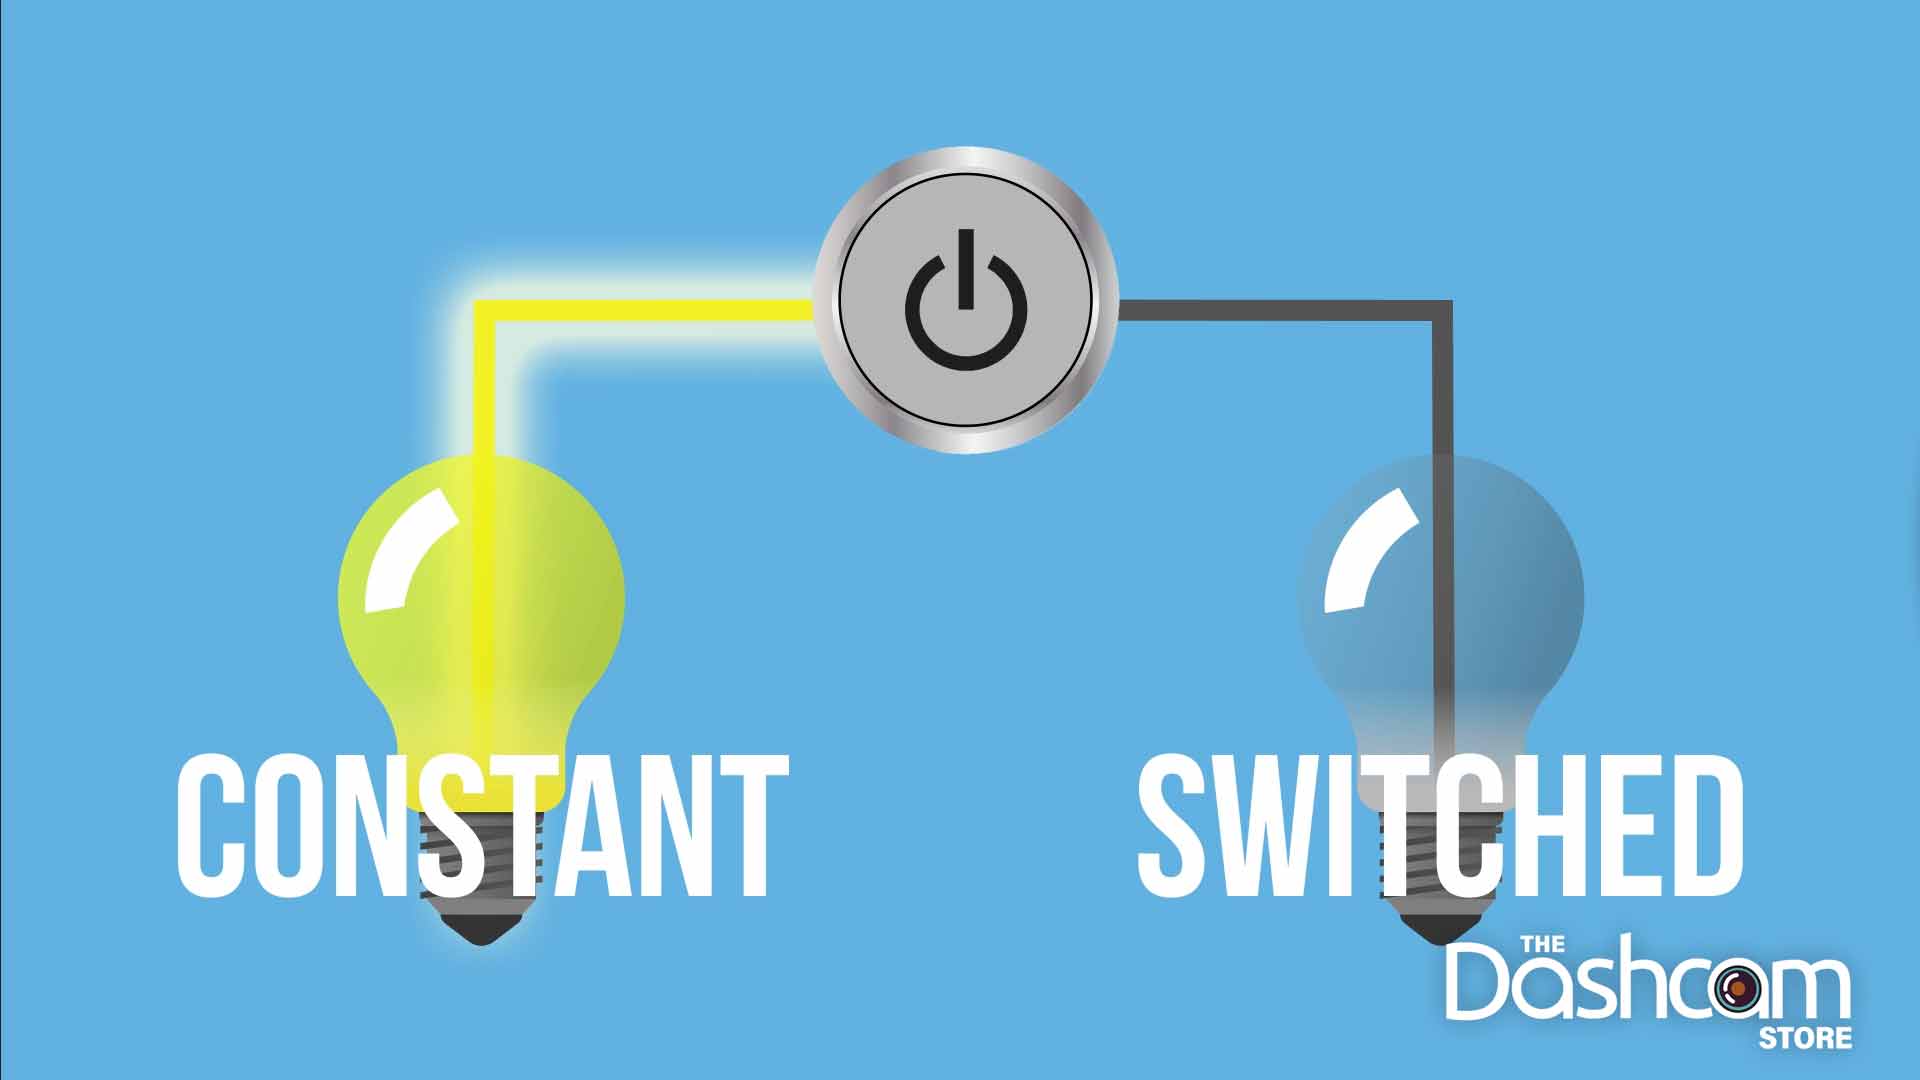
In modern cars and trucks, there are generally two types of circuits that run through the vehicle: circuits that are live all the time and circuits that are only live when the engine is running. A circuit that is live or hot all the time means that it constantly receives power, even when your car is parked and the engine is turned off. We’ll refer to this type of circuit as constant in this tutorial.
We’ll refer to cold circuits, or circuits that are only live when the engine is running as switched in this tutorial.
Inside your fuse box, these constant and switched circuits tend to live right next to each other, with each circuit protected by an individual fuse. The fuse serves as a “test point” to determine which type of circuit it may be.
There’s no consistent design across vehicle manufacturers or truly reliable guidelines in owner’s manuals to know which circuits are constant and which are switched. Bummer, we know.
Unless you have access to a dealership-level technical manual, the only way to be 100% certain which circuit is which is to test the circuits yourself.
But don’t worry: it’s a straightforward process and you only need one tool to get the job done.
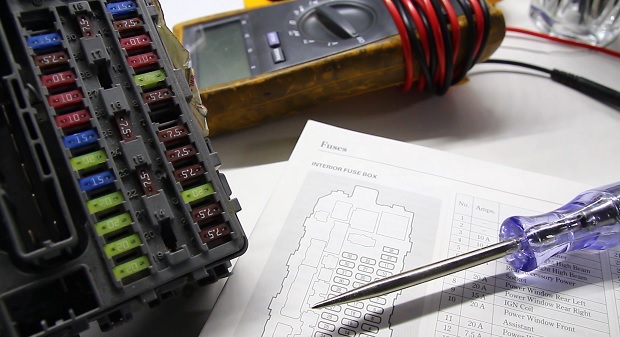
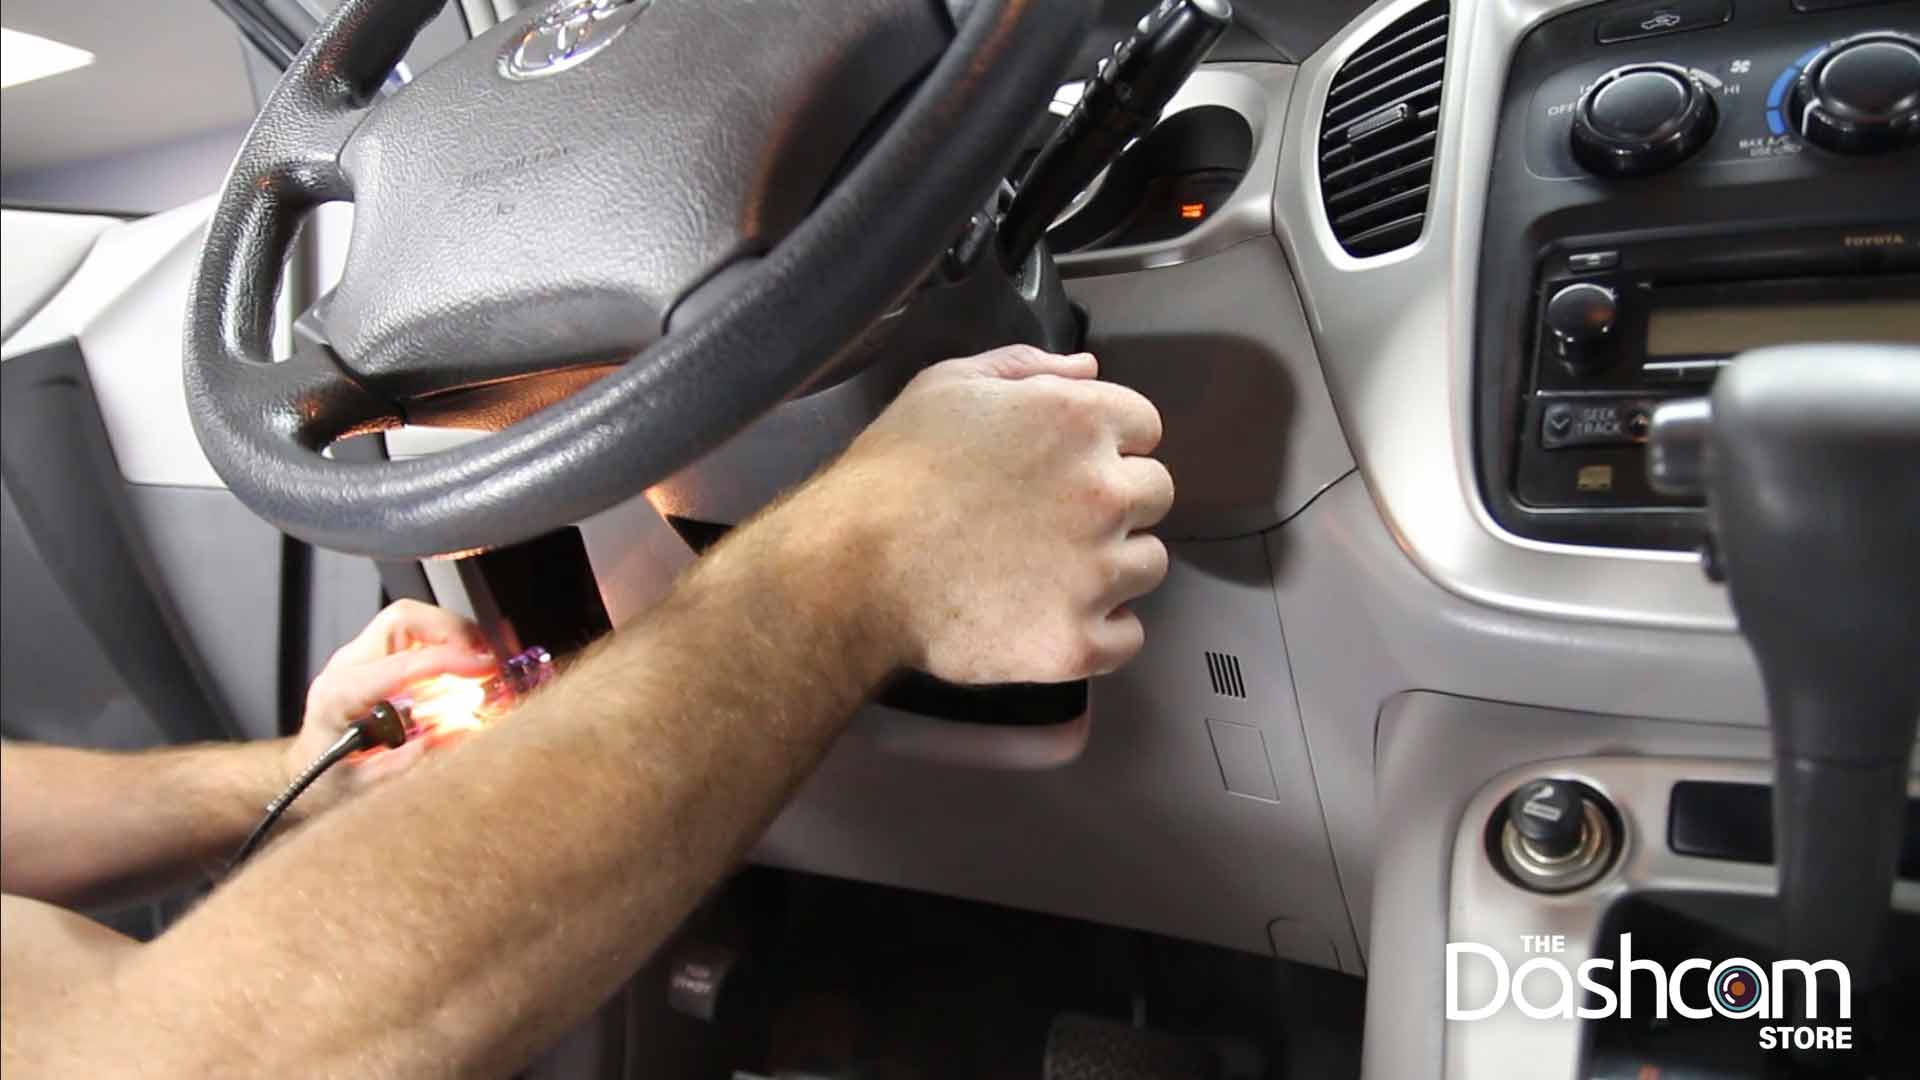
The tool that you will need to test your fuses is a circuit tester, also known as a test light. This is a link to the exact tester that we use in this tutorial. If you don’t have a test light, any other voltage testing tool, such as a multimeter, will work just fine.
Ready to find out which fuses in your fuse box are constant and which are switched? Let's Get Started!
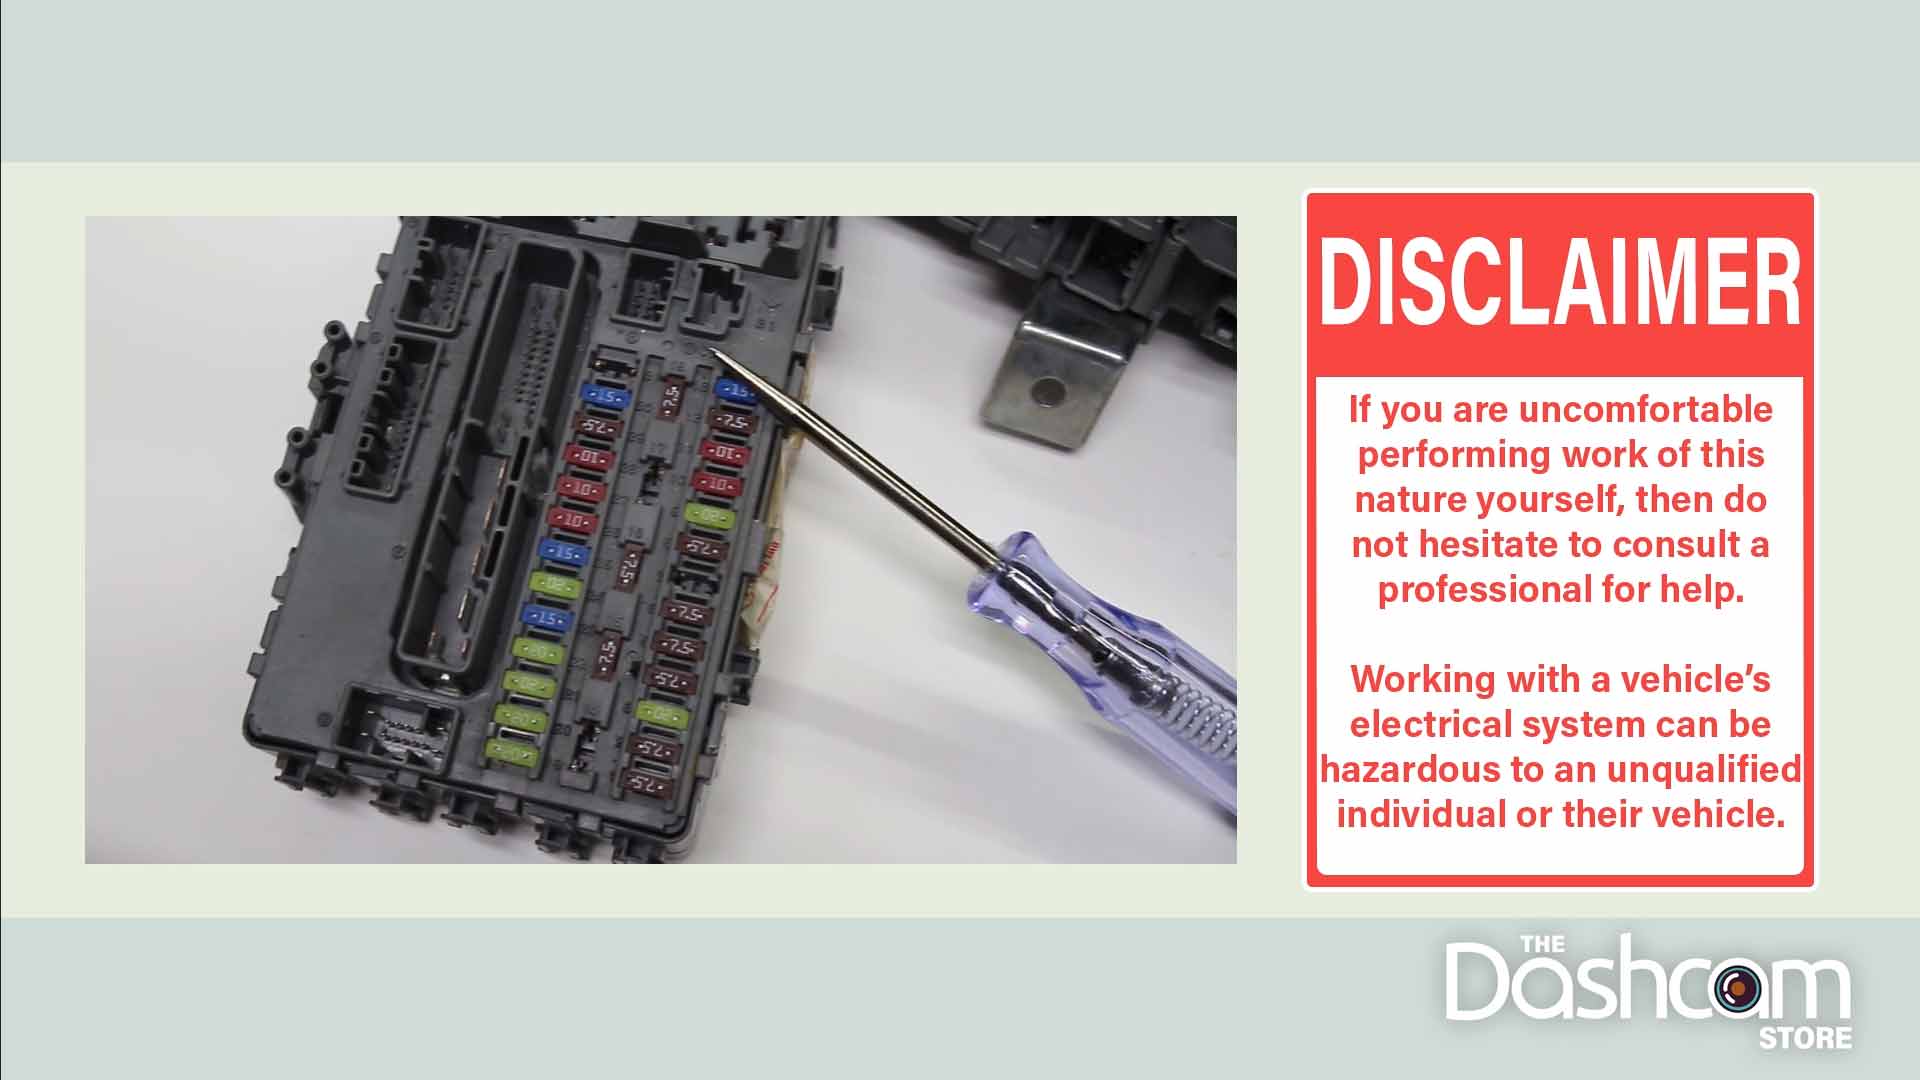
Disclaimer
Before we dive in to grounding circuit testers and testing fuses, it’s important to remember that this type of work should only be performed by a qualified individual or qualified business. Working with your vehicle’s electrical system can be dangerous both to you and your vehicle. If all of this is new to you and you don’t feel confident working with your vehicle’s fuse box, we recommend that you consult a professional!
If you’re in Central Texas, we’d be happy to install your dash cam for you here at The Dashcam Store. Here’s a link to our completed dashcam installation photo galleries to see what the finished product will look like and here's a link to schedule a dashcam installation at our location in Austin, Texas.
If you’re outside of the Austin area, here is a list of our recommended dash cam installers in other parts of the U.S.
Step 1: Turn Your Car Off
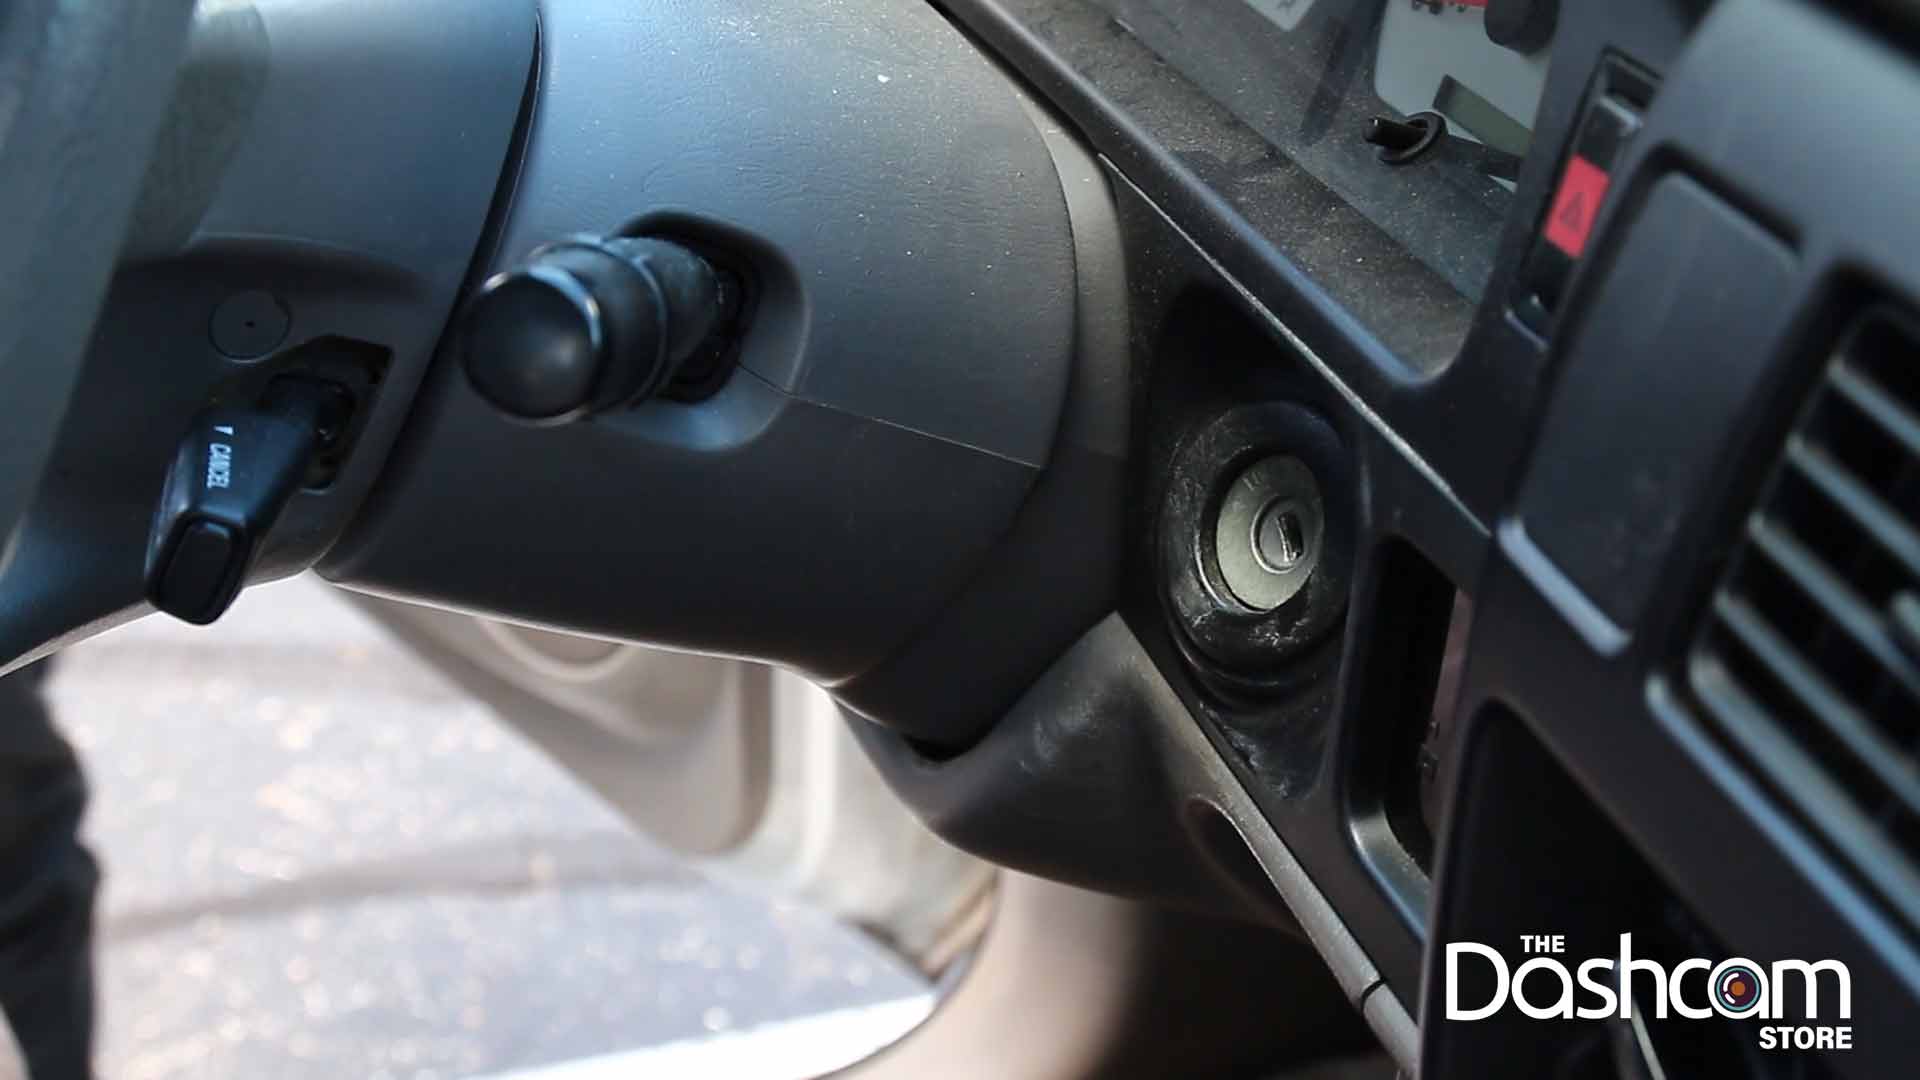
Before doing any electrical work, make sure that your vehicle’s engine is turned off and the key is completely removed from the ignition.
Step 2: Locate Your Fuse Box
If your vehicle has multiple fuse boxes, you’ll generally want to pick the fuse box closest to where you’ll be installing your dashcam.
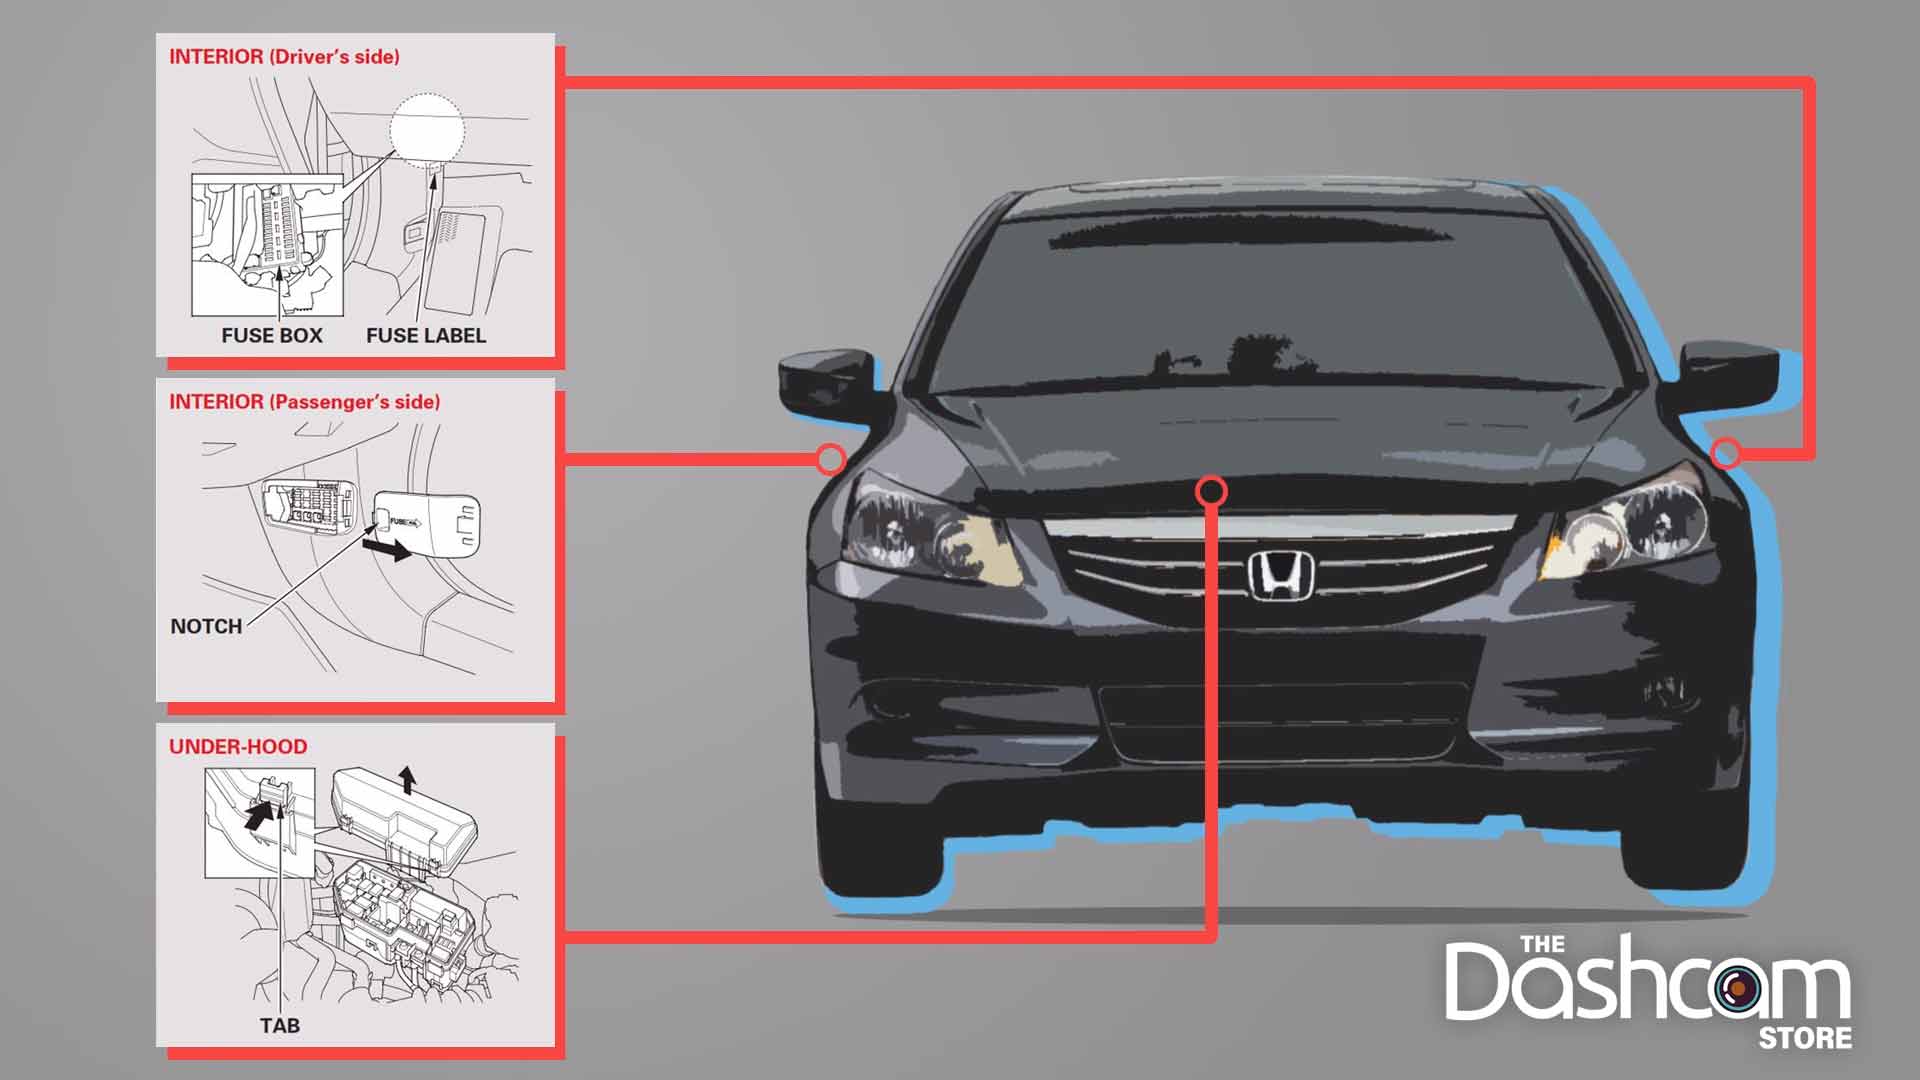
Need help finding your fuse box? Check out Part I: How To Identify Your Fuse Type.
Step 3: Connect to Ground Point
Using your circuit tester, connect the grounding clip to a bare metal point on the vehicle. This is your ground point. The ideal ground point must be bare, unpainted metal; otherwise you won’t be able to complete or close the circuit.
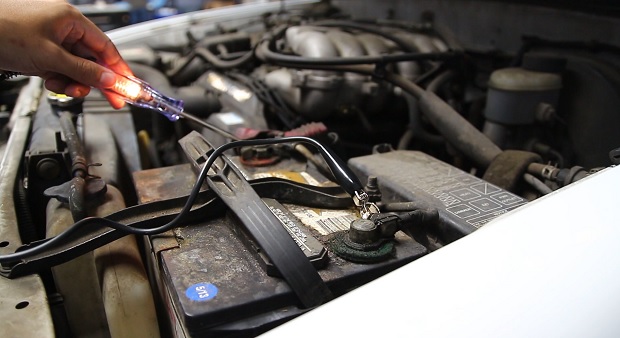
The best ground point on a vehicle is usually the negative terminal on the car battery. It’s also a good opportunity to test your test light. To test, connect the ground clip to the negative terminal and the tip of the probe to the positive terminal. If your circuit tester lights up, you’ll know that it is working properly.
Unfortunately, this is rarely a convenient connection point for testing fuse boxes that are inside the vehicle cabin, so you’ll need to look elsewhere for a good ground connection.
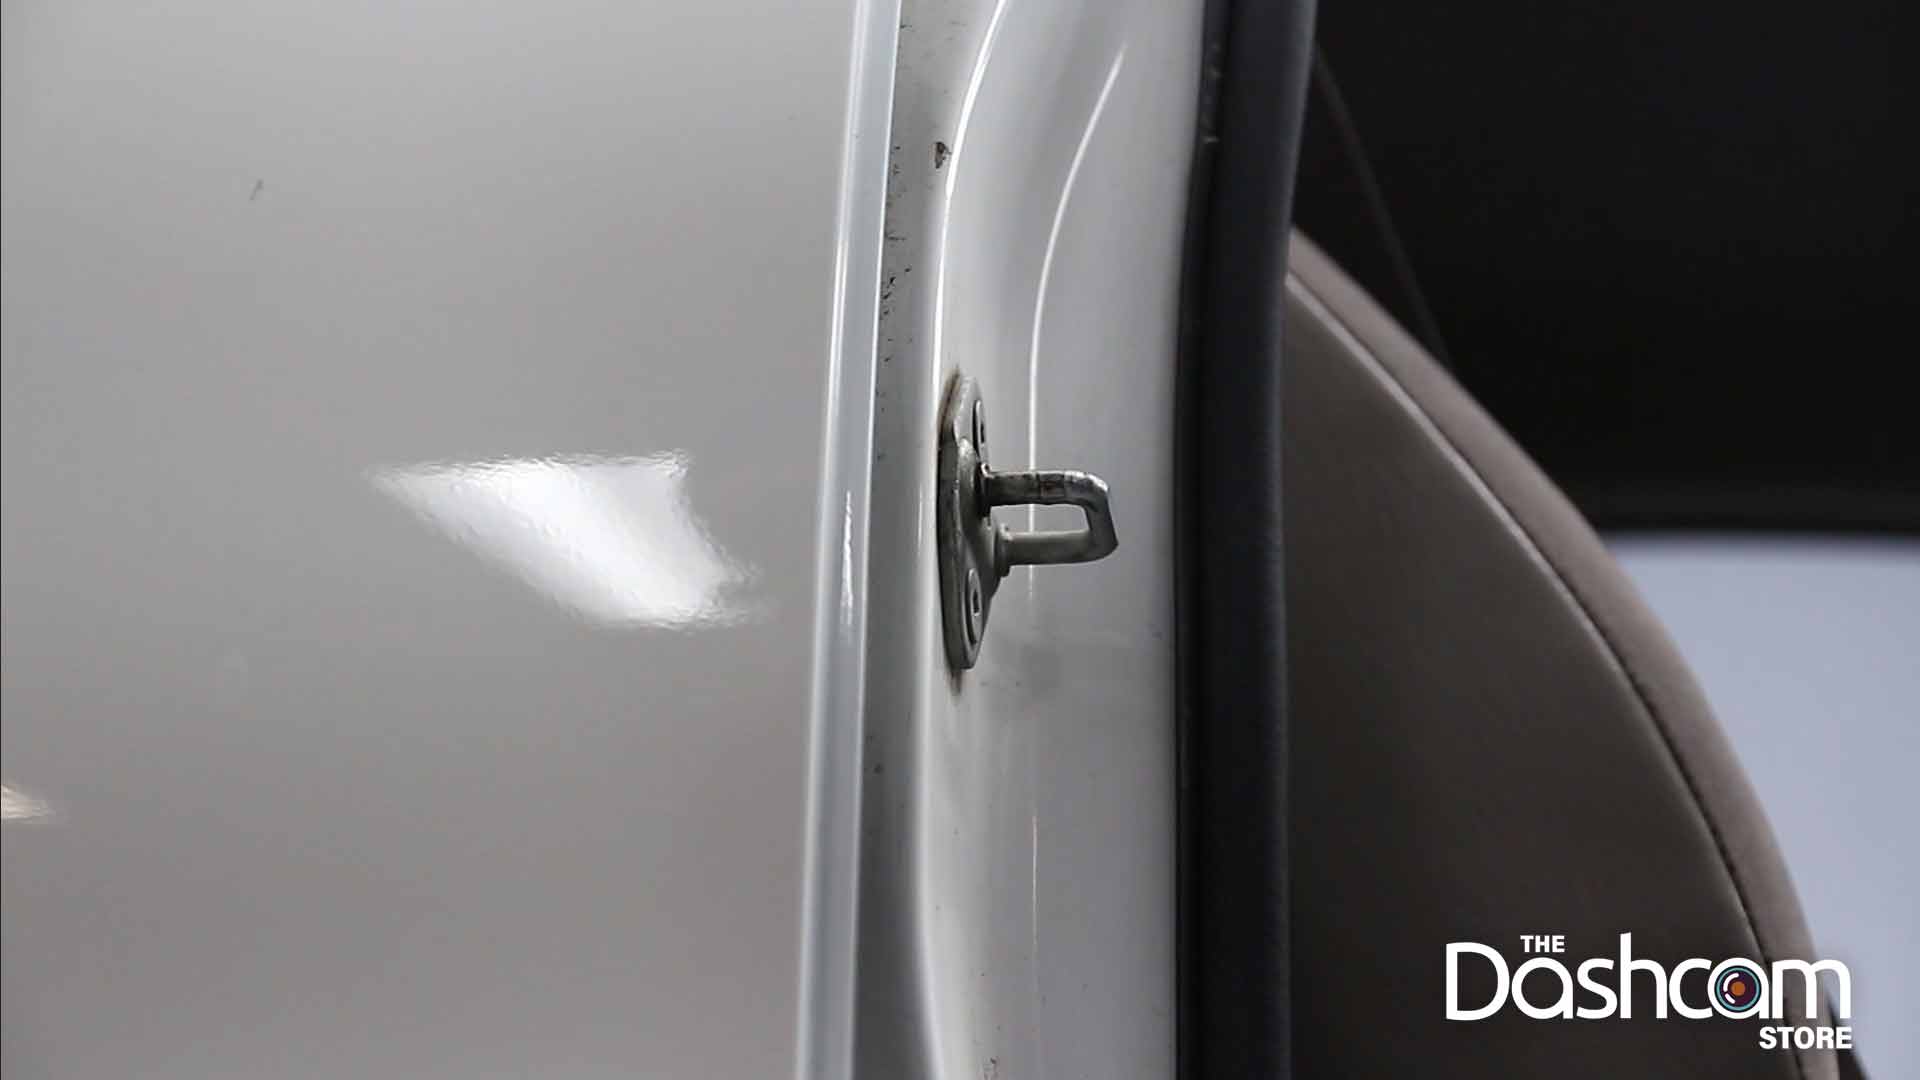
We’ve found the metal door latch is a reliable ground point. One of these metal latches is typically close enough to the fuse box to work for you.
Step 4: Test Fuses with Your Circuit Tester to Find Constant Fuses
Now it’s time to test the fuses. Probe the fuse by touching the tip of the circuit tester to the exposed metal prongs on both sides of a fuse’s face. Since the engine is off and the key is out of the ignition, you should be able to probe the fuses and determine which are constant. The constant fuses are the fuses that light up your circuit tester.
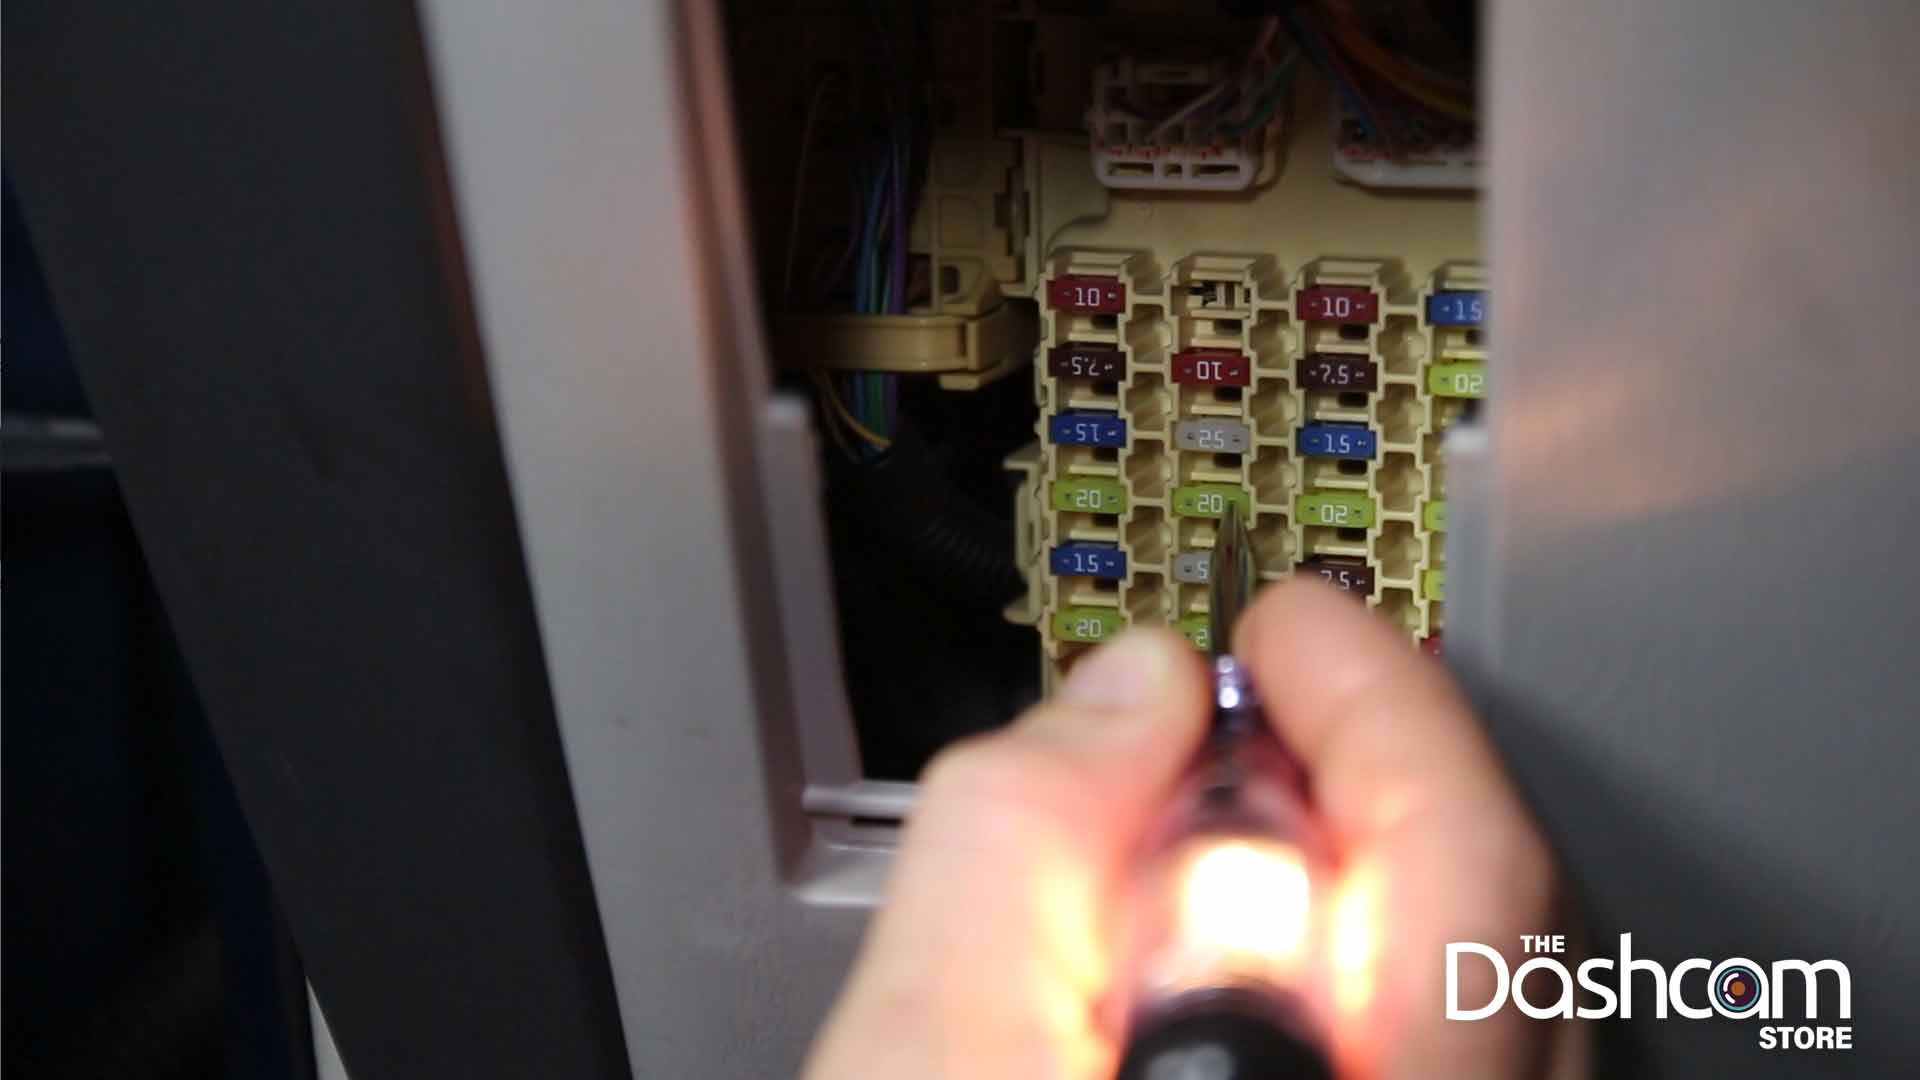
If you find a combination of both constant and switched fuses in your fuse box – great! We’re on track. If you find only one type of circuit in your fuse box, don’t fret. Some vehicles may require additional testing, and we’ll cover that later on in this tutorial.
Step 5: Test Fuses with Your Circuit Tester to Find Switched Fuses
Locate a switched fuse that reads cold while your engine is turned off. Put your key back into the ignition and turn it to the on position. You don’t necessarily need to start the engine though. Probe the fuse again: if it lights up, great! You have double checked that this fuse is a switched fuse. Turn off the engine and pull the key from the ignition. We recommend checking the same fuse again when your car is off to triple check that it is a reliable switched fuse circuit.
Now that you have identified a switched fuse, you can select any of the other fuses that remain on for your constant fuse. If possible, we recommend using a non-essential circuit as your constant power source to reduce your chances of affecting any sensitive vehicle control systems that may be present. The most ideal circuits will be marked as “accessory” in your owner’s manual or on your fuse box cover diagram.
Step 6: Connect Your Accessory to the Identified Constant and Switched Fuses
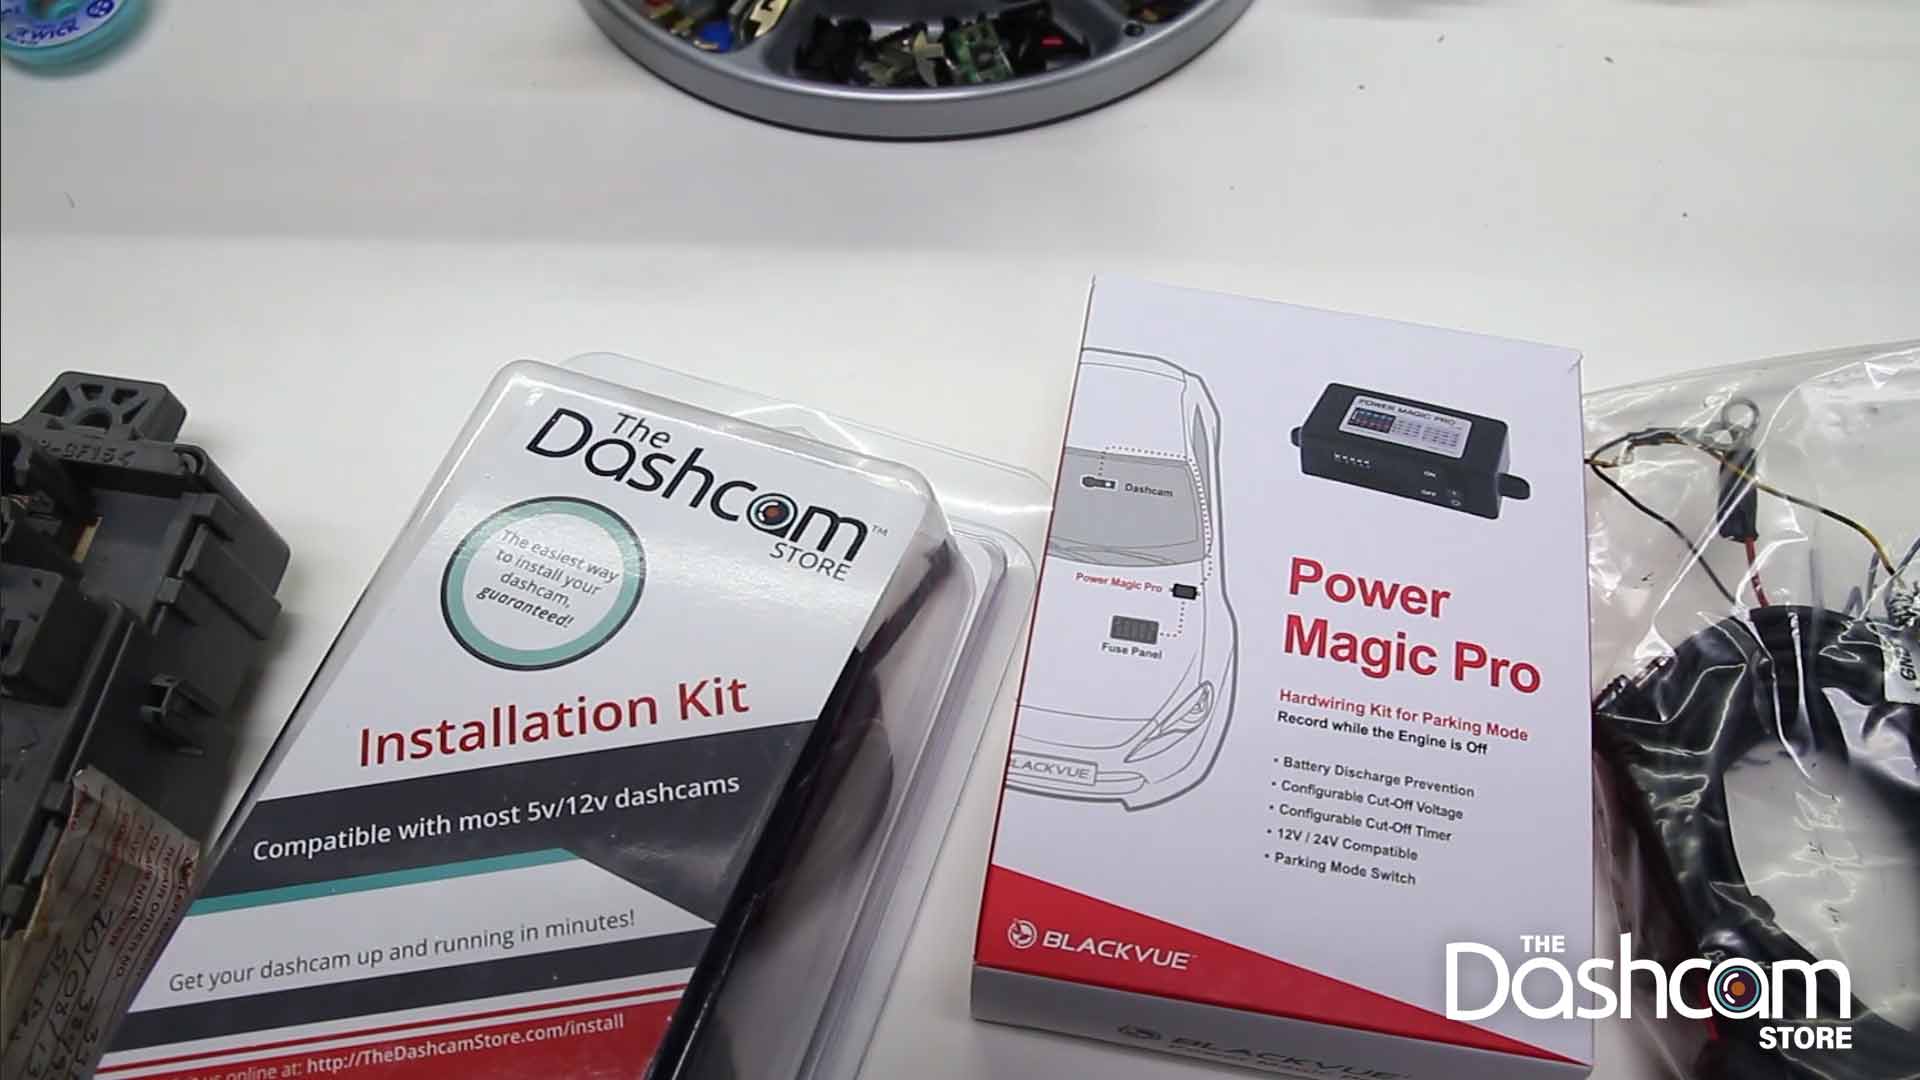
Now that you have identified your constant and switched fuses, you are ready to connect your add-a-circuit fuse taps, Power Magic Pro, BlackVue direct-wire harness, or other electrical accessory to the appropriate constant and switched fuse slots. Follow the instructions included with your device or identify the tag or color of each wire to ensure that you are connecting the right wire to its corresponding fuse. Once your installation is finished, test your device for proper operation before wrapping up.
Couldn't find any switched fuses? If all of your circuits seem to be on all the time, there may be two possible explanations:
1. Some vehicles really don’t have any switched fuse circuits in certain fuse boxes. You may have to locate another source of switched power or check a different fuse box. This scenario is not very common.
2. Some vehicles use a switched fuse delay system, which means that switched fuse circuits will remain on for up to 30 minutes after turning the engine off and removing the key from the ignition.
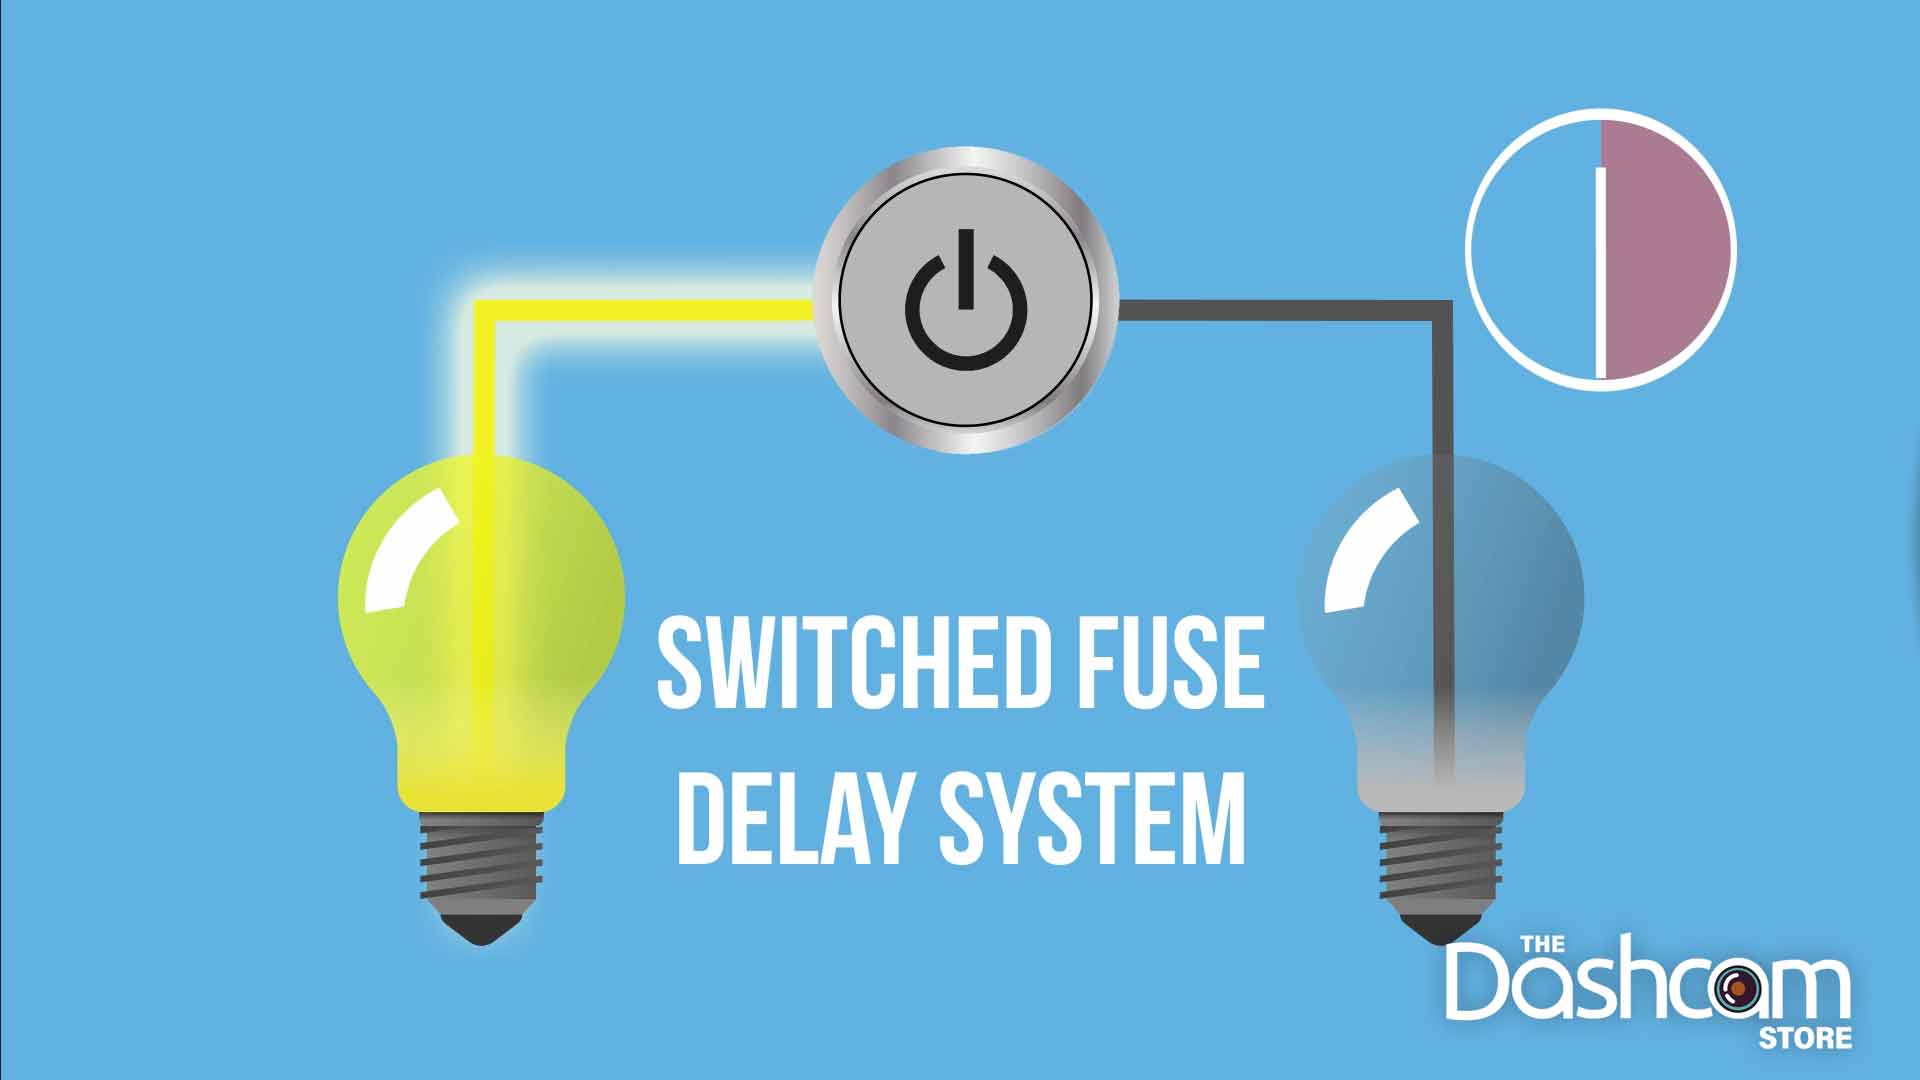
Identifying this type of circuit is more difficult since in many cases the switched circuits will be re-activated by unlocking the vehicle, bringing the key fob within close proximity to the vehicle, or even sitting down in one of the front seats. In this case, you should consult your owner’s manual for more information on your vehicle or get in touch with a professional who can help.
Now you’ve learned how to identify your constant and switched fuses to install your add-a-circuit fuse taps, Power Magic Pro, BlackVue direct-wire harness, or other electrical accessory to your car.
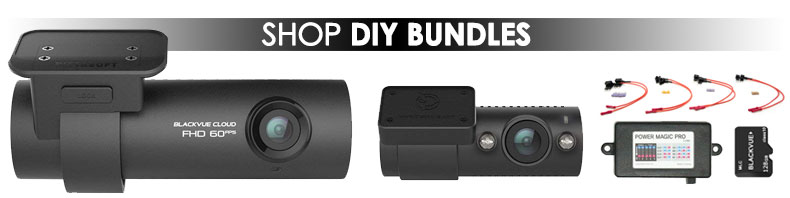
Need a test light or an install kit to help you with your diy dashcam installation? How about a complete DIY installation bundle? Please follow one of the links below:
Disclaimer
The Dashcam Store™ Instructions are proprietary to The Dashcam Store LLC. ("The Dashcam Store™") and no ownership rights are hereby transferred. No part of these Instructions shall be used, reproduced, translated, converted, adapted, stored in a retrieval system, communicated or transmitted by any means, for any commercial purpose, including without limitation, sale, resale, license, rental or lease, without the prior express written consent of The Dashcam Store™.
The Dashcam Store™ does not make any representations, warranties or guarantees, express or implied, as to the accuracy or completeness of these instructions. Users must be aware that updates and amendments will be made from time to time to these instructions. It is the user's responsibility to determine whether there have been any such updates or amendments. Neither The Dashcam Store™ nor any of its directors, officers, employees or agents shall be liable in contract, tort or in any other manner whatsoever to any person for any loss, damage, injury, liability, cost or expense of any nature, including without limitation incidental, special, direct or consequential damages arising out of or in connection with the use of these instructions.