
Did you know that we have authored a series of articles to get you on the right path to learning how to install your own dashcam? This is the first of three articles in this "How-To Identify" Series. You can use the links below to continue to the other articles. Part 2: How To Identify Constant and Switched Fuses. Part 3: How To Identify a Proper Ground Point.
How To Identify Your Vehicle's Fuse Type
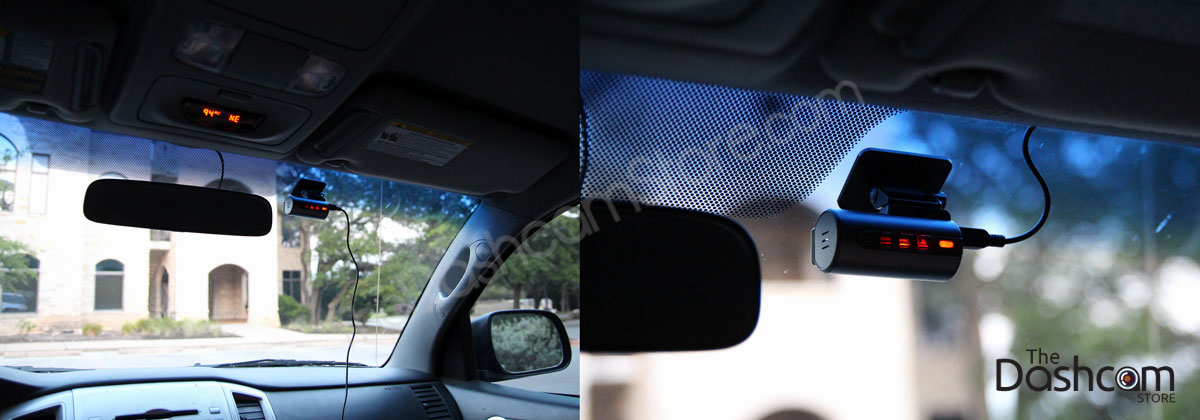
You’ve already found the best dashcam brand and model for your driving needs and you’ve decided that you want to install your dash cam into your car. Whether your goal is to tuck your dash cam’s power cable neatly into your car’s headliner for aesthetic reasons, you want to improve your windshield visibility by hiding distracting wires, or you simply want to free up your 12v outlet, using an installation kit will make the job of hardwiring your dash cam into your car quick and easy.
If you’ve been browsing our website for dash cam installation kits, you may have noticed that we offer several install kits that vary based on the most common fuse types found in vehicles today.
But how do you know what fuse type your car uses?
Our how-to video and these instructions will teach you step-by-step how to identify your vehicle’s fuse type and explain why it is important to do so.
To start, we want to explain why it’s so important for you to take a look in your fuse box in the first place.
What is a fuse type, and why do I need to know which one I have?
Just like in your home, your fuse box controls the electrical flow, or power, throughout your car. Every car uses fuses to protect the vehicle’s wiring and electrical system components.

There are four main fuse types found in vehicles today: Low-profile Mini, Mini, Micro2, and ATO. The Mini is the most common fuse type, based on our observations.
To use a dash cam installation kit, you will need to remove one of the fuses from the fuse box and replace it with the fuse tap included in the installation kit. This will link your dash cam to your fuse box and will ensure that your dash cam powers on when your car turns on and powers off when your car powers off. Fuse boxes and fuse types vary not only from car to car, but also from year and model. Therefore, it’s important to know which fuse type your car uses to ensure that your dash cam installation kit can plug in to your fuse box.
If you want to save yourself some time and money and ensure that you are purchasing the right installation kit for your needs, the best way to know the exact fuse type that you need is to open your fuse box and take a look.
Ready to find your fuse box and discover which fuse type your car has? Let’s get started!
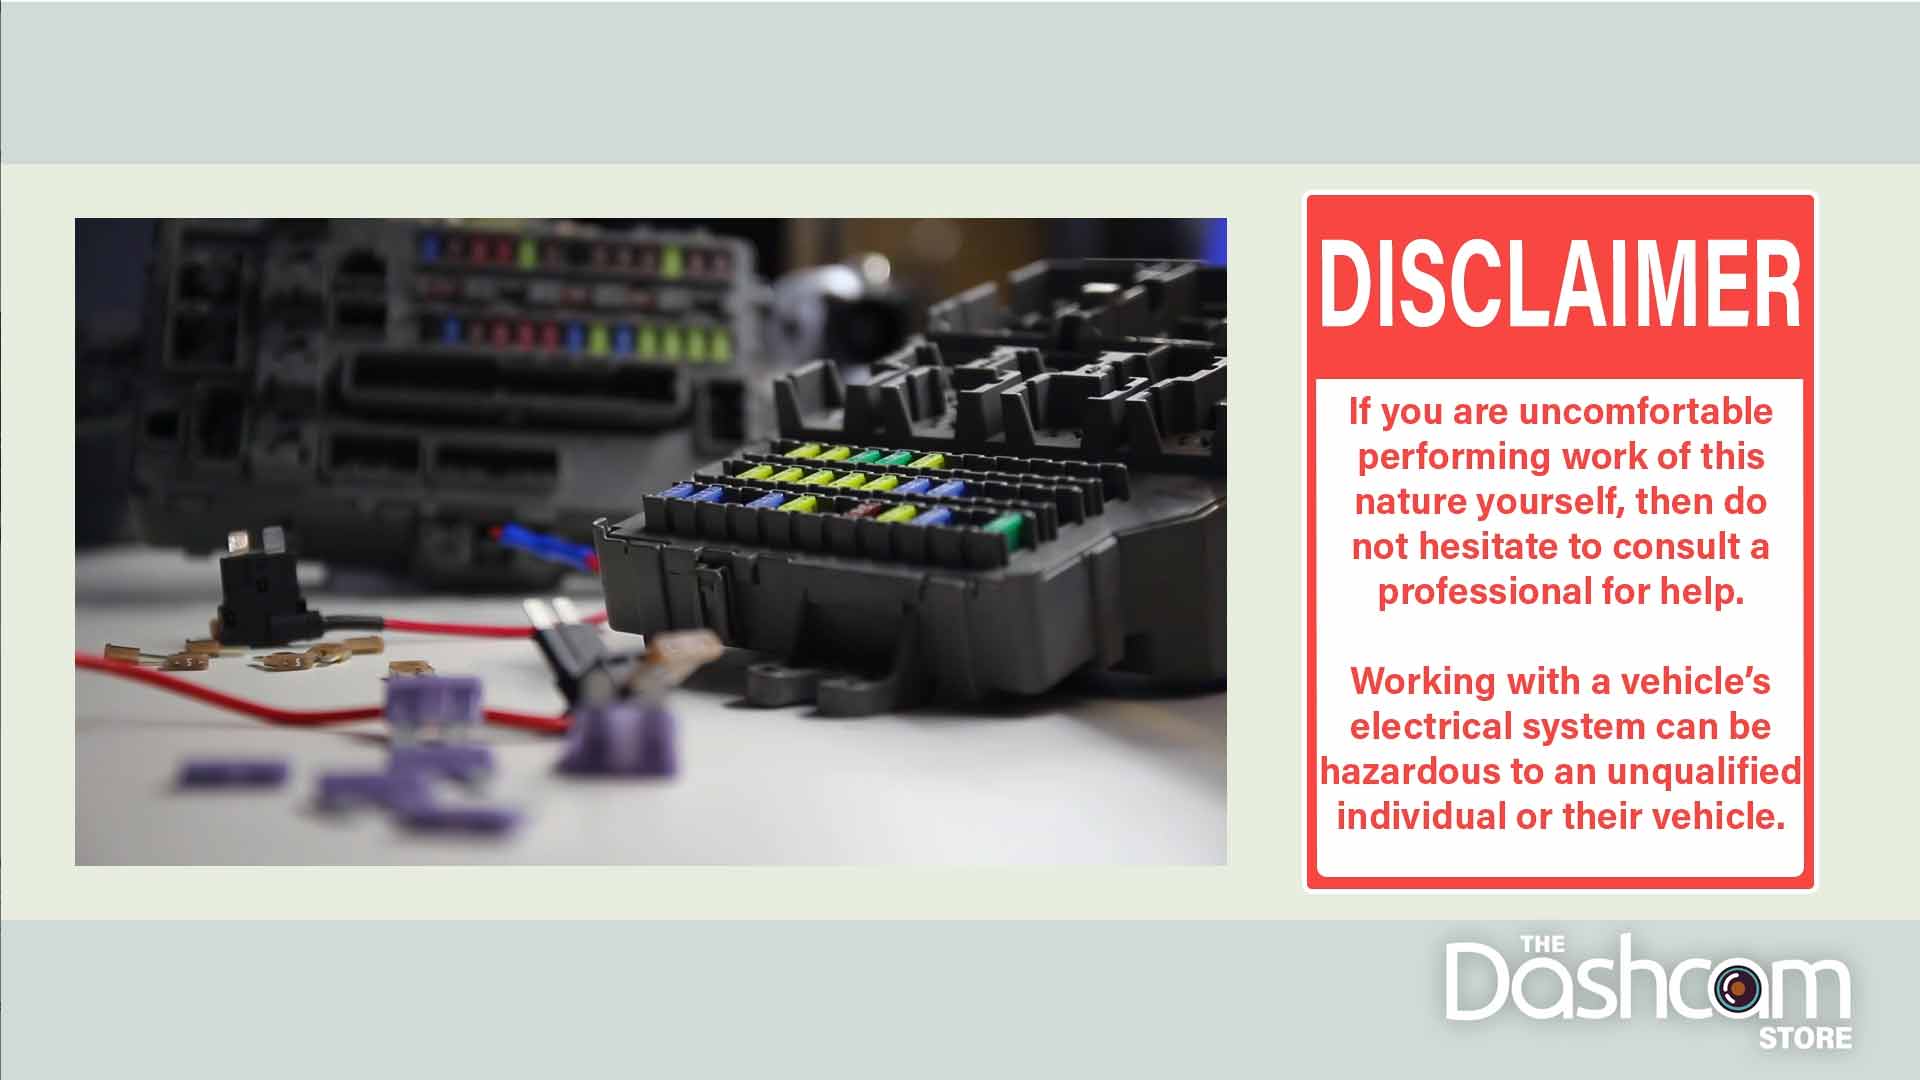
Disclaimer
Before we pull any fuses, it’s important to remember that this type of work should only be performed by a qualified individual or qualified business. Working with your vehicle’s electrical system can be dangerous both to you and your vehicle. If all of this is new to you and you don’t feel confident working with your vehicle’s fuse box, we recommend that you consult a professional!
If you’re in Central Texas, we’d be happy to install your dash cam for you here at The Dashcam Store. Here’s a link to our install photo gallery to see what the finished product will look like and here's a link to schedule a dash cam installation at our location in Austin, Texas.
If you’re outside of the Austin area, here is a list of our recommended dash cam installers in other parts of the U.S.
Step 1: Turn Your Car Off
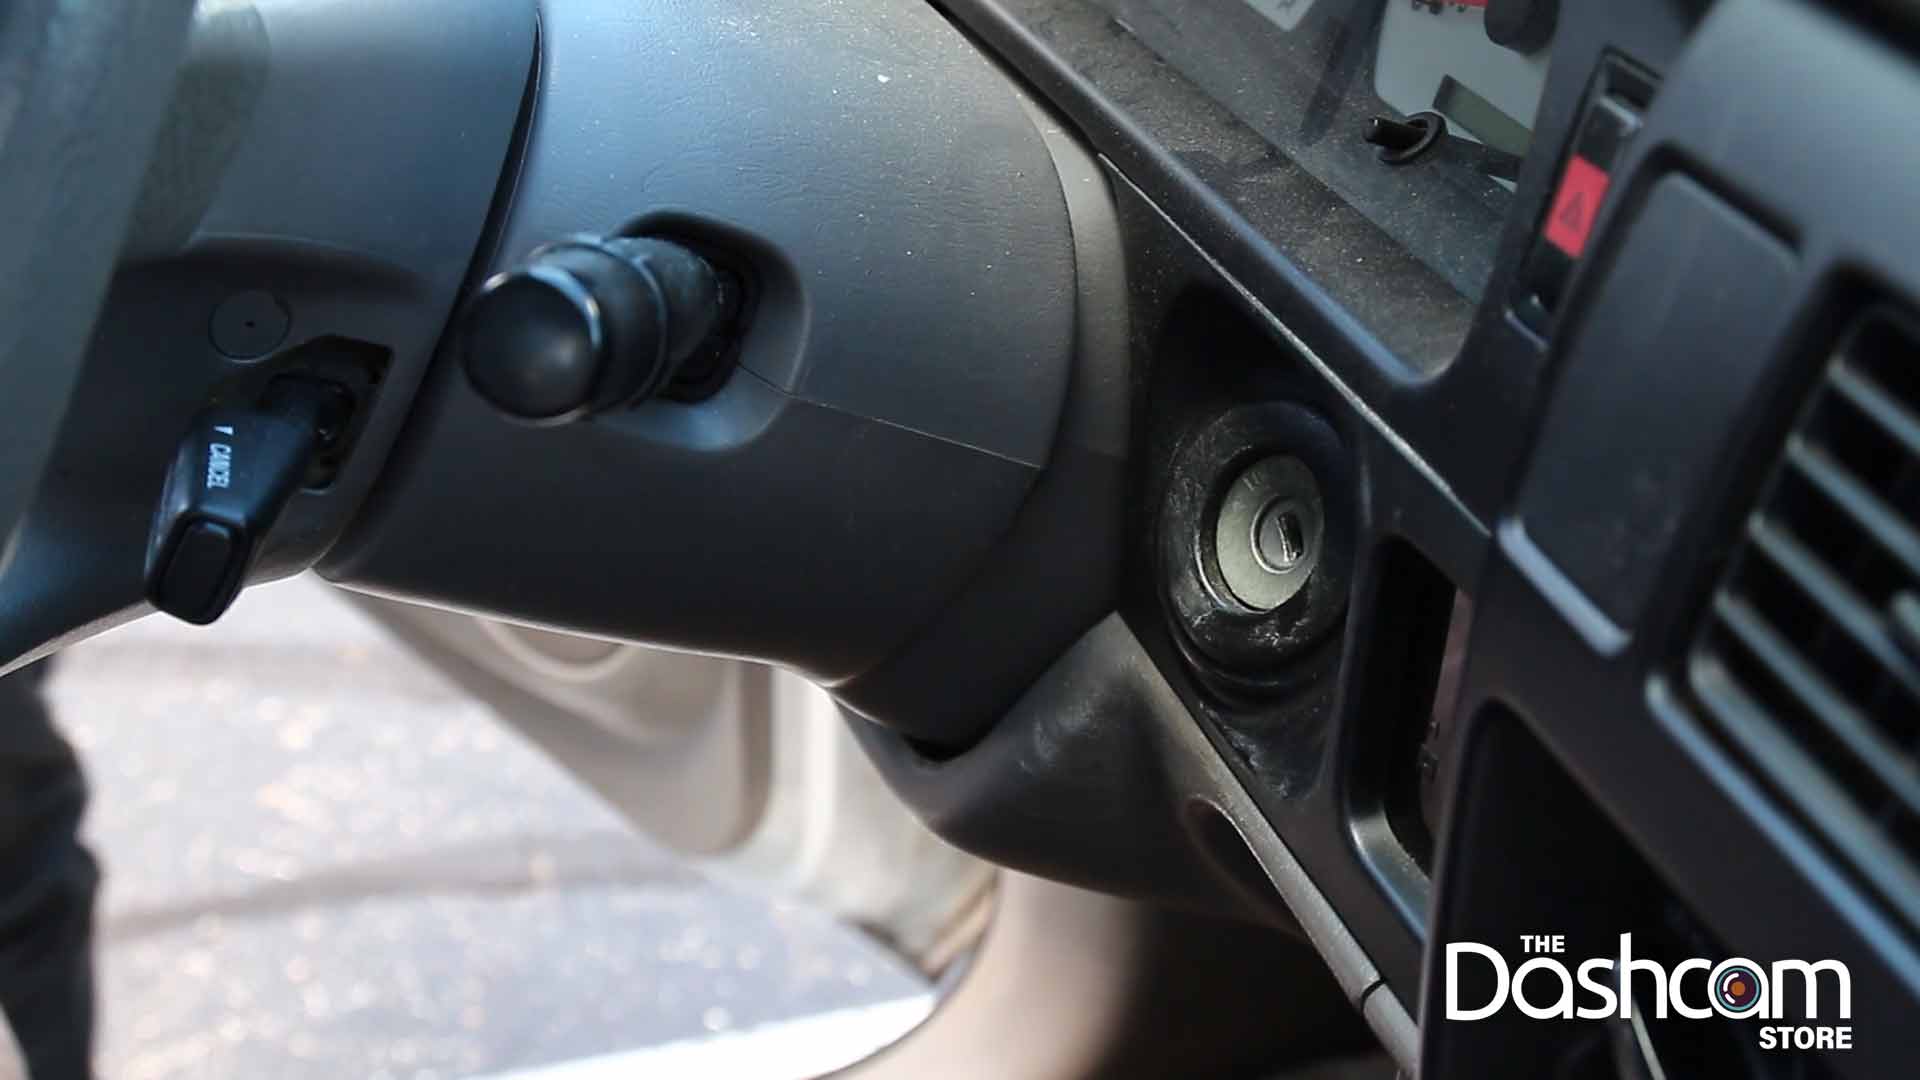
Before doing any electrical work, ensure that your vehicle’s engine is turned off and the key is completely removed from the ignition. You don’t want to be a victim of a preventable accident.
Step 2: Find Your Owner's Manual
To locate your fuse box, consult your owner’s manual. Can’t remember where your owner’s manual is? Typically, the owner’s manual can be found in your glove box, trunk, or even with your spare tire.
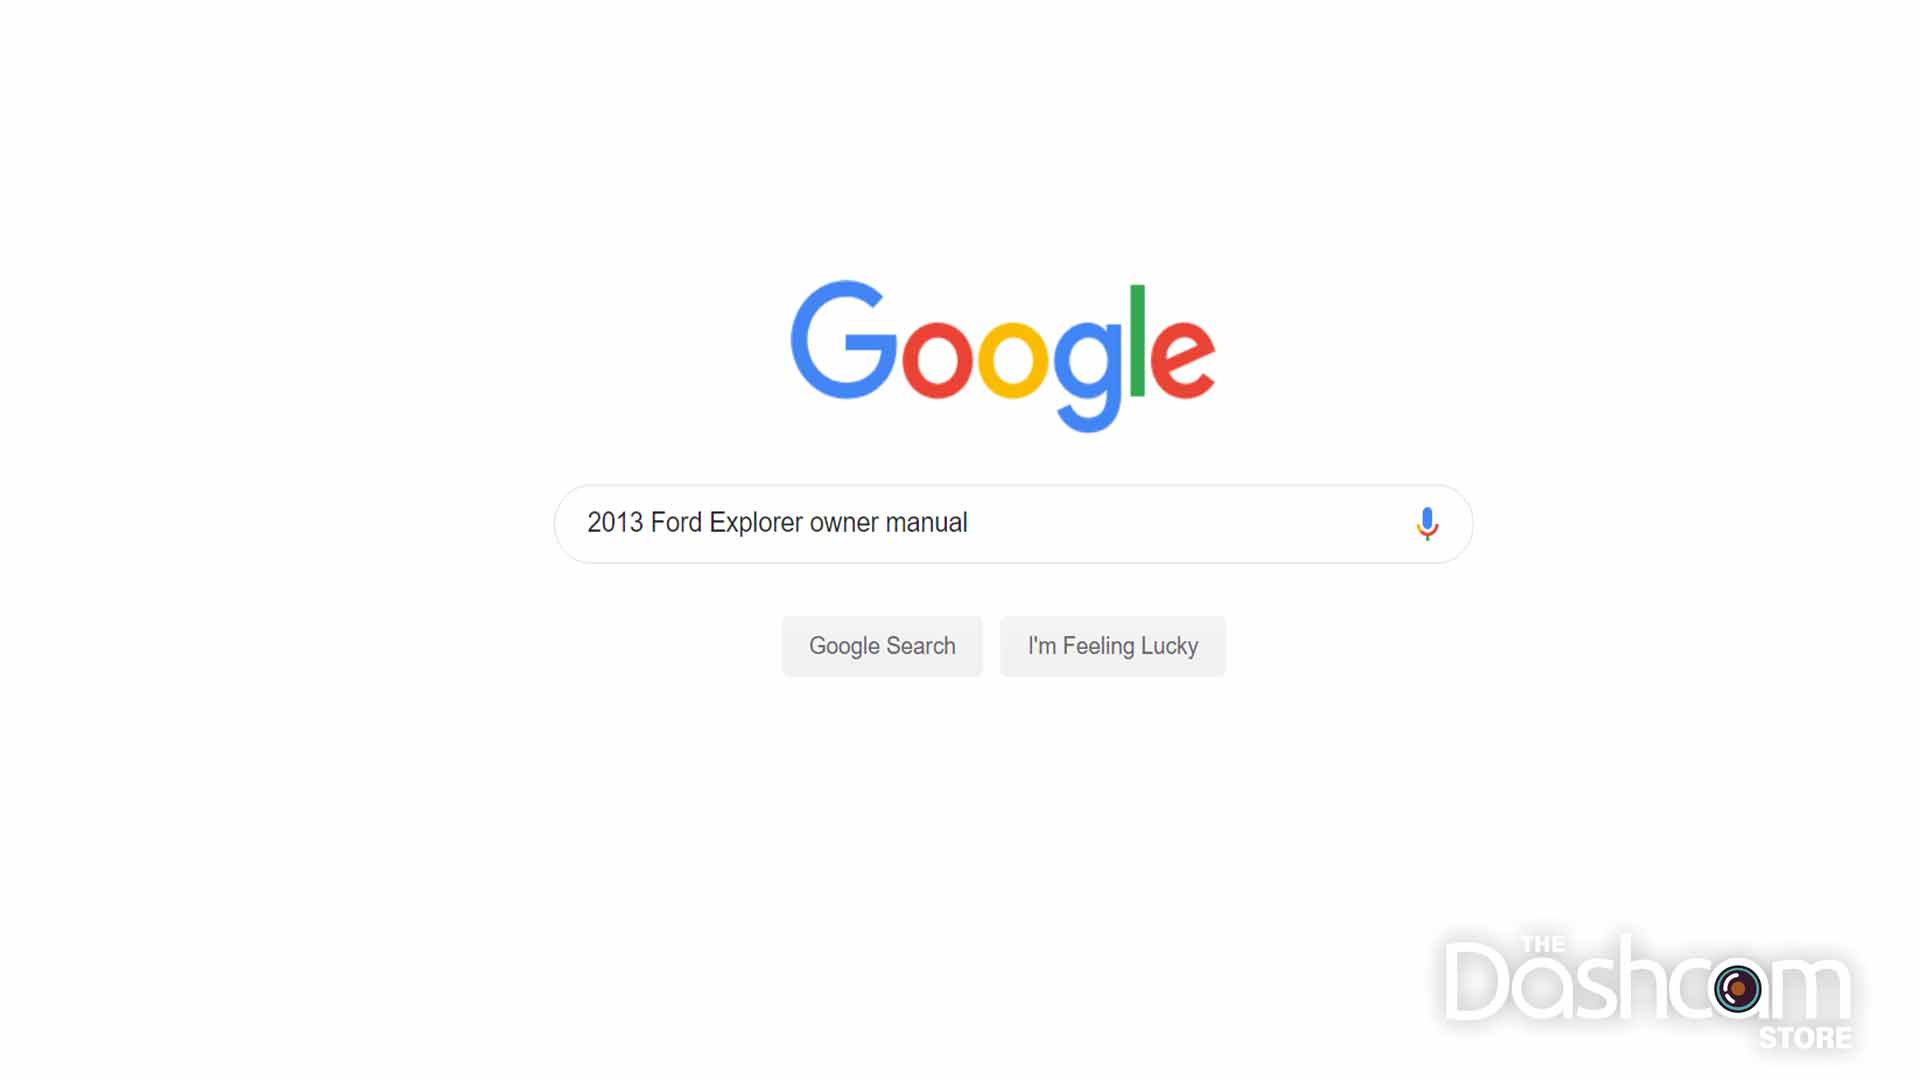 If you can’t find or don’t have a copy of your manual, a quick Google search for “(your vehicle)
owner manual” is almost guaranteed to turn up a PDF for you.
If you can’t find or don’t have a copy of your manual, a quick Google search for “(your vehicle)
owner manual” is almost guaranteed to turn up a PDF for you.
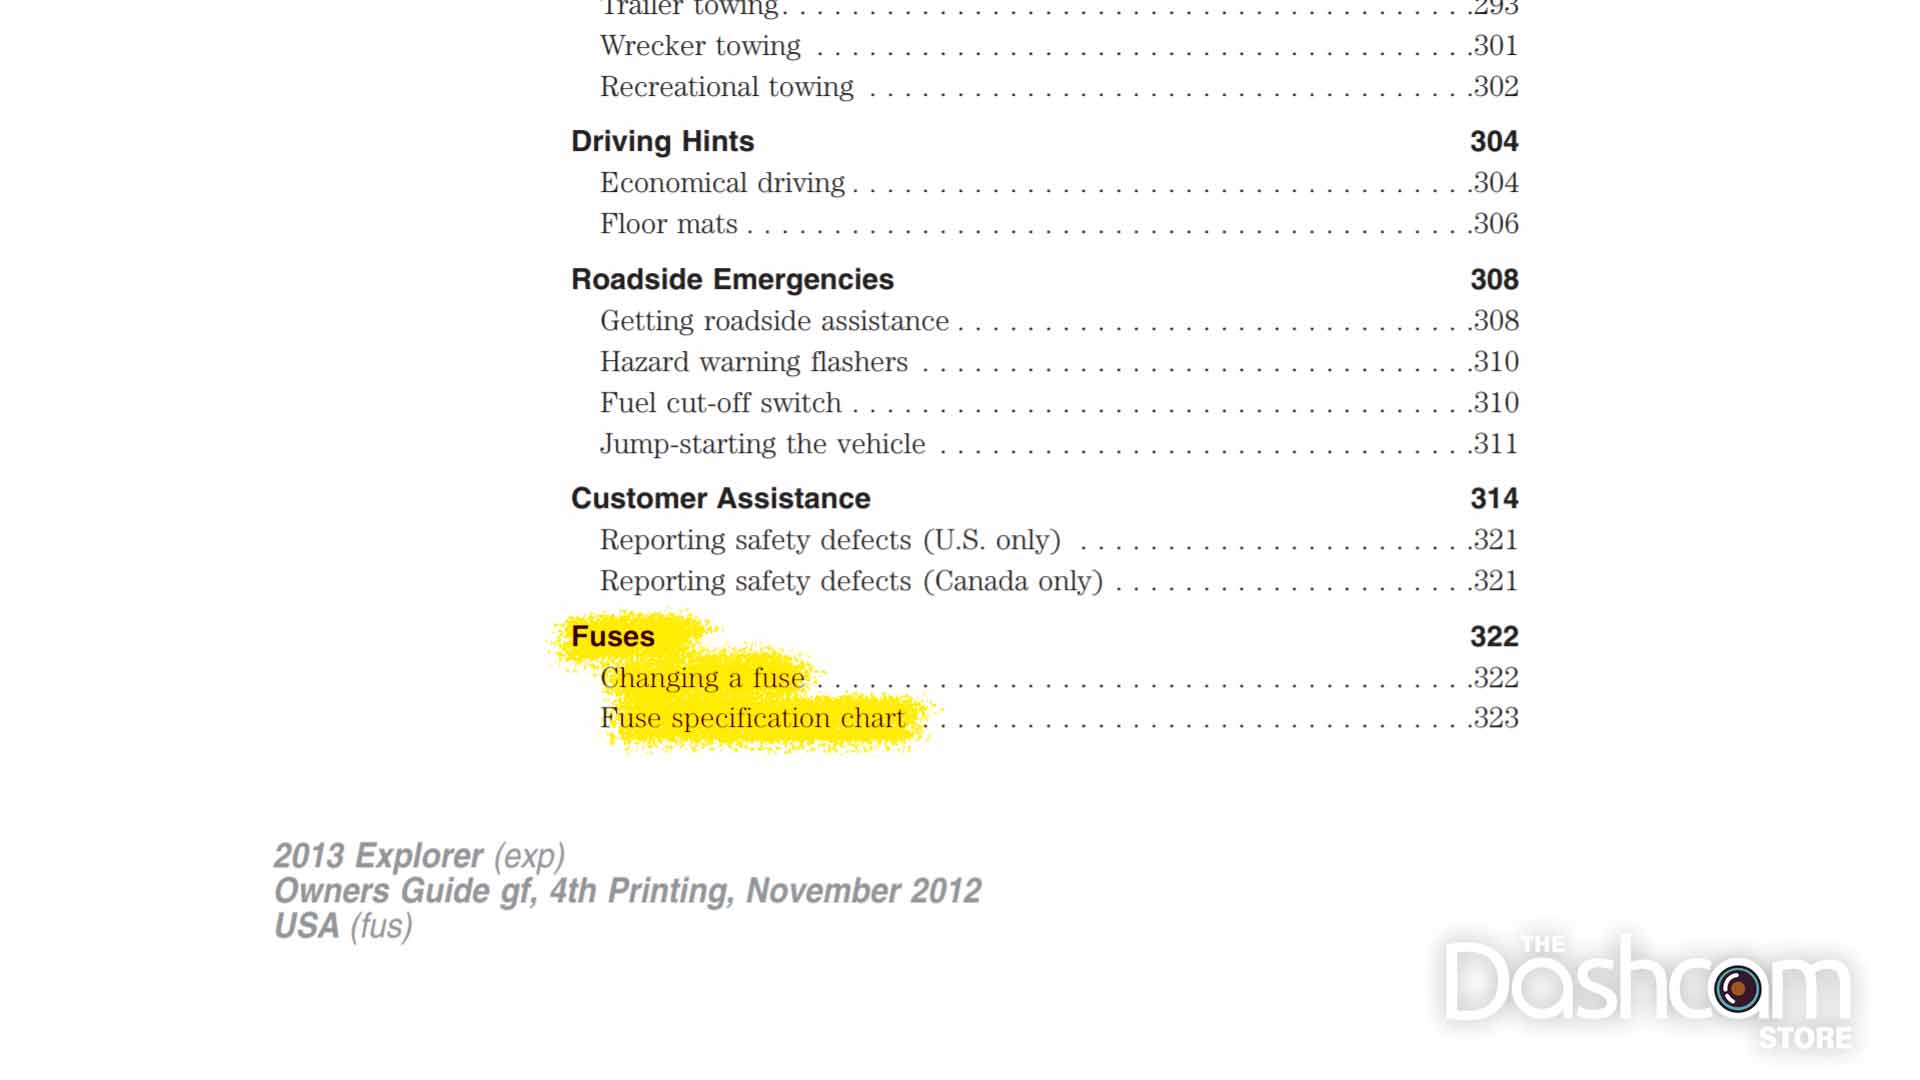
Once you've got your manual in hand, check the index for “fuses”, “fuse box”, or even “blown fuse replacement”.
The manual should direct you to an illustrated diagram of your vehicle, showing the locations of all of your fuse boxes.
Important Note: If you see a picture of a specific fuse type in your owner’s manual, you unfortunately can't assume that the search is over and this is the type of fuse that your car’s fuse box has. Sometimes manufacturers use a generic image in the manual which may or may not match what’s actually in your vehicle!

Step 3: Locate Your Fuse Box
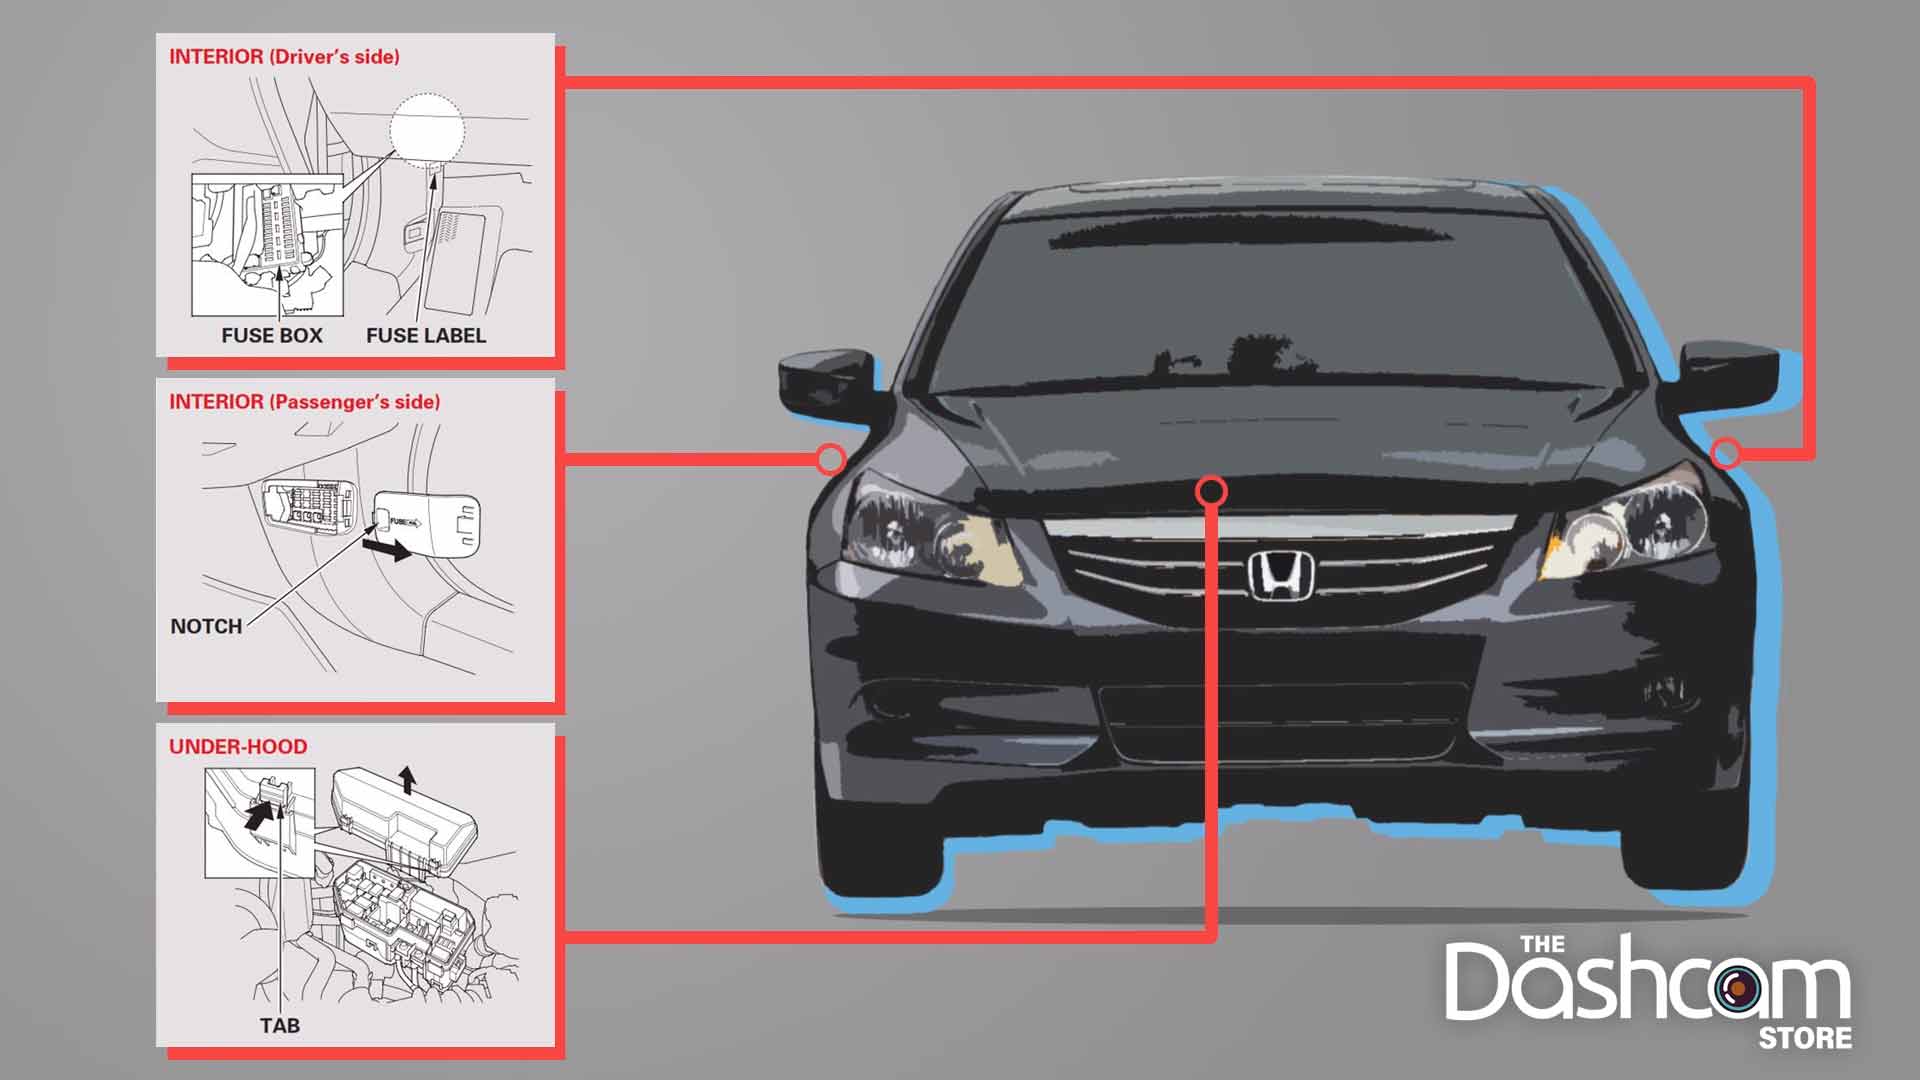
Many vehicles have more than one fuse box, and they are often located under the hood, in the trunk, or somewhere inside the cabin of the vehicle. For some vehicles, there may even be multiple fuse boxes in the cabin alone. If your car has more than one fuse box, it will make things easier if you choose to work with the fuse box that is closest to where you will install your dash cam.
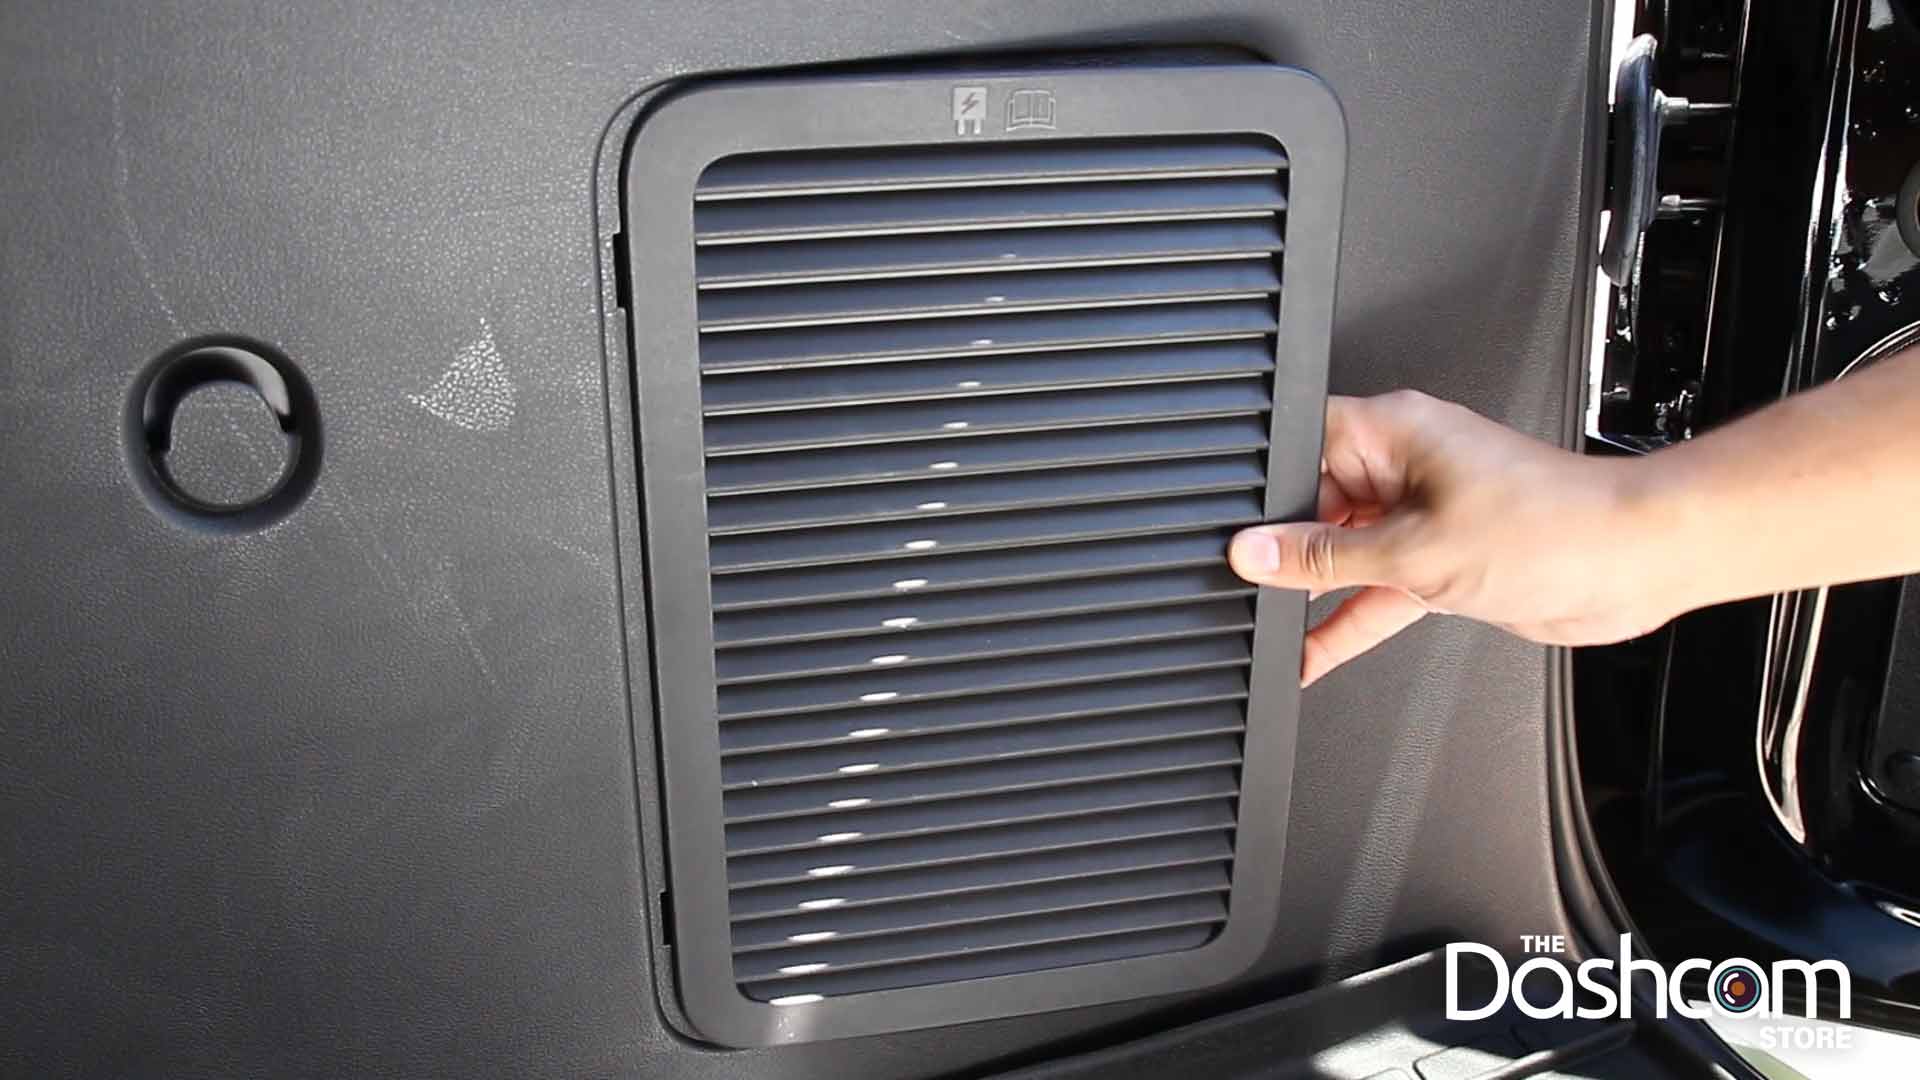
Referencing the owner’s manual, locate the area which contains the fuse box, and if you have more than one fuse box, the box that’s closest to where you want your dash cam to be. In most vehicles, the box is located behind an easily-removable panel or cover, however it could be behind the glove box, behind a kick-panel in the driver or passenger side foot well, or under the carpet or the floorboard of some vehicles.
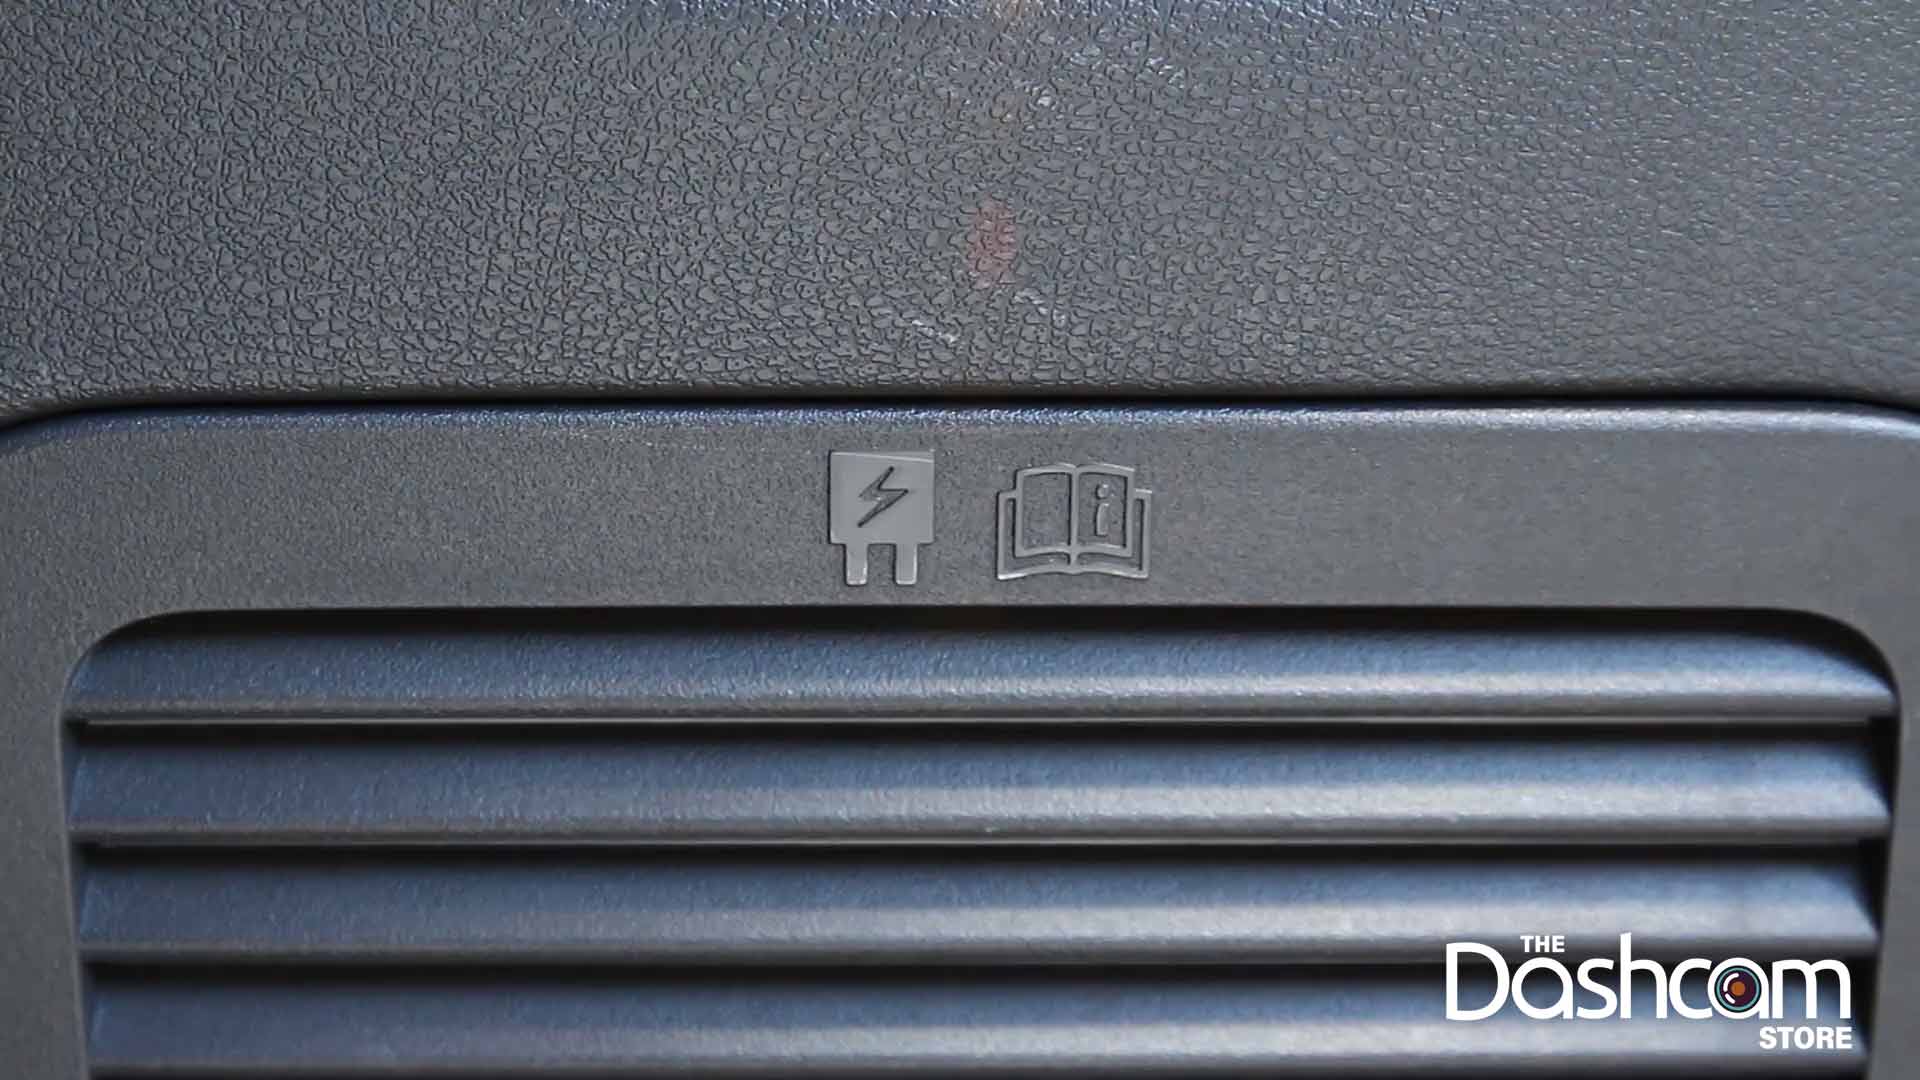
To help you identify the fuse box, there may be a fuse or lightning bolt symbol on the cover. Once you find the fuse box, remove the cover to expose the fuses inside.
Step 4: Remember the Fuse You’ll Remove
Now that we've found our fuses, we're ready to pull them. But first, make note of the fuse or fuses you’ll be removing.

The key is knowing where to replace the fuse once you’ve pulled it and identified it. Taking a “before” photo on your phone works really well!
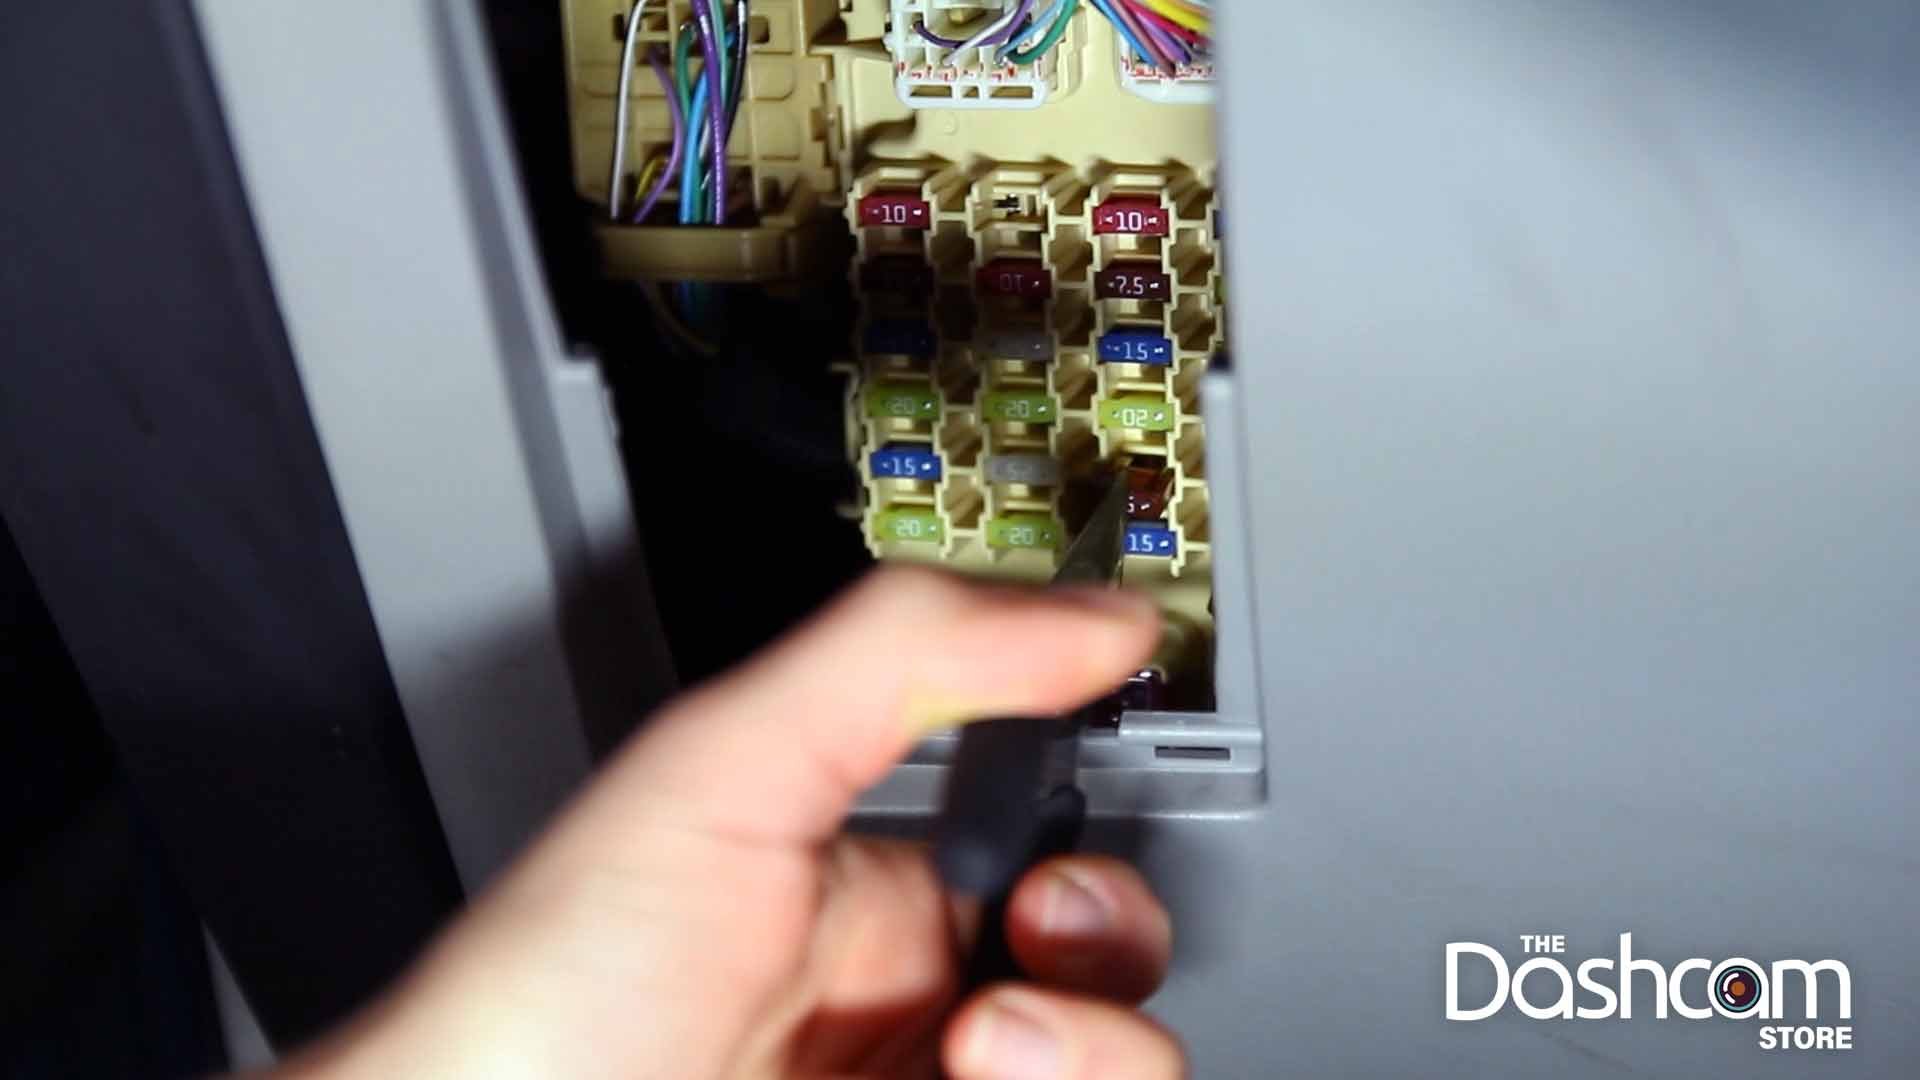
Step 5: Carefully Remove a Fuse
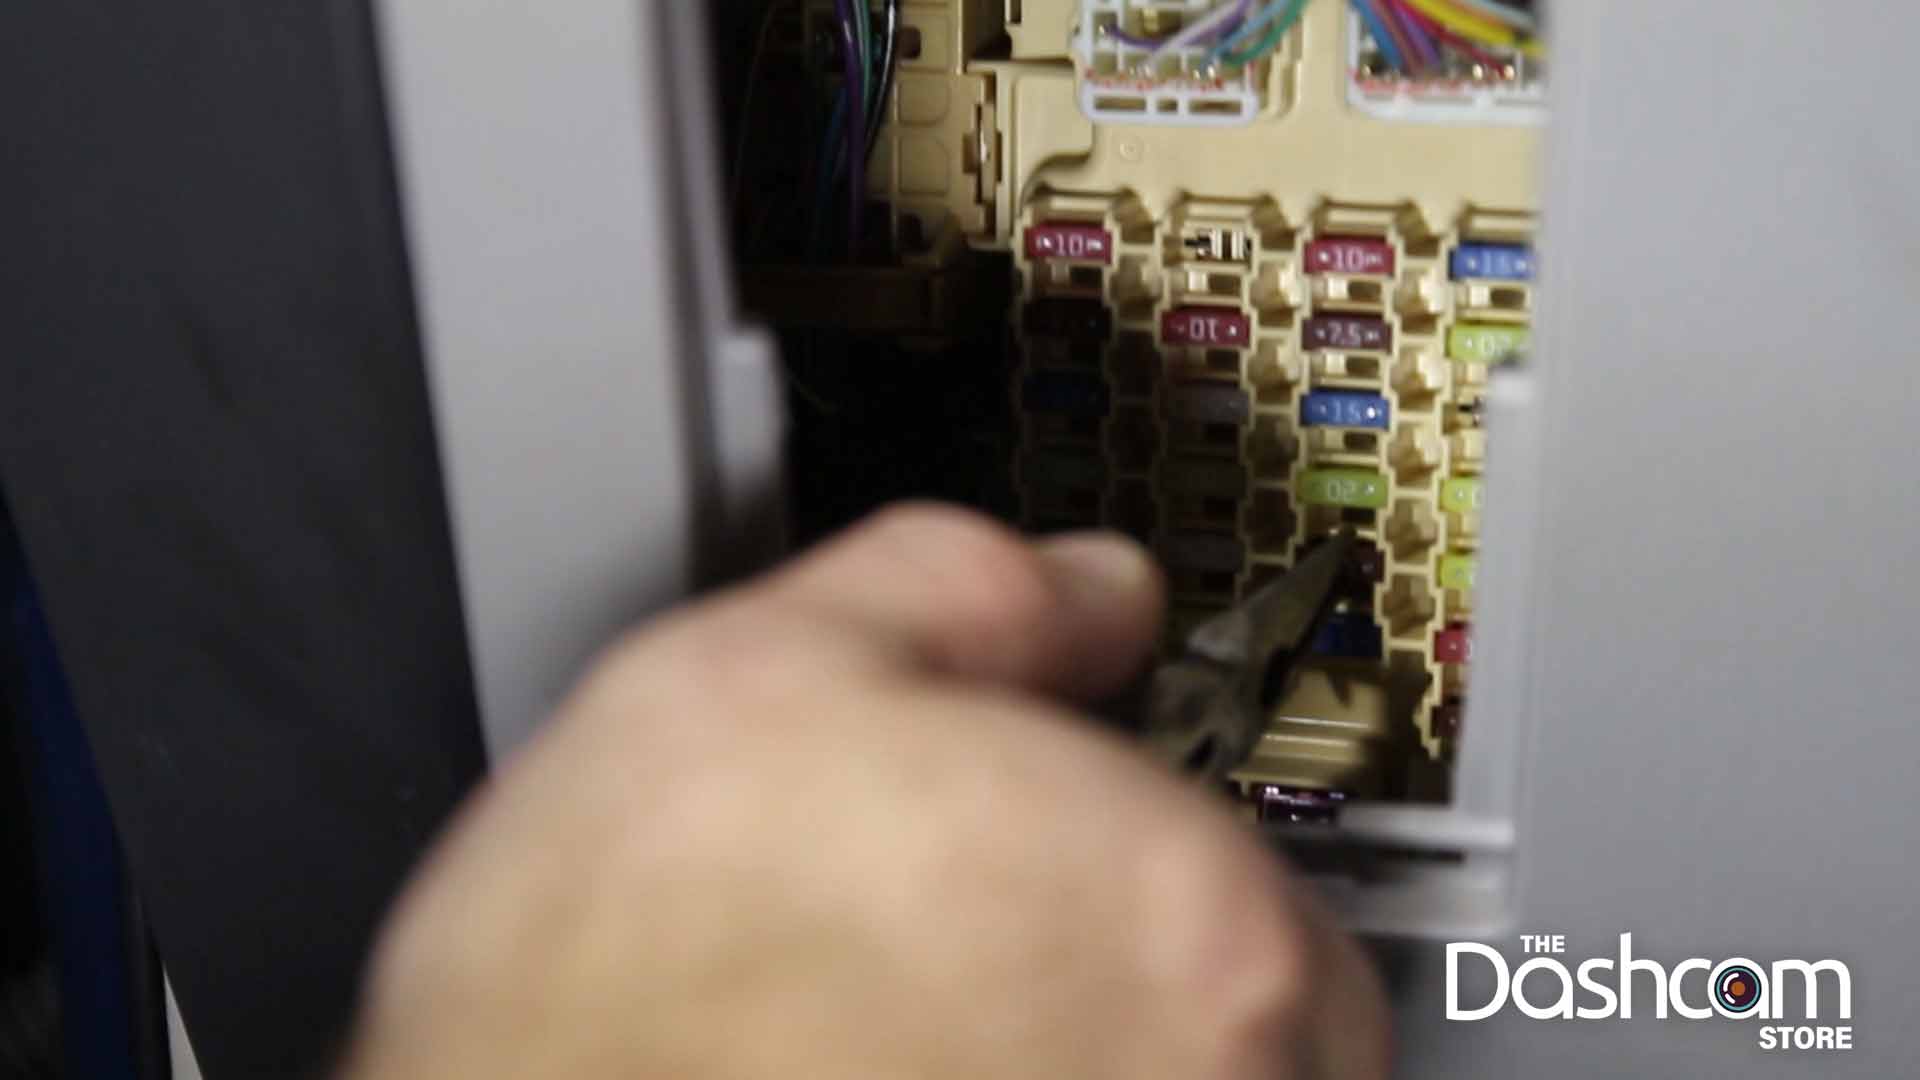
Carefully use a small set of pliers to remove one of the fuses from the fuse box. Many vehicles will include a small plastic tool called a fuse puller on the inside of the fuse box cover. As you might’ve guessed, it’s designed to help you pull out fuses for situations like this!
Step 6: Compare the Fuse to our Fuse Type Chart
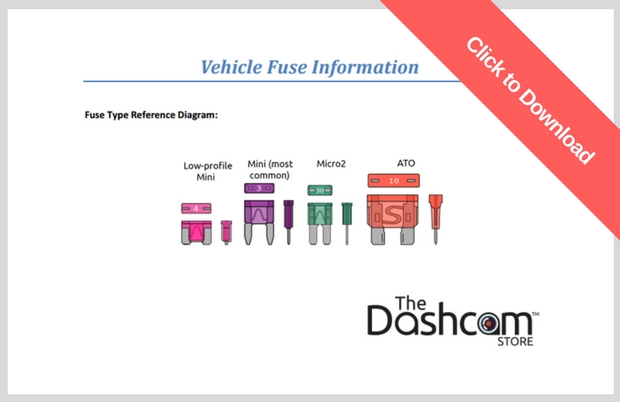
Now that you’ve pulled out the fuse and you have it in your hand, compare it against our fuse type chart to find out which one your car has! Our fuse type chart was designed to scale, so if you are having a hard time deciphering which fuse type your car has, you can put your fuse on top of the fuse chart and slide it over to see which fuse type fits!
Click on the image above to download and print a PDF of our fuse type diagram.
Step 7: Don’t Forget Your Fuse Type!
After you’ve identified your fuse, don’t forget which one you have! Write a note in your owner’s manual, take a picture of your fuse type with your phone, send yourself an email… whatever works for you!
Step 8: Reinstall the Fuse
The fuse that you removed was protecting your fuse box, so it’s important to reinstall it to its original position. Refer back to the picture that you took on your phone during Step 4, and replace the fuse cover.
Now you’ve learned how to identify where your vehicle’s fuse box is located and successfully identified which fuse type your car has!
Ready to buy the right dash cam install kit for your vehicle's fuse type? How about a complete DIY installation bundle? Please visit one of the following links below:
Disclaimer
The Dashcam Store™ Instructions are proprietary to The Dashcam Store LLC. ("The Dashcam Store™") and no ownership rights are hereby transferred. No part of these Instructions shall be used, reproduced, translated, converted, adapted, stored in a retrieval system, communicated or transmitted by any means, for any commercial purpose, including without limitation, sale, resale, license, rental or lease, without the prior express written consent of The Dashcam Store™.
The Dashcam Store™ does not make any representations, warranties or guarantees, express or implied, as to the accuracy or completeness of these instructions. Users must be aware that updates and amendments will be made from time to time to these instructions. It is the user's responsibility to determine whether there have been any such updates or amendments. Neither The Dashcam Store™ nor any of its directors, officers, employees or agents shall be liable in contract, tort or in any other manner whatsoever to any person for any loss, damage, injury, liability, cost or expense of any nature, including without limitation incidental, special, direct or consequential damages arising out of or in connection with the use of these instructions.