
In this gallery, we perform a typical installation of our compact but powerful 720p HD Mini300 dashcam and USB mini-fuse dashcam installation kit in a customer's 2009 Pontiac G5. Click on any image to view a larger version. Thanks Natalie!
NOTE: this type of installation should be performed by a qualified individual or business only. Working with your vehicle's power system can be dangerous to both you and your vehicle if you do not know what you are doing! If you have any doubts, please consult a professional.
To view our additional how-to instructions for performing an installation such as this, please view our advanced dashcam installation how-to.
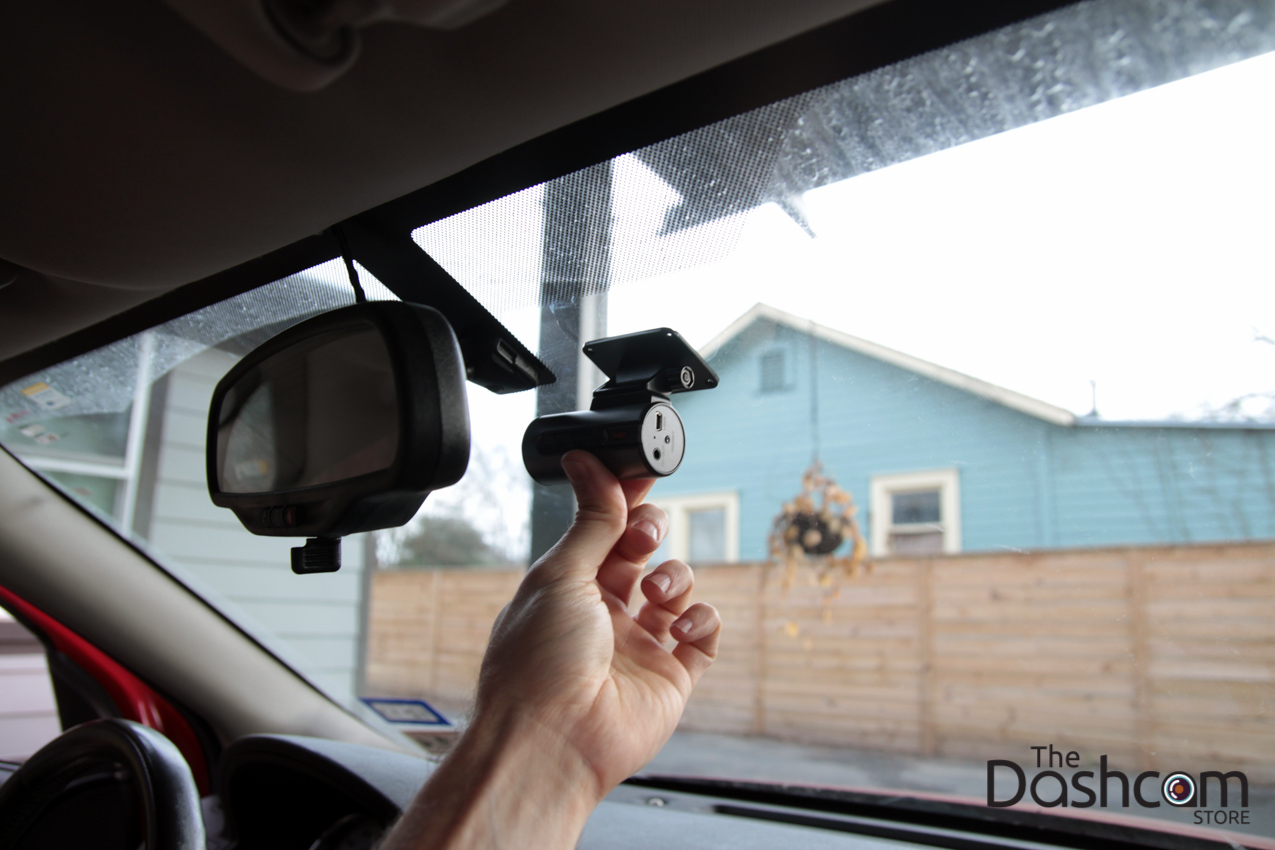
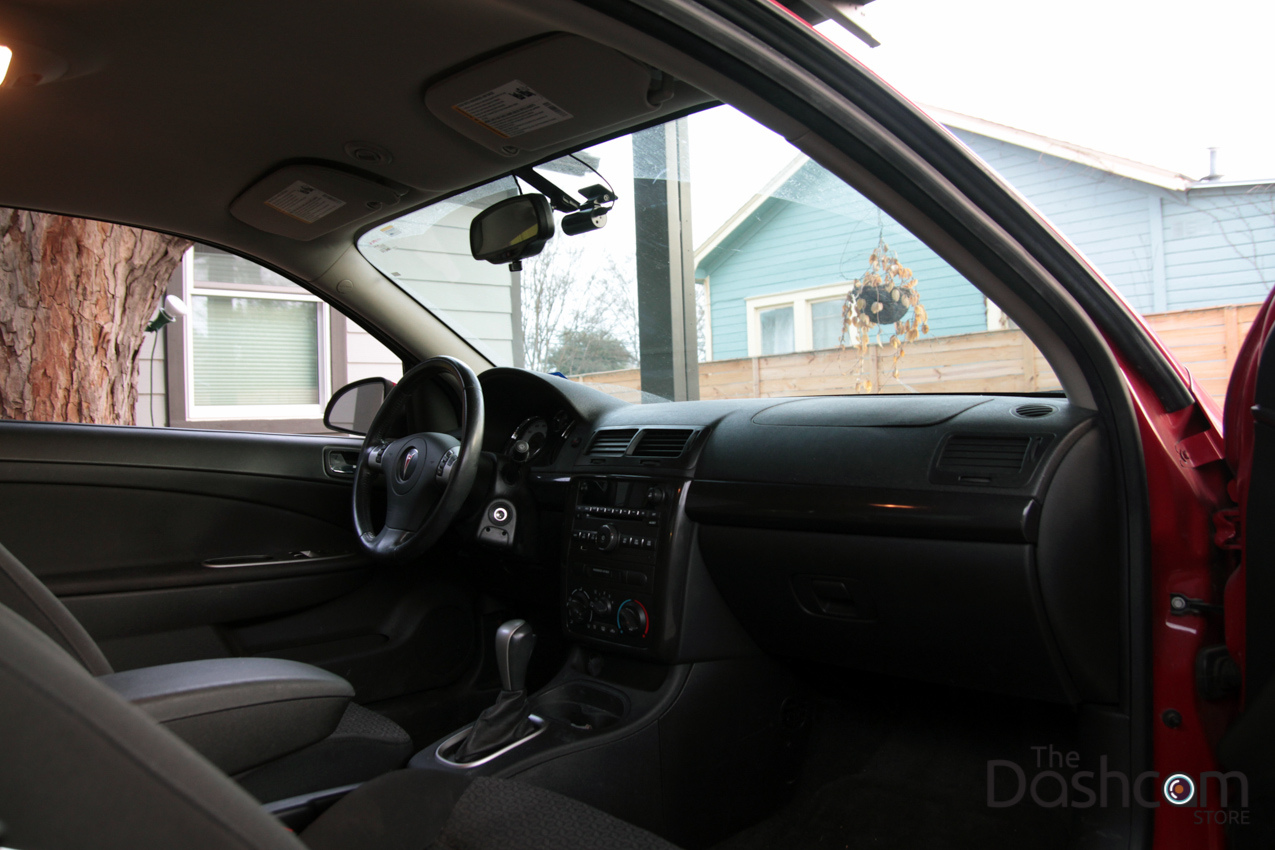
Testing the location for the Mini300:
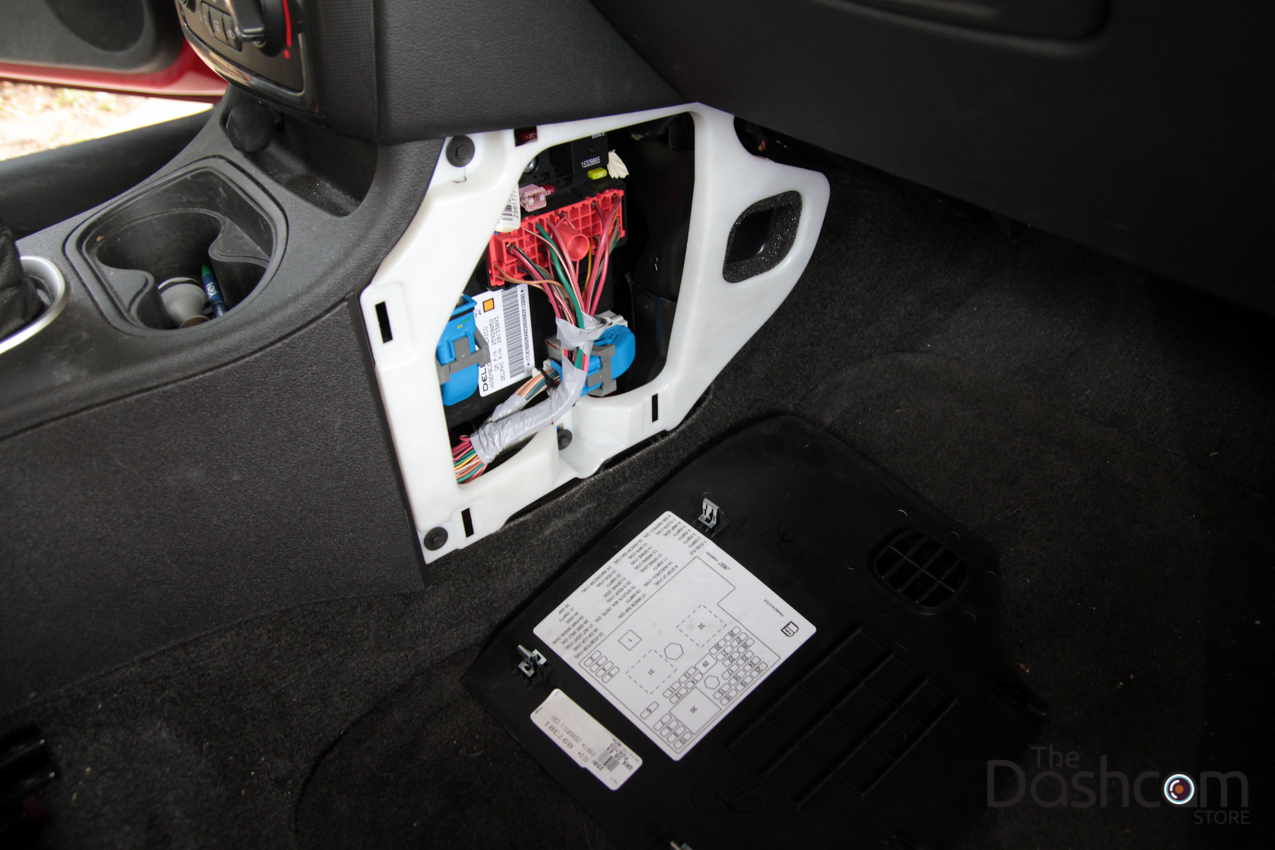
Locating the fuse box... it took longer than usual to find it here! Now we know where we will run our wiring:
Start running the wire at the dashcam, that way the excess wiring can be tucked away under the dash:
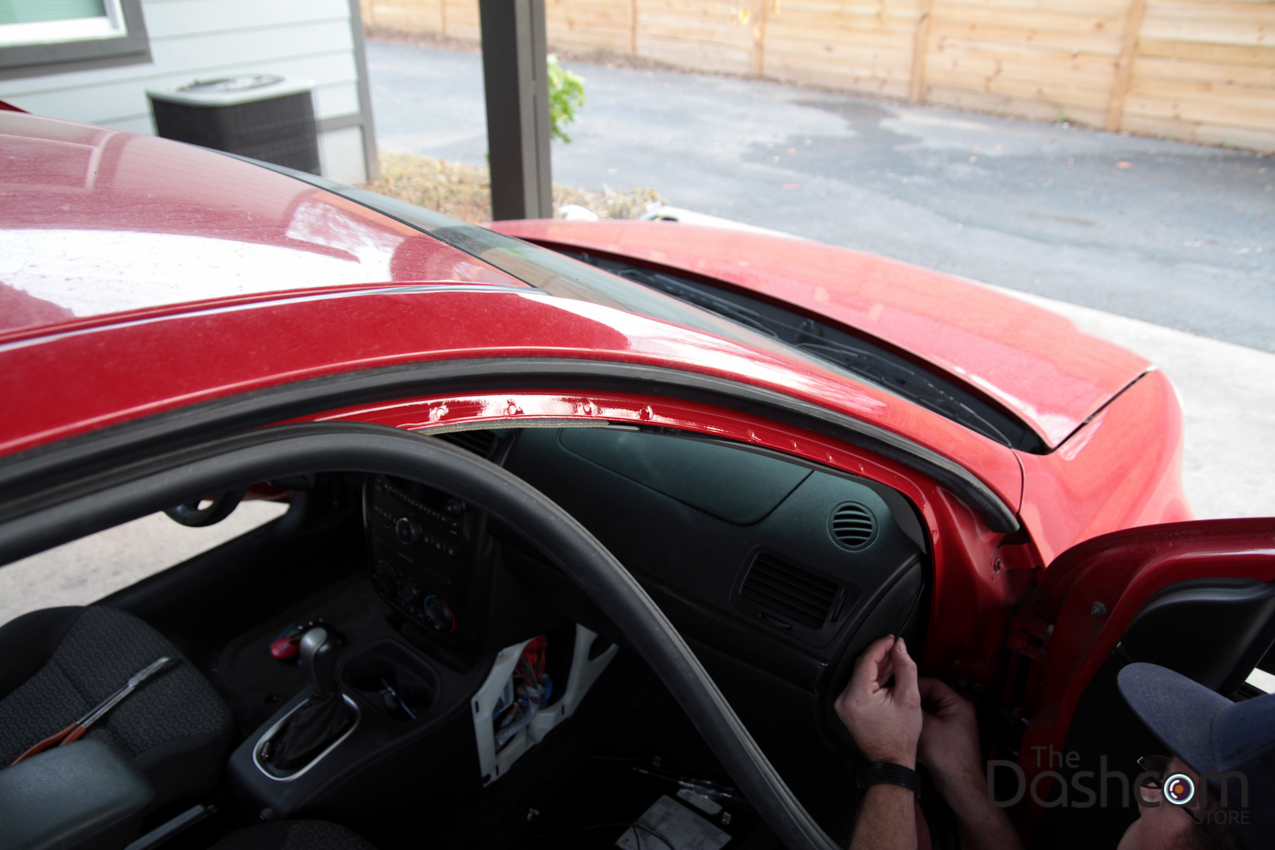
Wiring run across the headliner, now to send it down the A-pillar:
Wiring tucked across the top of the A-pillar:
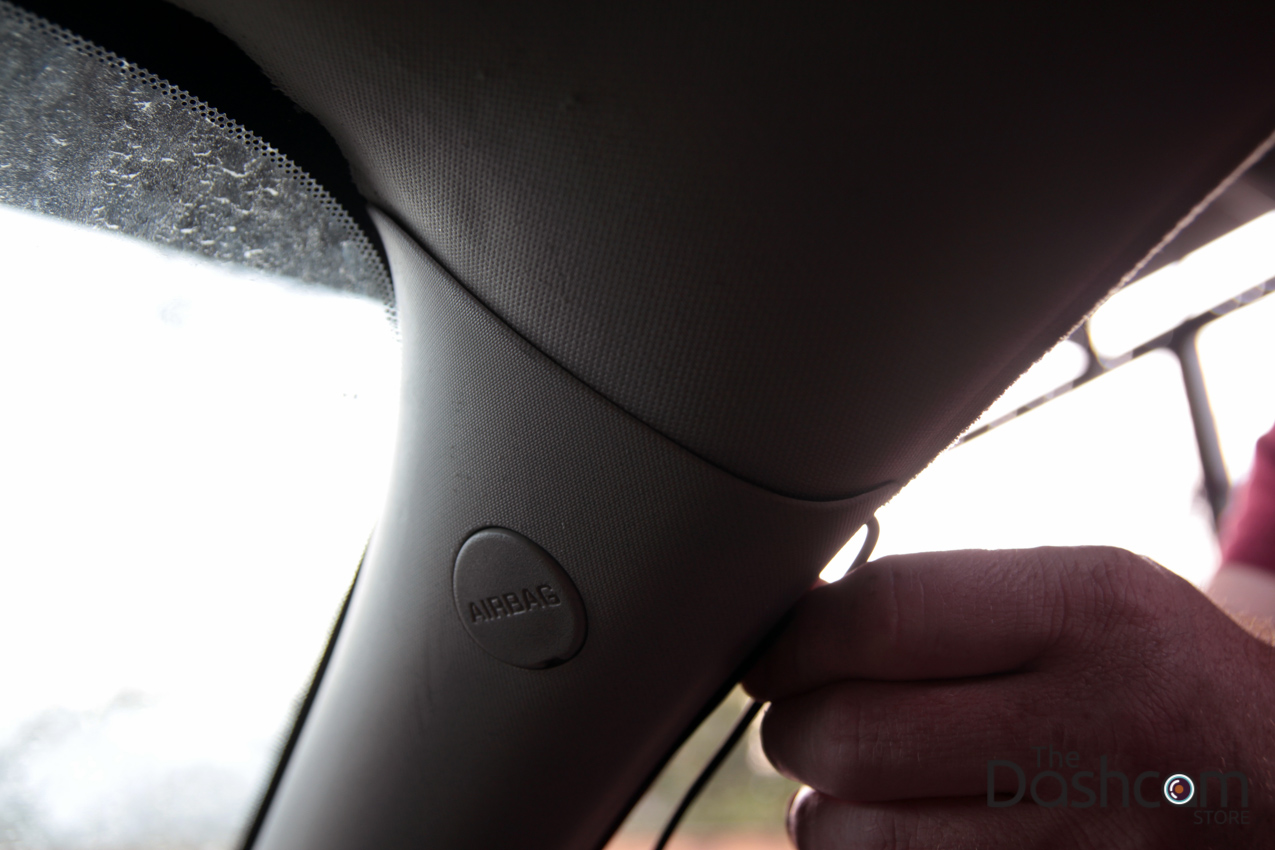
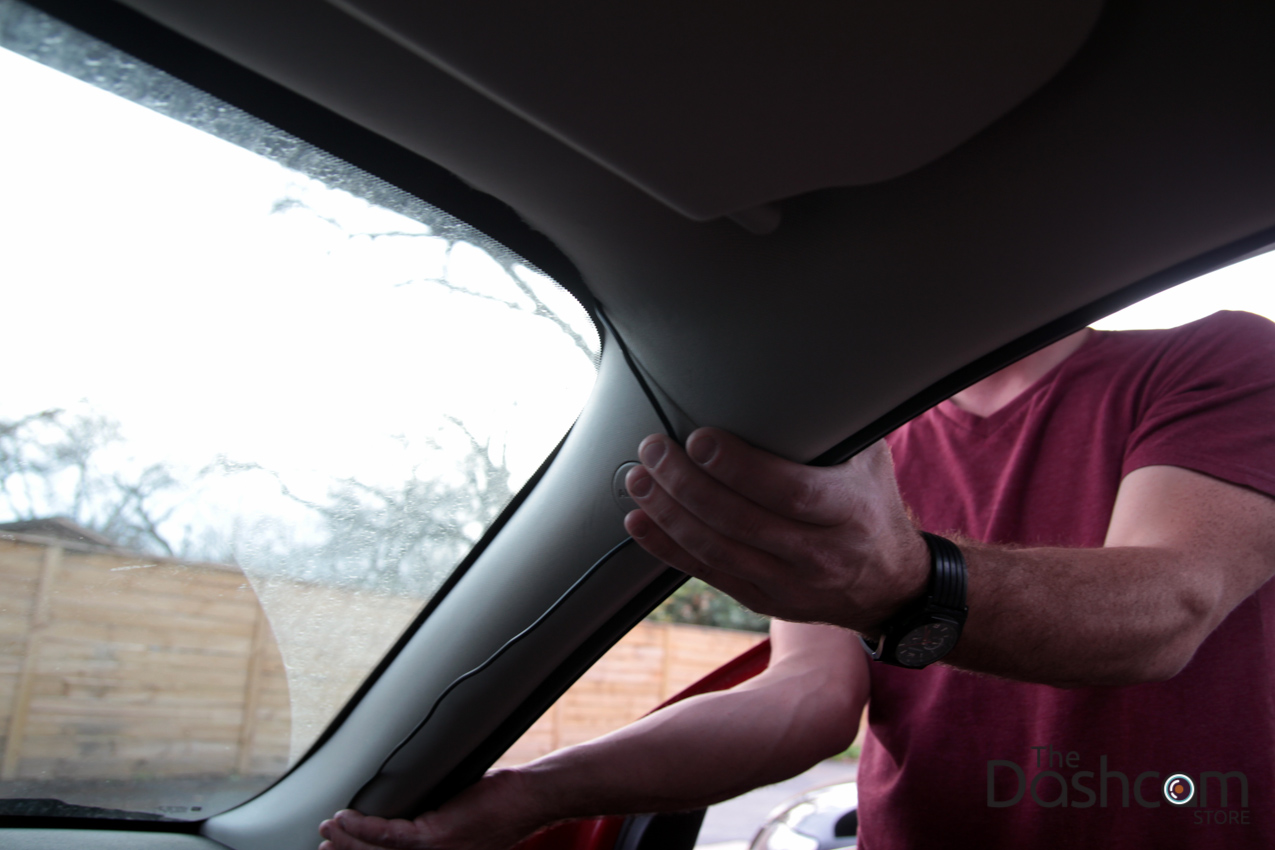
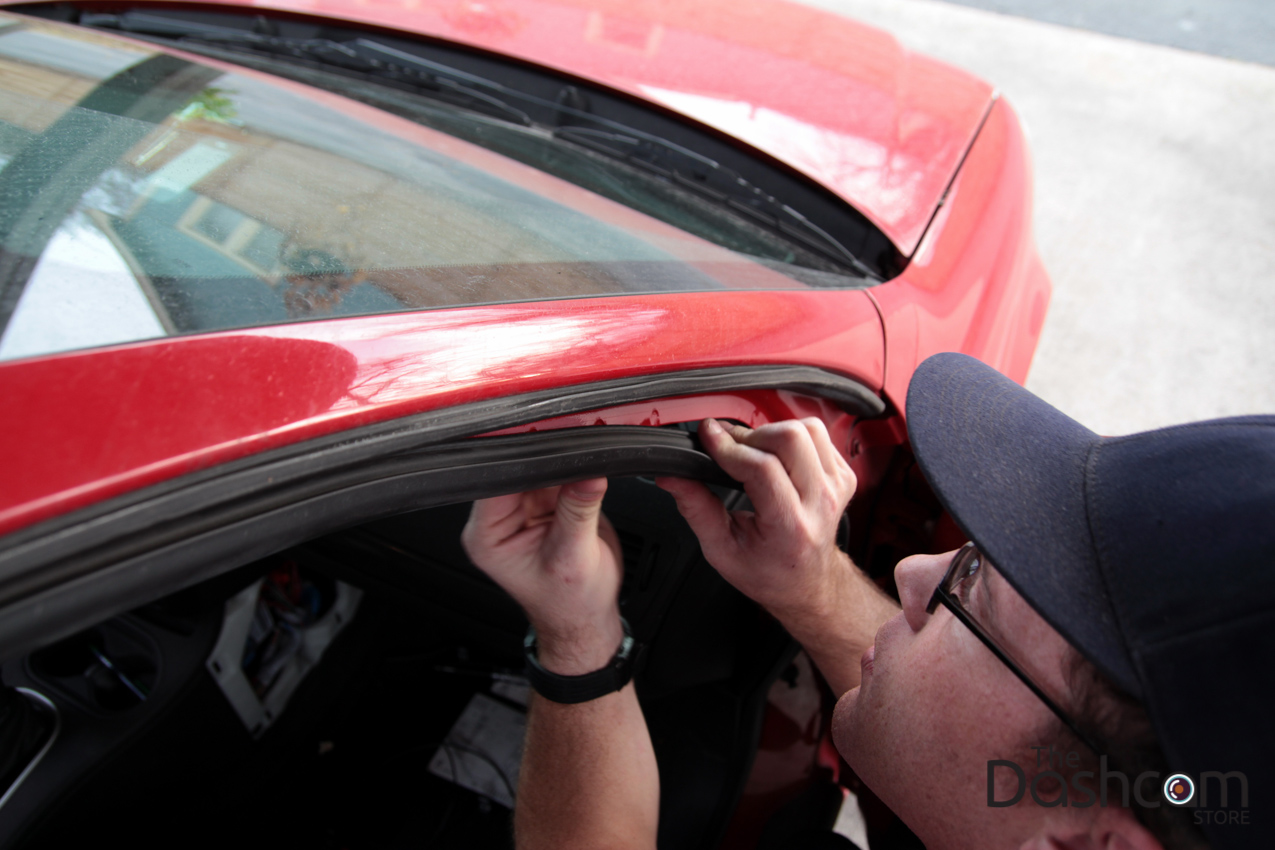
Gently tug on the A-pillar/body/door rubber trim, this exposes a gap between the A-pillar and the frame(body) which we run the wiring in, down towards the floor:
Tucking the rubber trim back in to place, being careful not to pinch the wire harness:
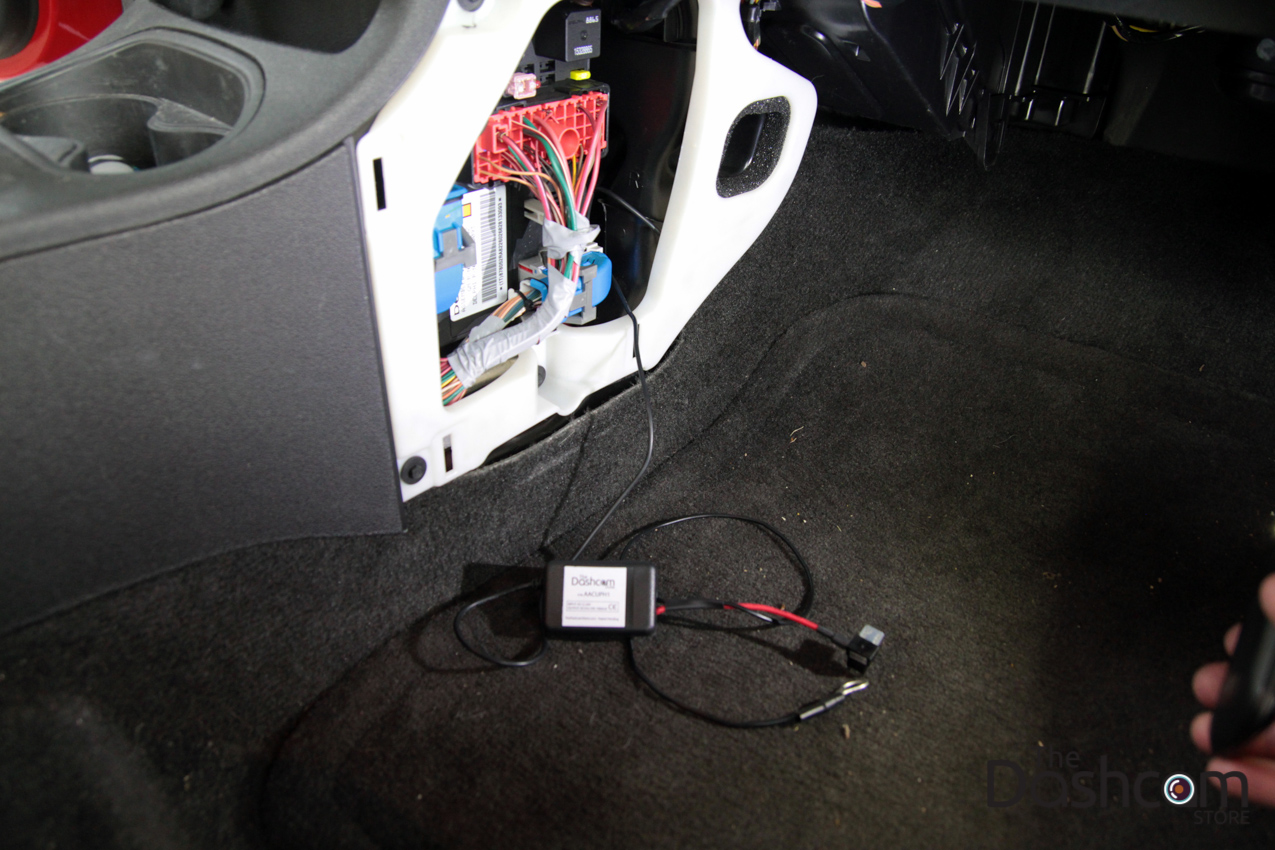
The installation kit is now run almost all the way to the fuse box, now we just need to secure it behind the carpet or under the dash:
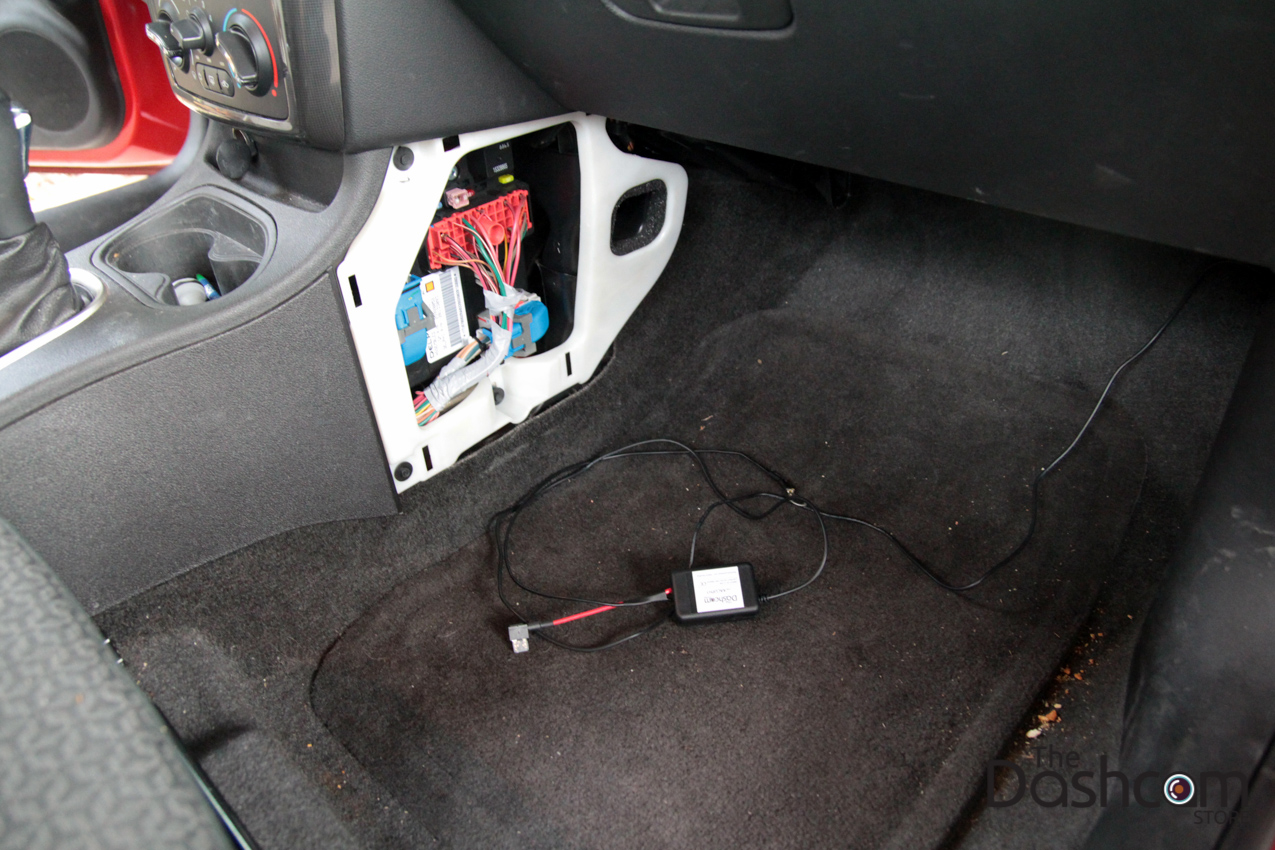
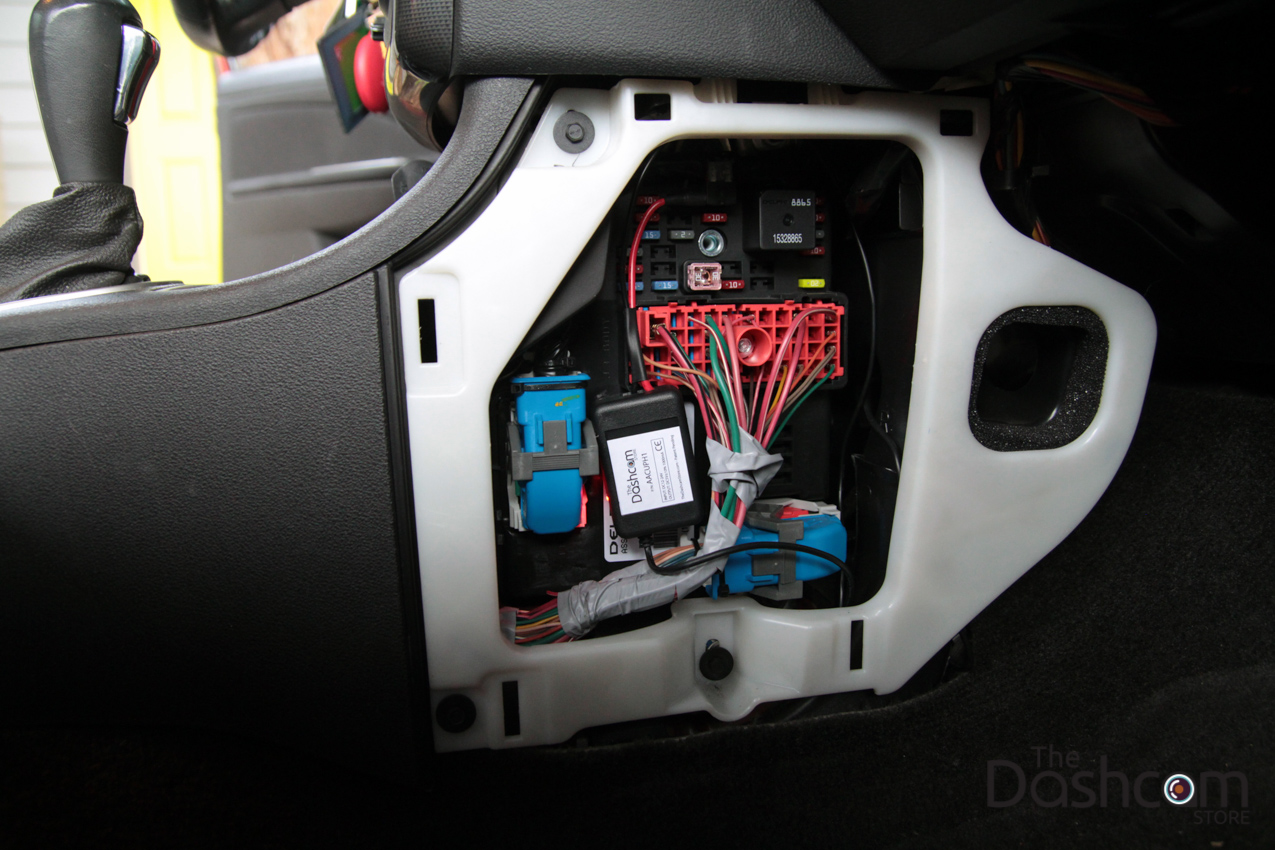
The installation kit has been tucked behind the carpet and is now in the vicinity of the fuse box:
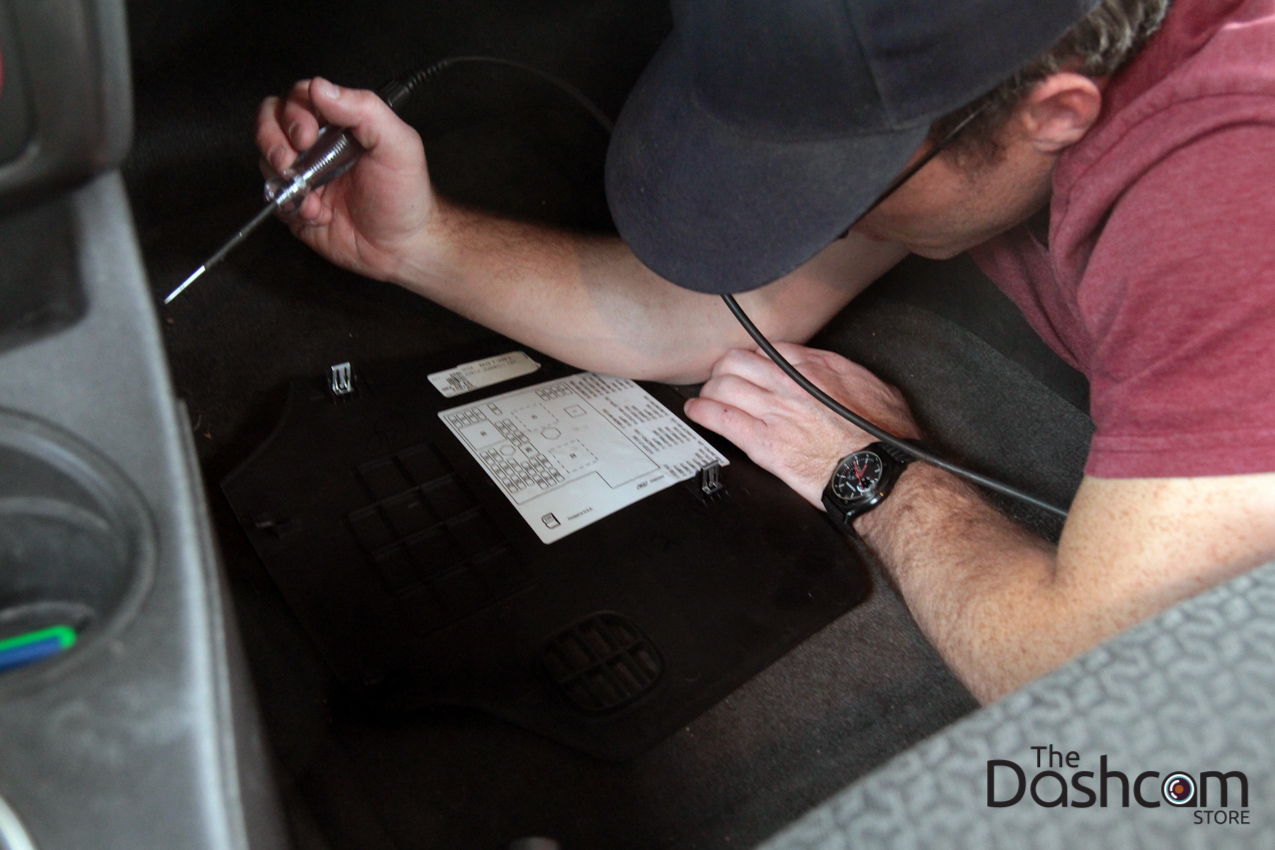
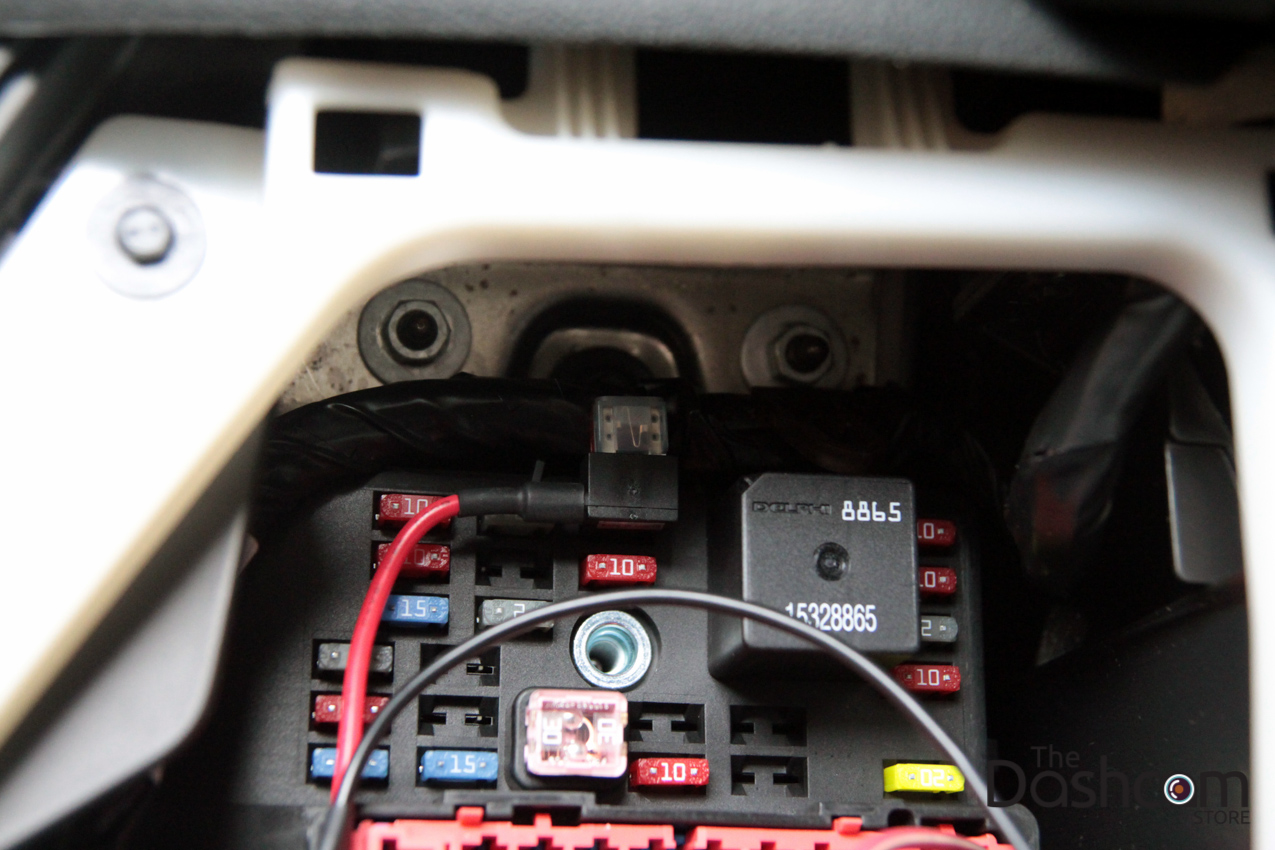
Reading the fuse chart to identify potential "hot in start" fuses
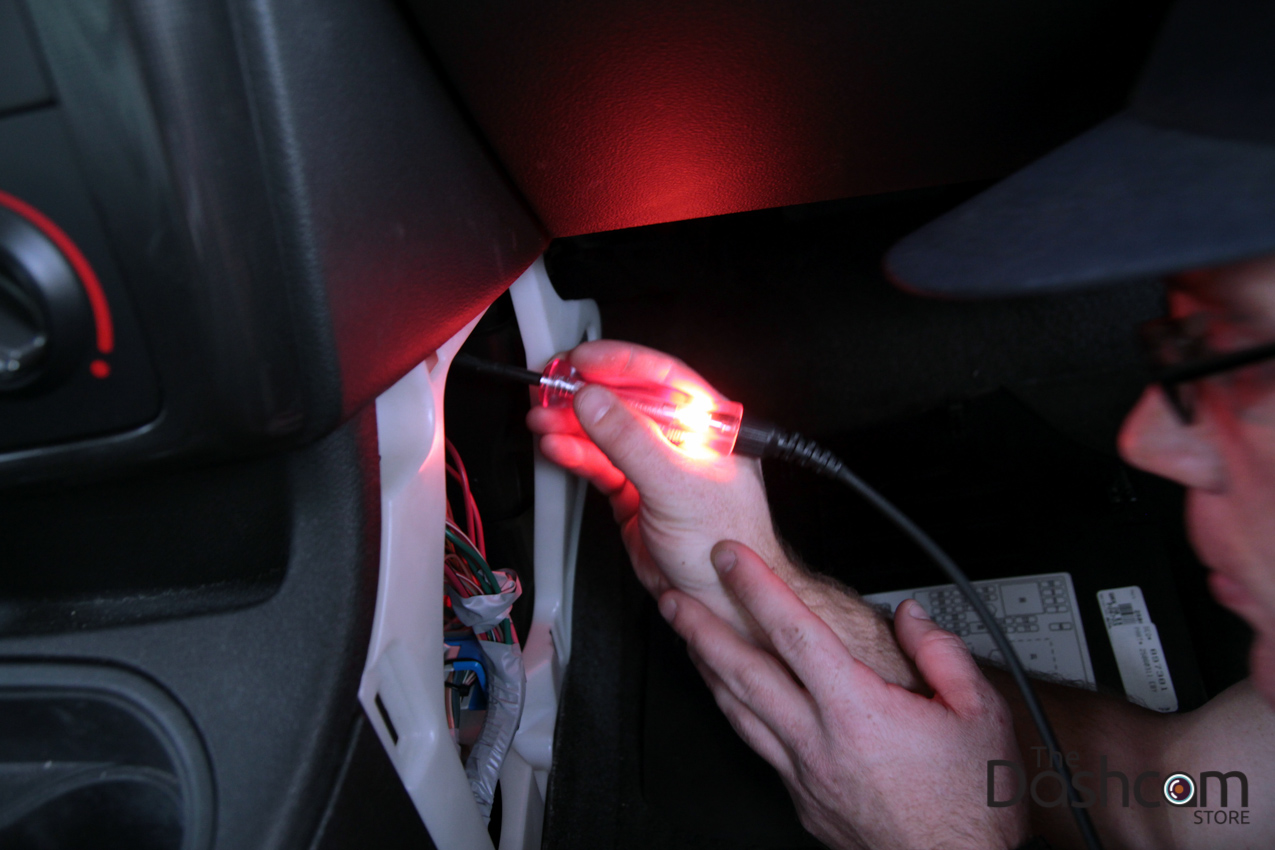
The fuse tester tells us we've found our fuse:
The hot-on-start fuse from the vehicle (10amp in this case) goes into the empty slot on the installation kit. The 2amp fuse is for the dashcam:
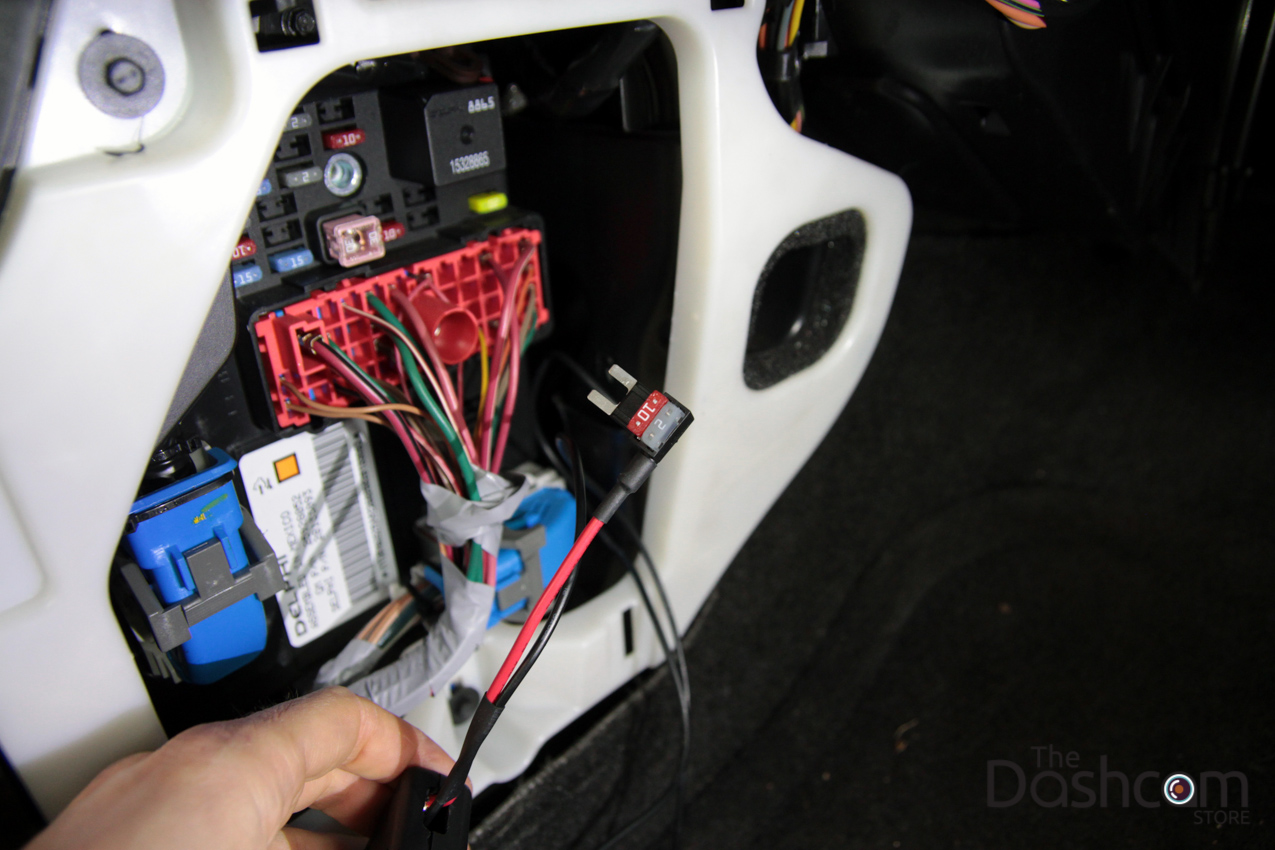
The installation kit now plugged in to the correct slot in the fuse box:
We found a metal ground point and checked our circuit. Note the LED on the installation kit is on:
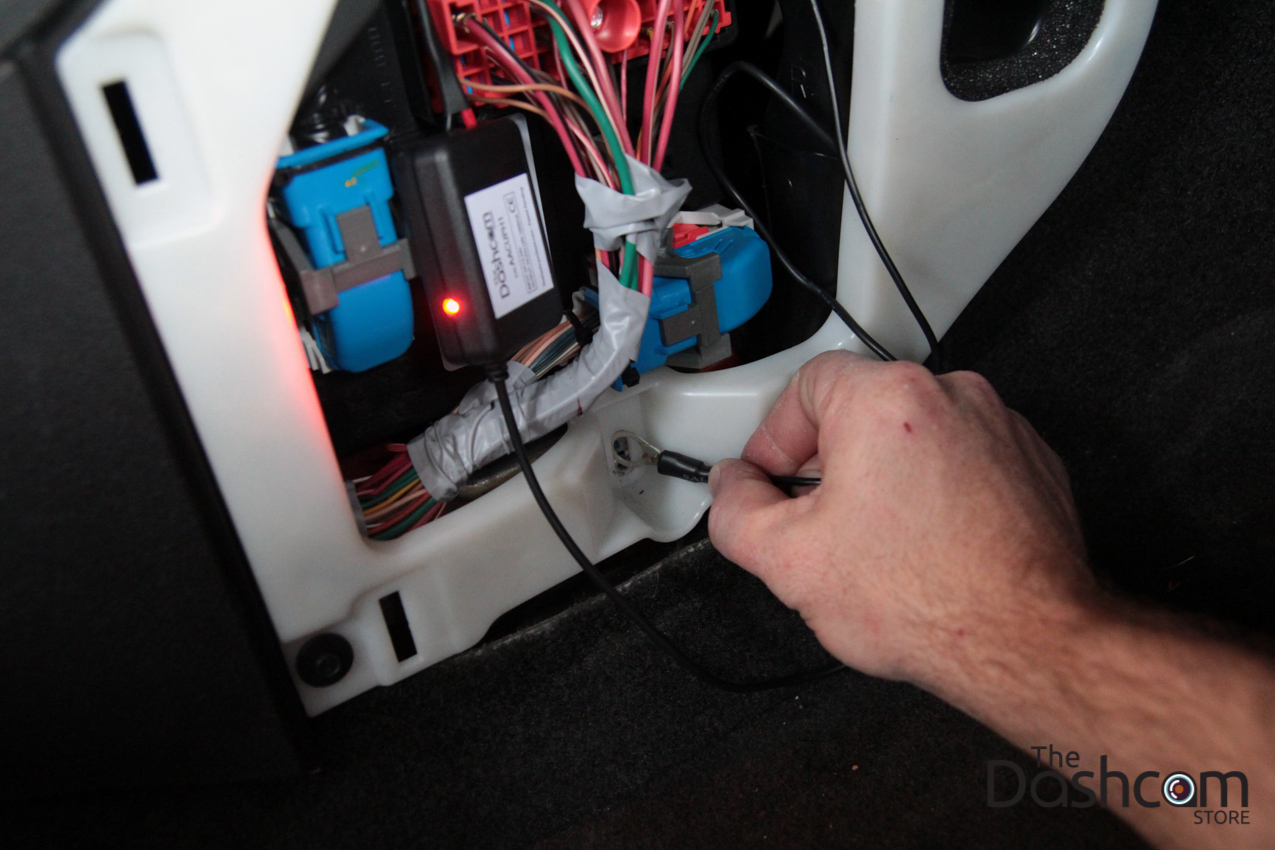
The installation kit ground lug has been grounded (on the metal of the body) and wiring tucked away securely using the provided zip ties. Simple!
Check we have power at the dashcam, done!
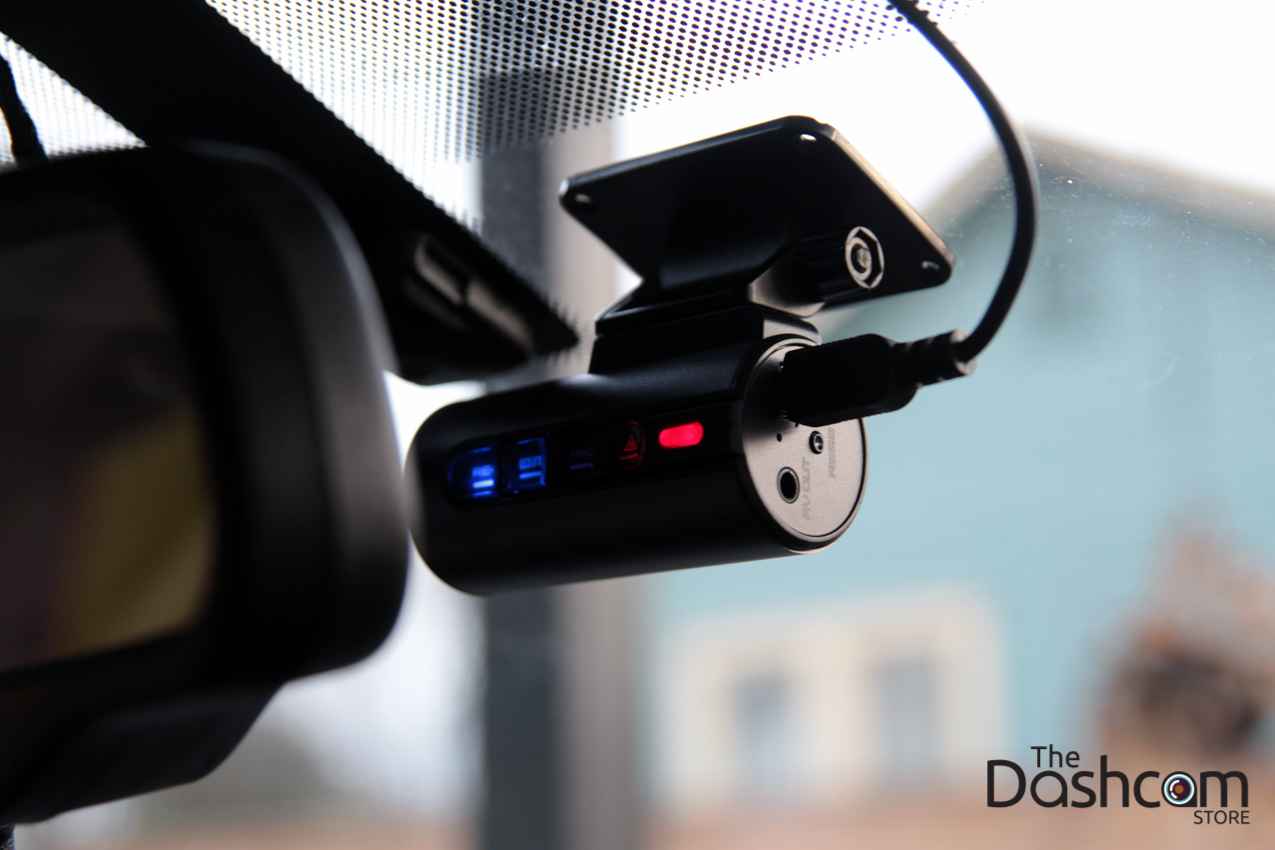
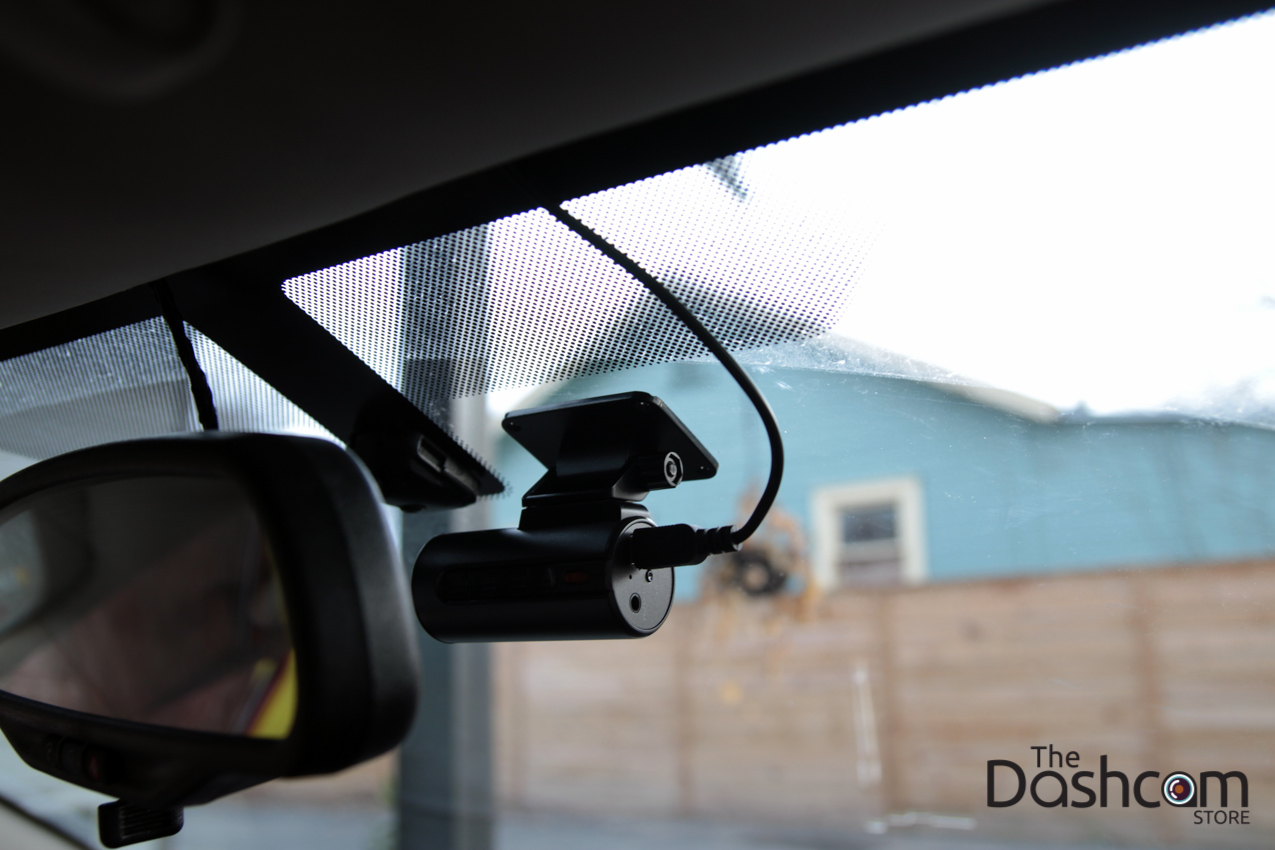
Mini300 fully installed, nice and clean:
Do you see the dashcam? Now this driver won't be distracted, and they can rest assured that they are protected from insurance fraud or other driving situations.
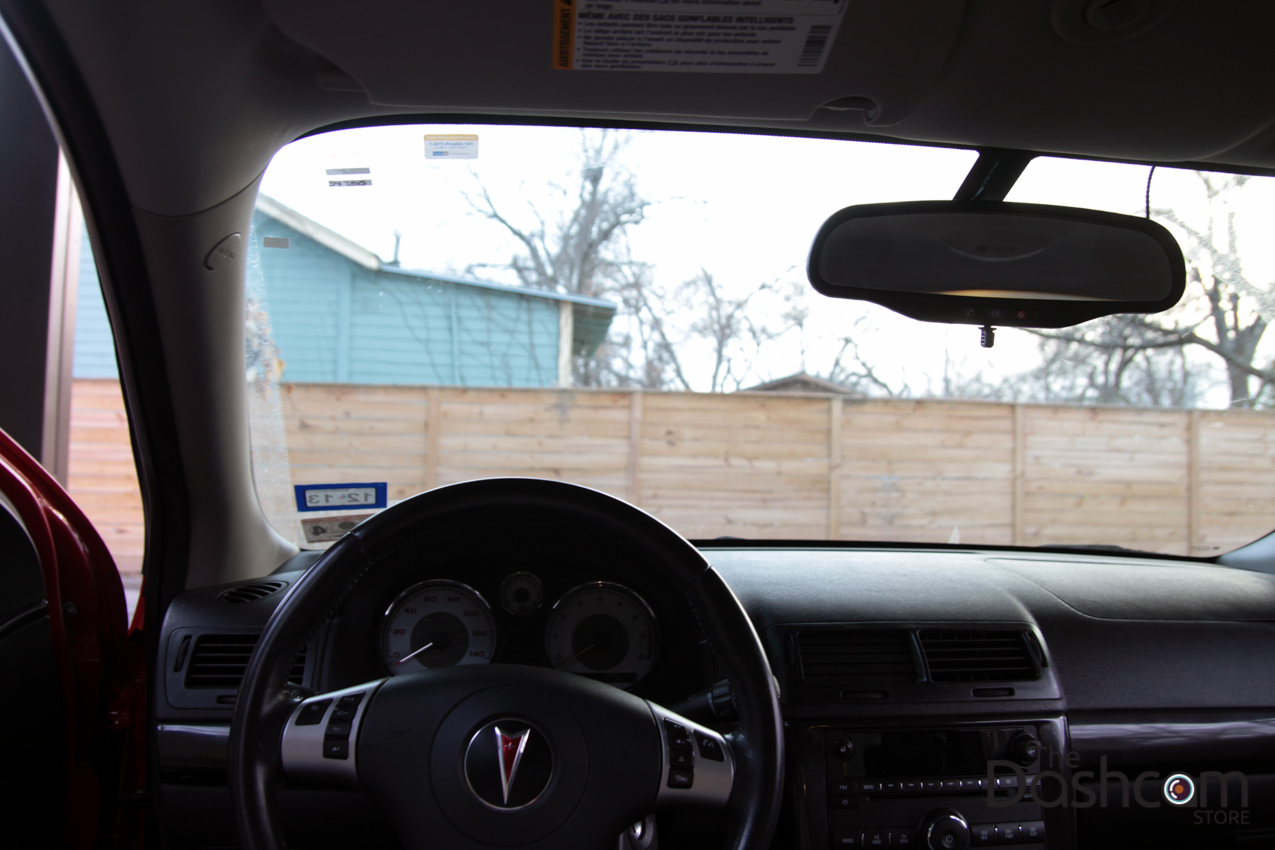
Exterior views of the Mini300, it's barely visible!


Drive safe!
To request additional support information, please use the contact form or e-mail us at support@thedashcamstore.com. We always give our best effort to respond to all requests within 24 hours.
Disclaimer
The The Dashcam Store™ Installation Instructions are proprietary to The Dashcam Store LLC. ("The Dashcam Store™") and no ownership rights are hereby transferred. No part of these Installation Instructions shall be used, reproduced, translated, converted, adapted, stored in a retrieval system, communicated or transmitted by any means, for any commercial purpose, including without limitation, sale, resale, license, rental or lease, without the prior express written consent of The Dashcam Store™.
The Dashcam Store™ does not make any representations, warranties or guarantees, express or implied, as to the accuracy or completeness of these installation instructions. Users must be aware that updates and amendments will be made from time to time to these installation instructions. It is the user's responsibility to determine whether there have been any such updates or amendments. Neither The Dashcam Store™ nor any of its directors, officers, employees or agents shall be liable in contract, tort or in any other manner whatsoever to any person for any loss, damage, injury, liability, cost or expense of any nature, including without limitation incidental, special, direct or consequential damages arising out of or in connection with the use of these installation instructions.