

You Got A Dashcam... Now What?
Posted by The Dashcam Store on Jan 06, 2017
Updated December 26, 2017

You’ve exchanged your gifts, eaten all of your leftovers, and you’ve hauled the Christmas tree out to the front of your driveway. The holidays are officially over. Did you get a dashcam as a gift this year? Did the initial excitement after unwrapping your dashcam Christmas morning wear off and now you’re left feeling… overwhelmed? We totally get it. We want to help you get acquainted with your new dashcam so you can enjoy the gift of safety!
Follow these steps, and you’ll be recording in no time.
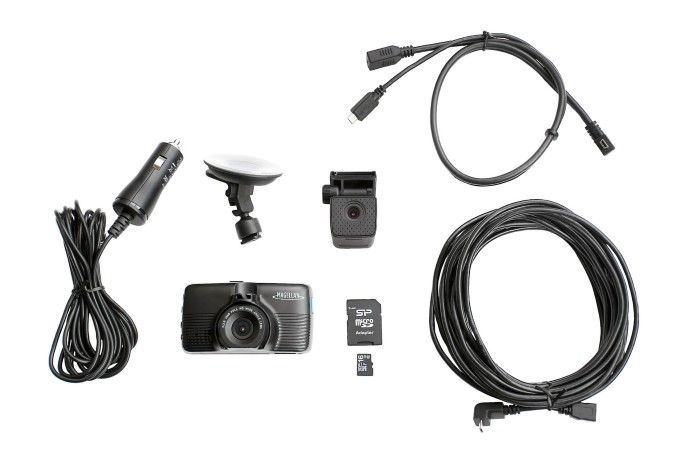
Familiarize Yourself with Everything in the Box.
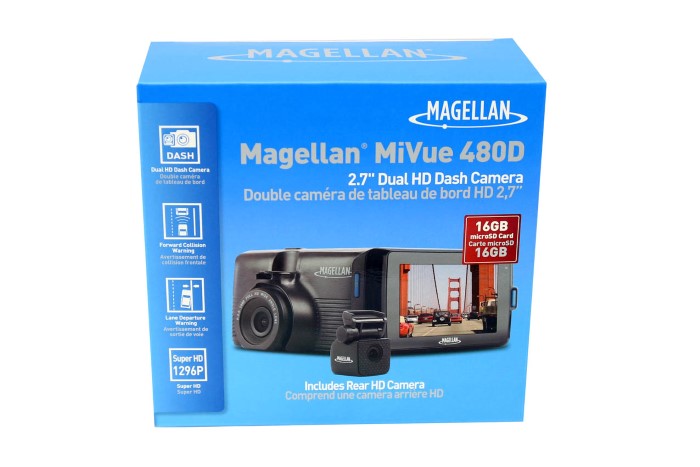
Alright, there’s a dashcam in there, but what is everything else? Open up the box and see what you’re working with. Each dashcam model will be different, but in general there will be a few essential tools included in the box to help get your dashcam up and running, like a power cord, a mount for your windshield, and most importantly, a user guide or manual. A memory card may or may not be included inside the box, or it could already be installed in the memory card slot, so look carefully. Keep in mind some dashcams do not include a memory card at all, but you will still need one to use the dashcam.
Grab some glass cleaner and paper towels to get ready for the next step.
Bring Everything Out to Your Car and Power on Your Dashcam.
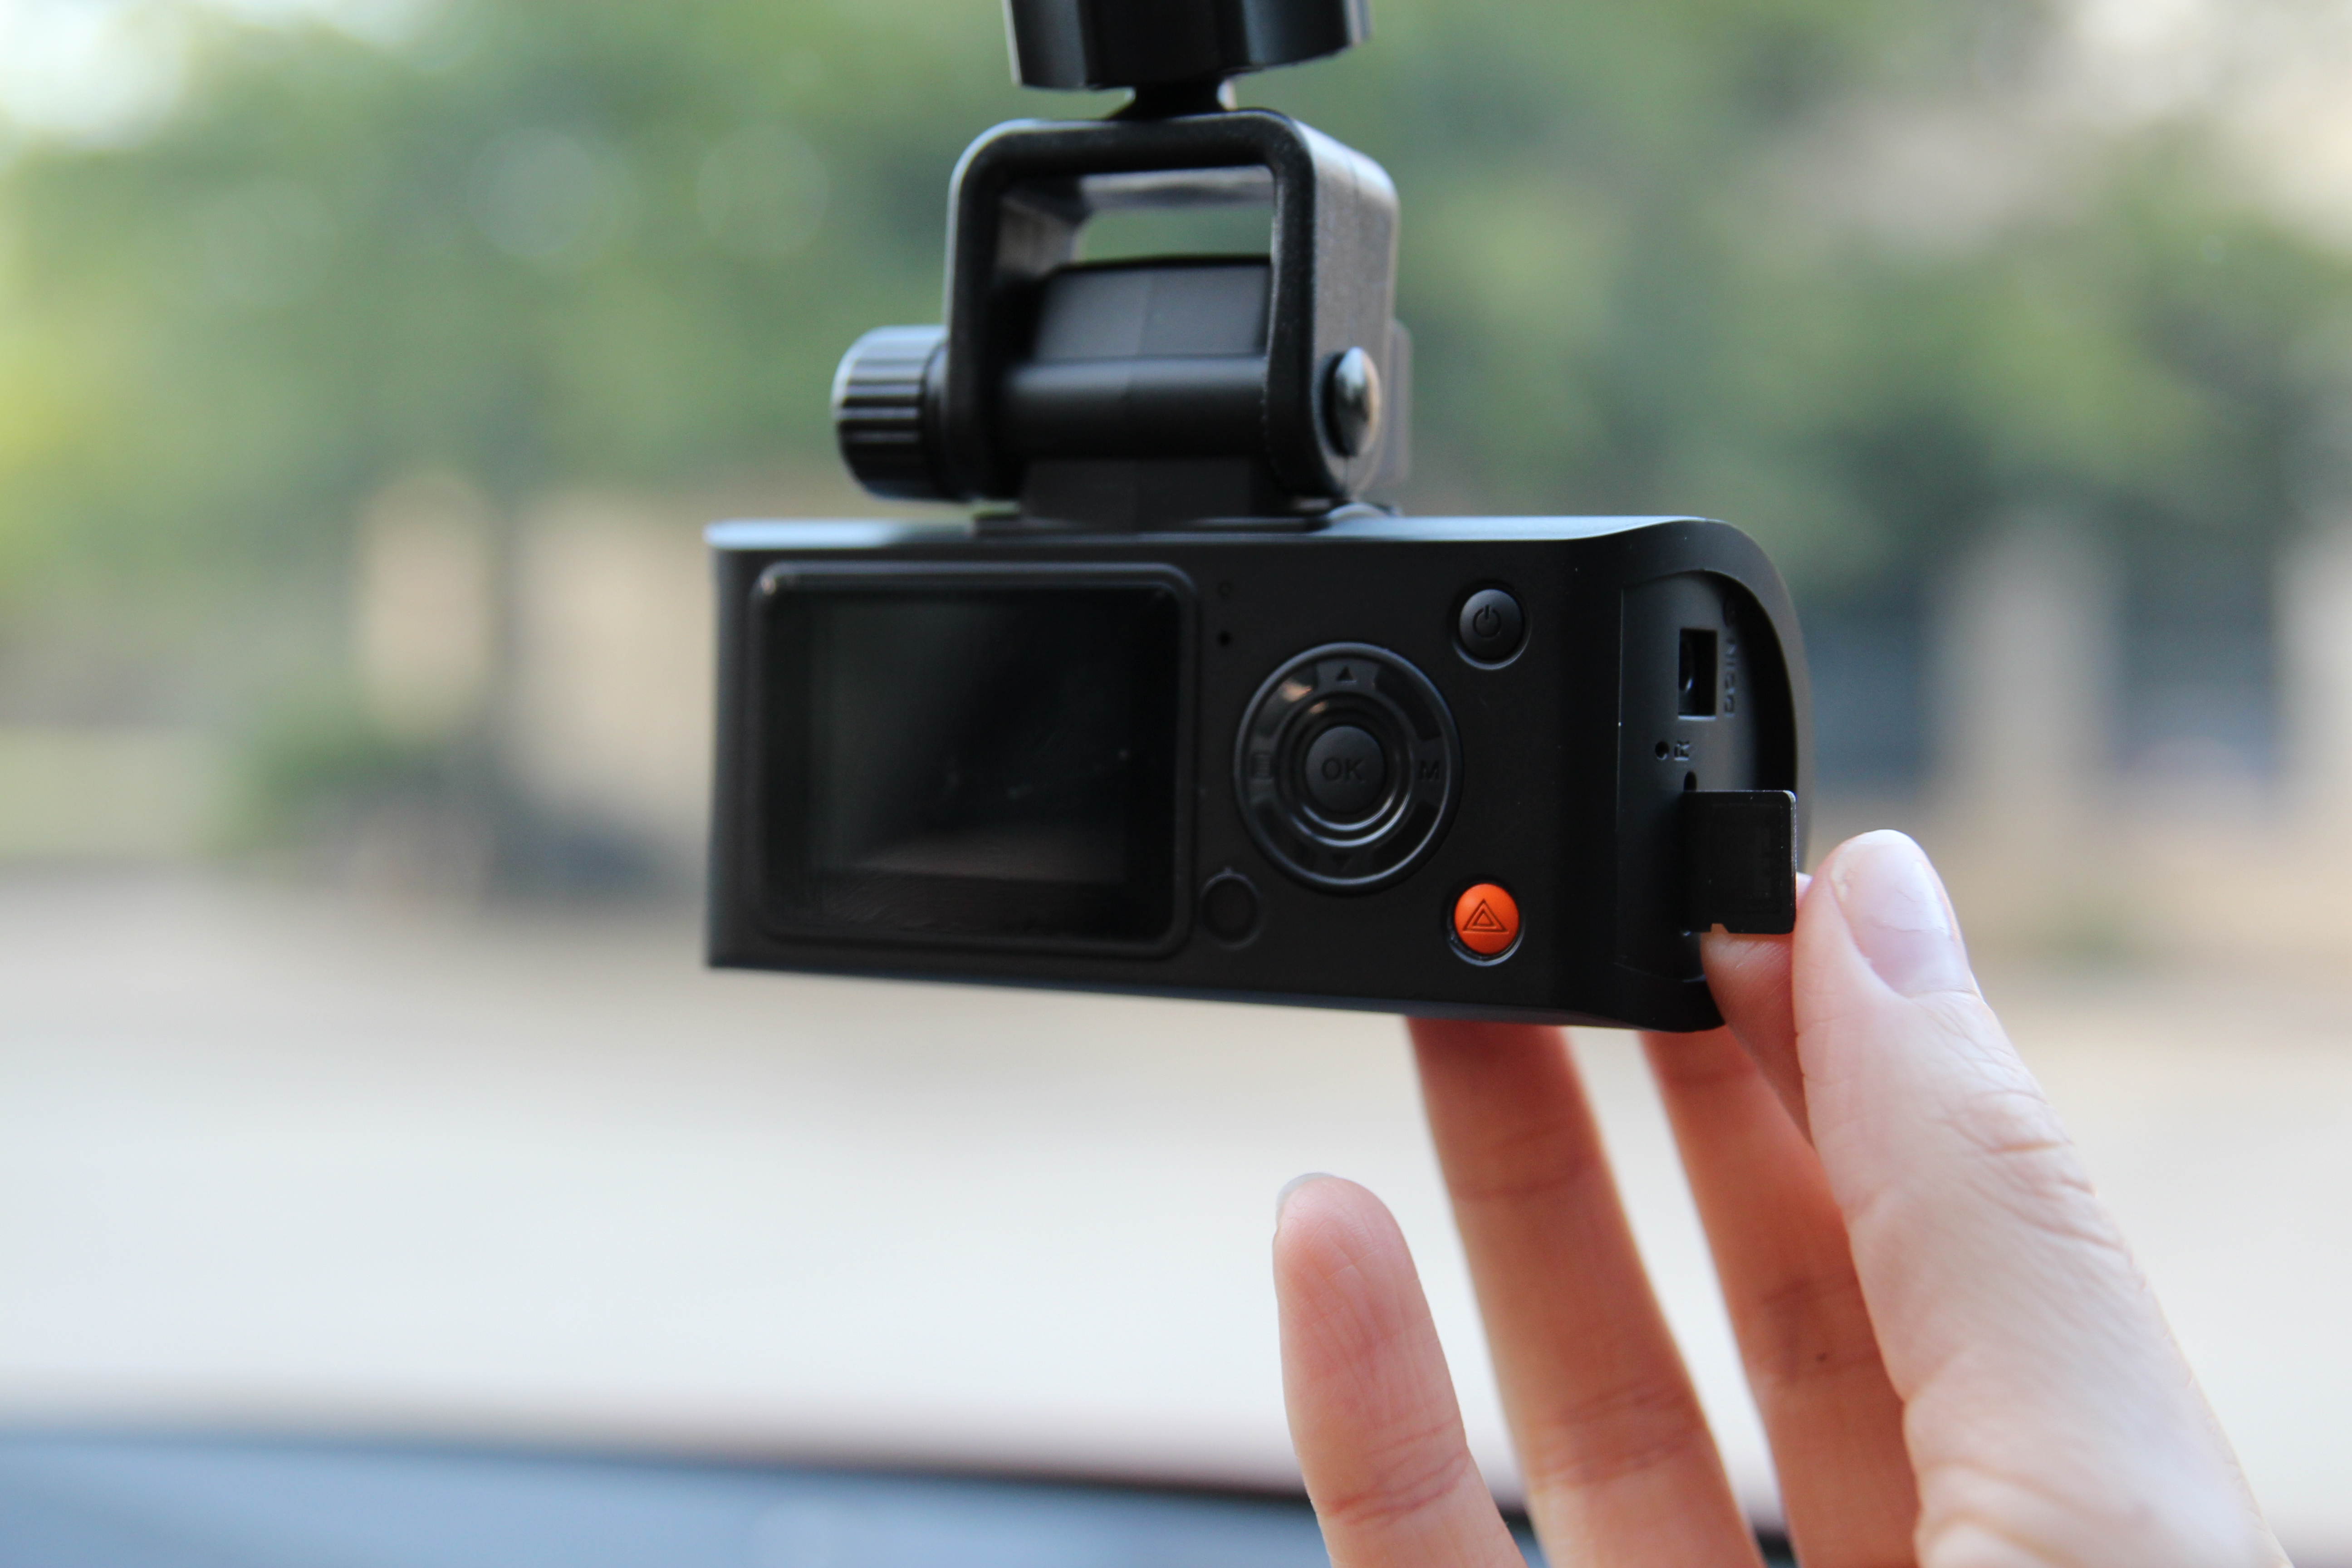
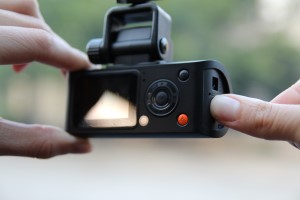
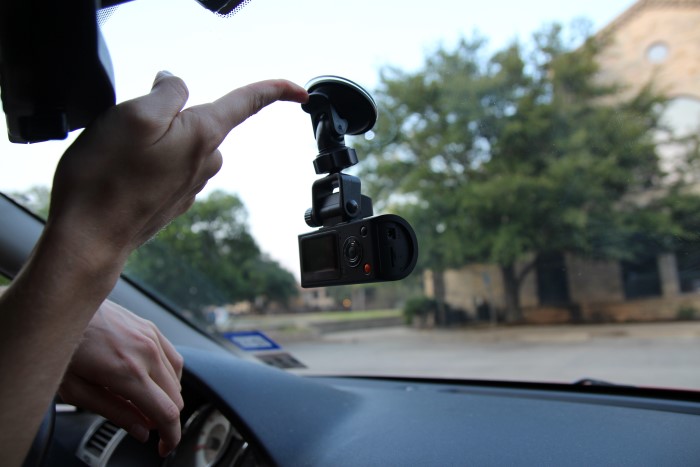
Before you worry about mounting your dashcam to your windshield, we recommend holding it in your hands and familiarizing yourself with your new dashcam. It’s more comfortable that way.
Now that you’ve brought your dashcam box out to your car, here’s what you need to do:
- If you haven’t already, take off any plastic on the camera screen or on the camera lens.
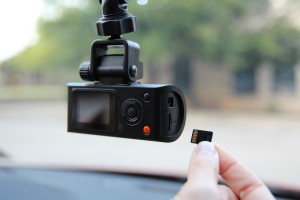
- Check and see if your memory card is already loaded in your dashcam. If it’s not, now’s the time to practice!
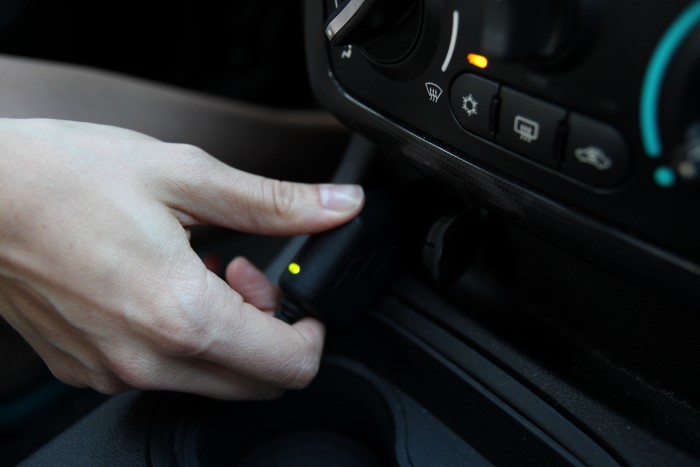
- Turn your car on.
- Connect your dashcam to the power cord, and plug the power outlet into your cigarette lighter.
That’s it! While you’re safely in park, get to know the features of your dashcam. If you’re a kinetic learner and you prefer to test out the buttons for yourself, go for it. If you’re a visual learner and you’d like to read about the features of your dashcam, you’ll have your user manual at the ready.
Update Your Preferences.
We recommend that you update your preferences before you stick your dashcam on your windshield so your arm doesn’t get tired (and you don’t get frustrated) reaching over to your dashcam. Update the current time or the time zone, the date, select miles per hour or kilometers per hour (if you got a dashcam with GPS), decide if you want to record audio and video or just record video, select the notifications that you want and need, and more. Now is the time to play around with your settings, not when you’re driving down the highway.
Get Your Dashcam on your Windshield.
This is the part that you’ve been dreading, isn’t it? If your dashcam comes with a suction cup mount, there’s no need to stress; you can easily move the suction cup mount as many times as it takes to get it right. If your dashcam comes with an adhesive pad, we recommend a bit more planning before you commit to the placement on your windshield (but if all else fails, you can always buy more).
Step 1: Clean your Windshield. Really.
To ensure that your suction cup or your adhesive pad is secured to your windshield, clean your windshield (glass cleaner or rubbing alcohol both work) and dry your windshield thoroughly. You’ll regret skipping this step when your wet adhesive pad falls off your windshield.
Step 2: Decide on Your Dashcam's Positioning.
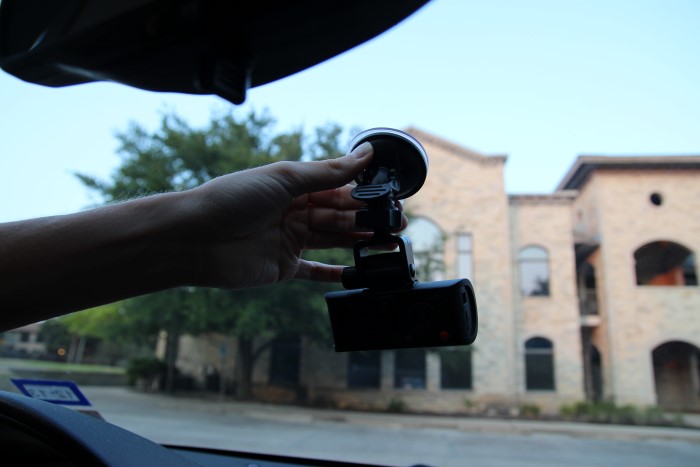
This step may be less frustrating if you can convince someone to give you a hand. While you sit in your driver’s seat, hold up the dashcam to your windshield to test out different placement options. If you have a helping hand, practice looking forward with both hands on your steering wheel and practice reaching for the dashcam. Here are our three recommendations for how to find the best place to mount your dashcam to your windshield:
- Don’t mount the dashcam in a spot that obstructs your view out of your windshield.
- Stick your dashcam in a place that will record the road in front of you.
- Place the dashcam within arm’s reach while you are sitting in the driver’s seat.
More often than not, right behind your rear view mirror will be a good spot that is within arm’s reach, doesn’t obstruct your view, and can capture the road ahead of you.
Step 3: Secure Your Dashcam to Your Windshield.
When your windshield is completely dry, it’s time to secure your dashcam to your windshield with the suction cup mount or with the adhesive pad.
If you have an adhesive pad:
- Measure twice and stick once!
- If the adhesive pad isn’t already attached to the mount, take the tape off one side of the adhesive pad and stick it to the mount. Be sure not to touch the exposed adhesive with your fingers.
- Take the plastic off the other side of the adhesive pad and press the mount firmly to your windshield.
- We recommend pressing the mount to the windshield for 15-30 seconds to ensure that the adhesive is secured to the windshield.
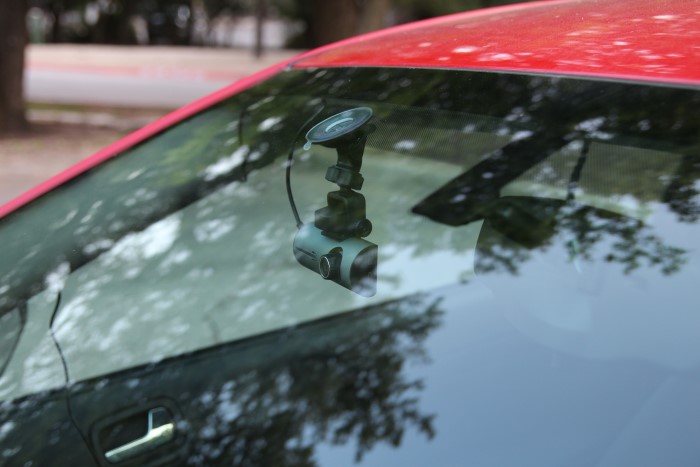
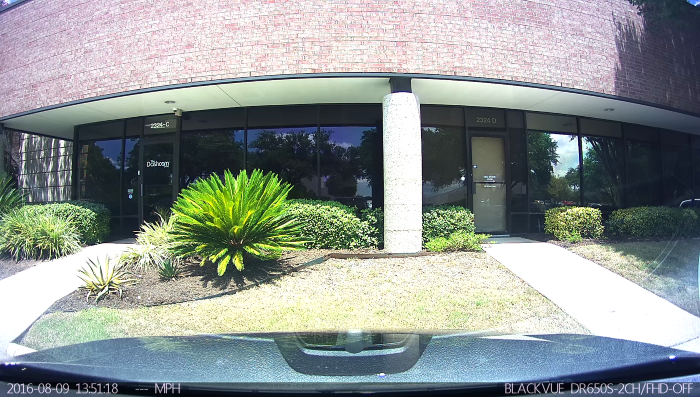
Now that your mount is on your windshield and your dashcam is in the mount, rotate your dashcam to make sure that your camera is recording what you need it to record: the road in front of you! This will be easy to do if your dashcam has a display screen. If your dashcam does not have a display screen, you may be able to view your dashcam's live video stream on your smartphone with your dashcam’s app, or wait until you record some sample footage to the memory card. It may look strange to you at first, but we recommend that you keep your dashcam at an angle that includes the hood of your car at the bottom of your recording, like this:
Give it a Test Drive!
Before you head to work or set off on a long road trip, try going for a quick drive around the block or in your neighborhood. This will give you some material to work with for the next step.
Practice Viewing Your Video Footage.
Depending on your specific dashcam, you may want to leave your dashcam mounted on your windshield and just take out the memory card and carry it back inside with you, or you may want to take the whole dashcam with you and plug it in to your computer with the USB cord that came with your dashcam.
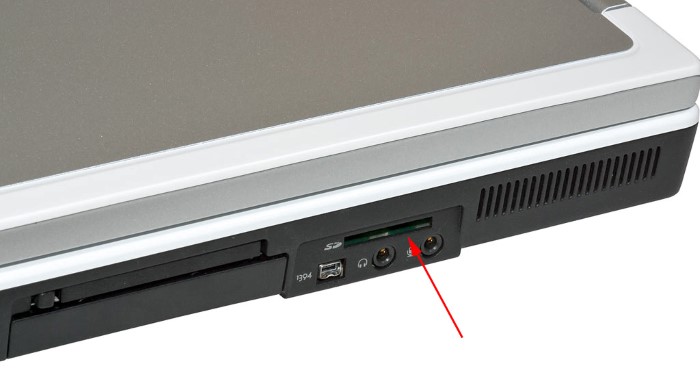
Either insert your memory card into your computer on its own, use a card reader to insert your memory card into your computer, or connect your dashcam to your computer with a USB cord.
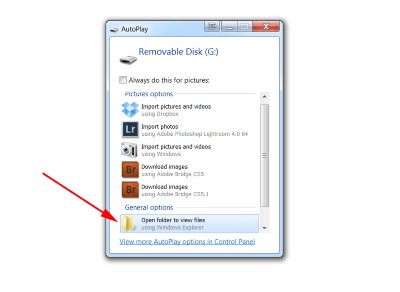
Follow your computer’s prompts, locate and open your dashcam’s folder to view your video files, and watch your first video footage!

Are you happy with the recording? If you’re not happy with it, now’s the time to go back and tilt your dashcam up, down, left, or right.
You did it! Do you have all of the tools that you need?
Your camera is up on your windshield and can now record your driving, you’ve practiced locating and watching your video footage on your computer, and you’re happy with the position of your dashcam!
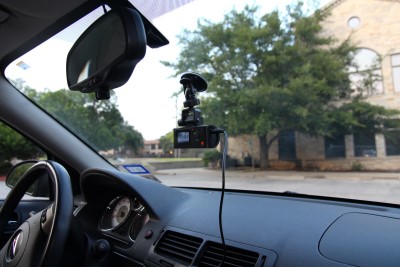
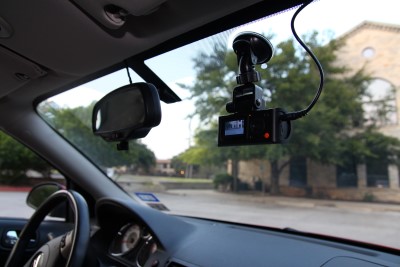
Now that you’ve gone through the whole process from start to finish, are you missing any tools or accessories to make your life easier? Did you have any issues inserting your memory card into your computer? You may need a card reader. Want to reduce reflections and glare from the windshield to maximize your video quality? Check out our polarizing filters. Do you think that hanging wire from your dashcam to your cigarette lighter outlet is going to bother you or obstruct your view while you drive? If so, get yourself a dashcam installation kit. Here is what your dashcam would look like before and after the installation kit:
Keep Your Manual Close By.
Although you’re up and running, we recommend that you keep the physical dashcam user manual someplace close so you can refer to it in the future. Your glove box may be a good spot to keep it. If you ever lose your manual, you can view a digital file when you plug your memory card into your computer, or you can always head to our website to view, download, or print a PDF version of your dashcam user’s manual.
Share Your New Dashcam Footage with Us!
From here on out, you can rest assured that you’re driving with the dashcam defense. You can record everything that happens while you drive, from car accident close calls to double rainbows.
When you capture something interesting with your dashcam, keep us in mind! We love seeing dashcam footage and sharing it with our dashcam community. So much, in fact, that we’ll pay you for your original dashcam footage! Check out our Dashcam Video Bounty Program page to learn more.

How do you feel now? Ready to hit the open road and put that dashcam to use? We hope so! If there’s still a road block holding you back from using your dashcam, let us know in the comments below, and as always, drive safe!