
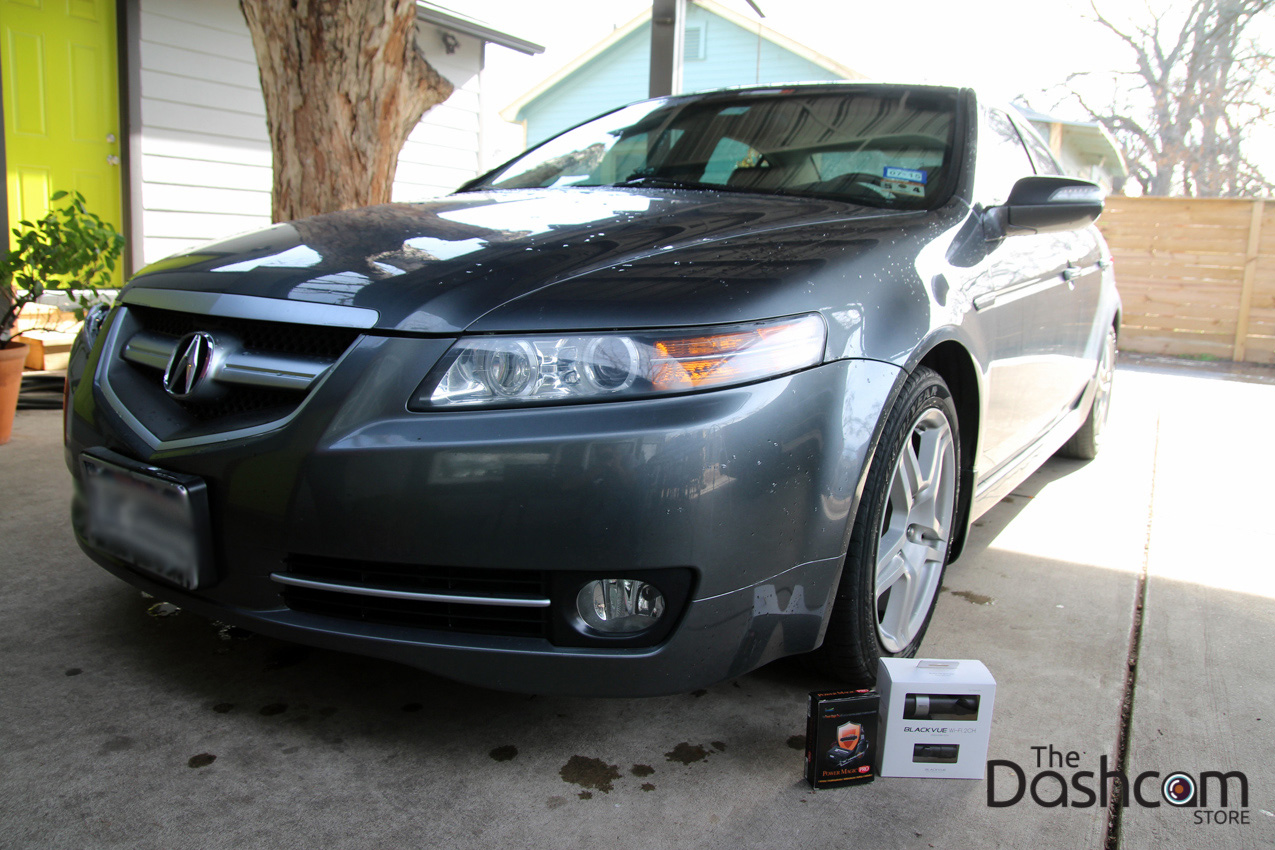
In this gallery, we perform a deluxe installation our dual-lens, full HD BlackVue DR550GW-2CH and Power Magic Pro in a customer's 2008 Acura TL. Click on any image to view a larger version. Thanks Buck!
NOTE: this type of installation should be performed by a qualified individual or business only. Working with your vehicle's power system can be dangerous to both you and your vehicle if you do not know what you are doing! If you have any doubts, please consult a professional.
To view our instructions for performing an installation such as this, please view our advanced dashcam installation how-to.
Unfortunately, this customer's motivation for purchasing a dashcam comes *after* having a small incident in a parking lot where the other driver denied being at fault. Dashcam footage would have proved our client was not at fault! Next time they will have undeniable proof...
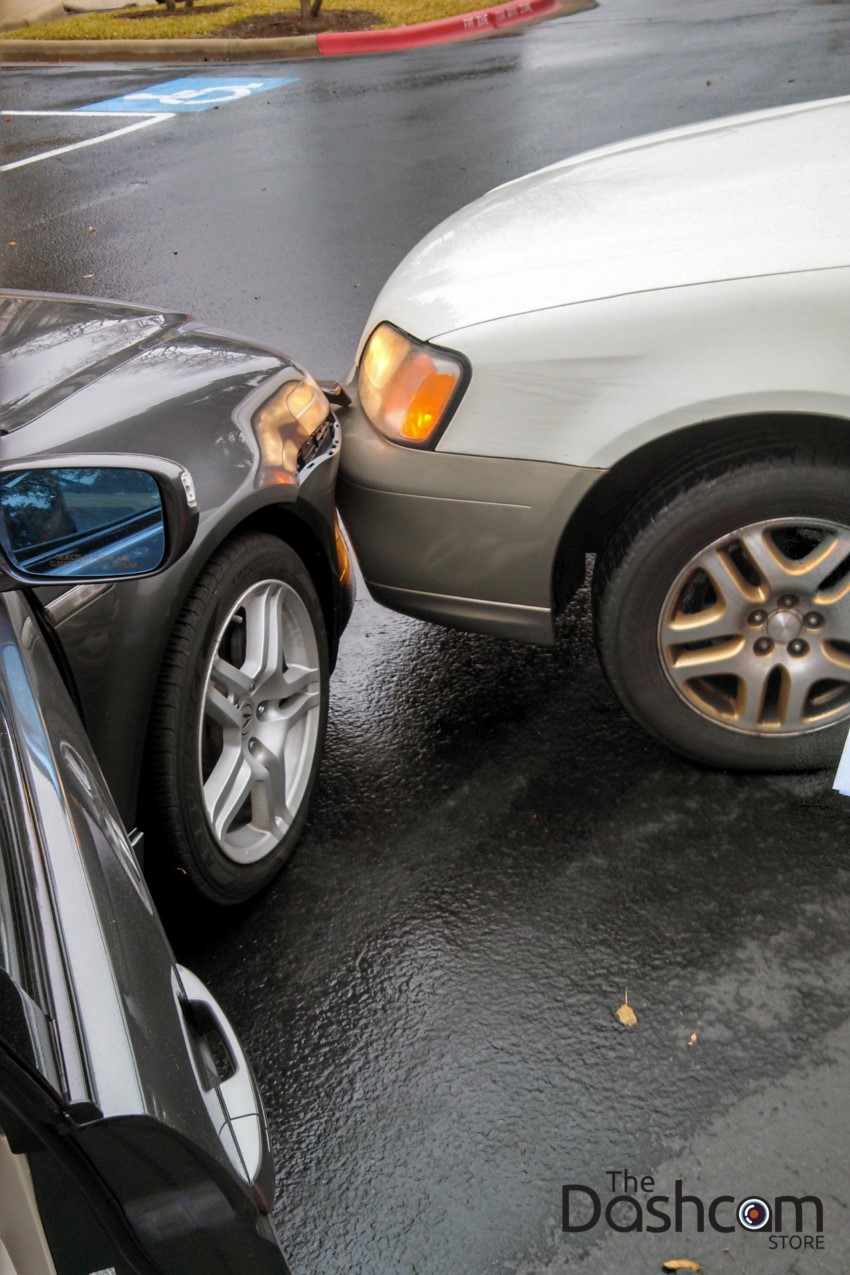
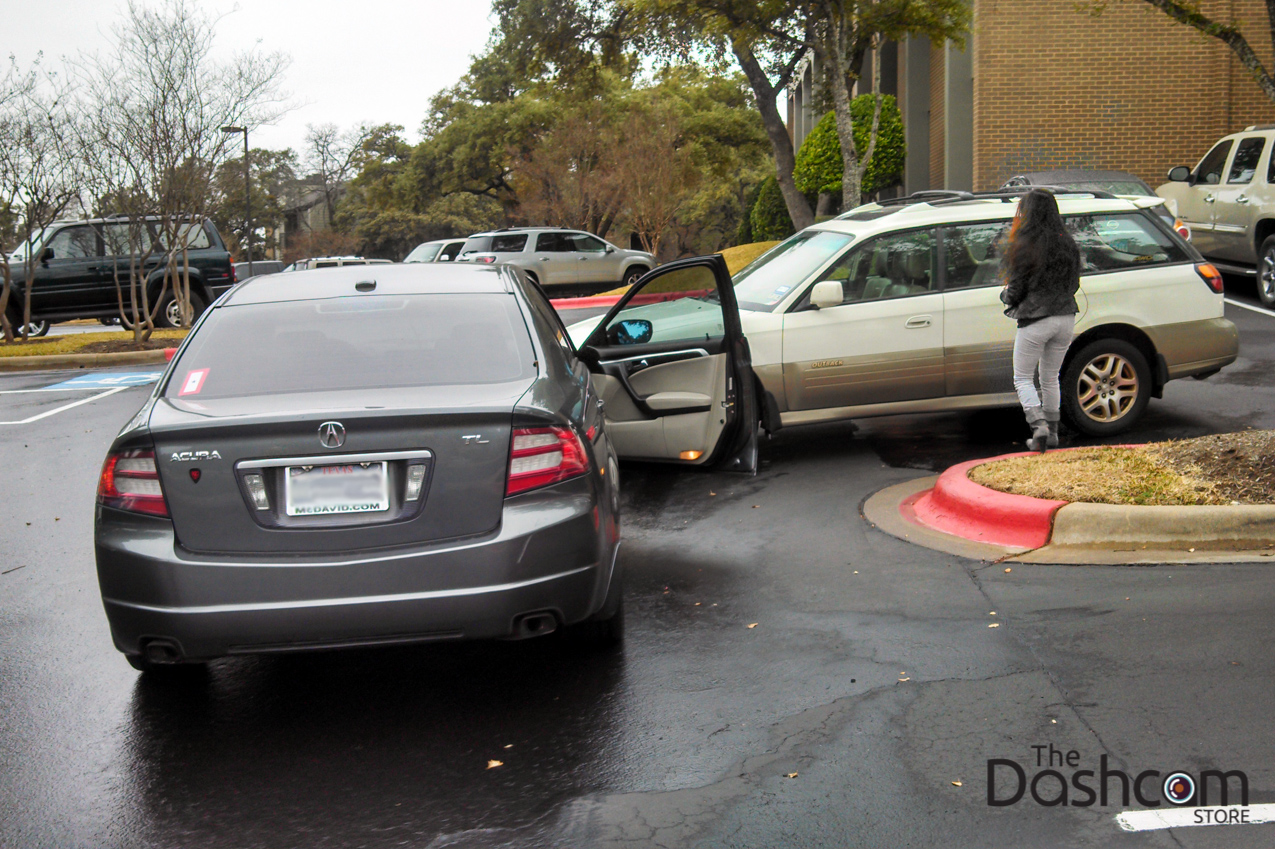
The damage caused by an inattentive driver:

The solution: dashcam! On with the install...
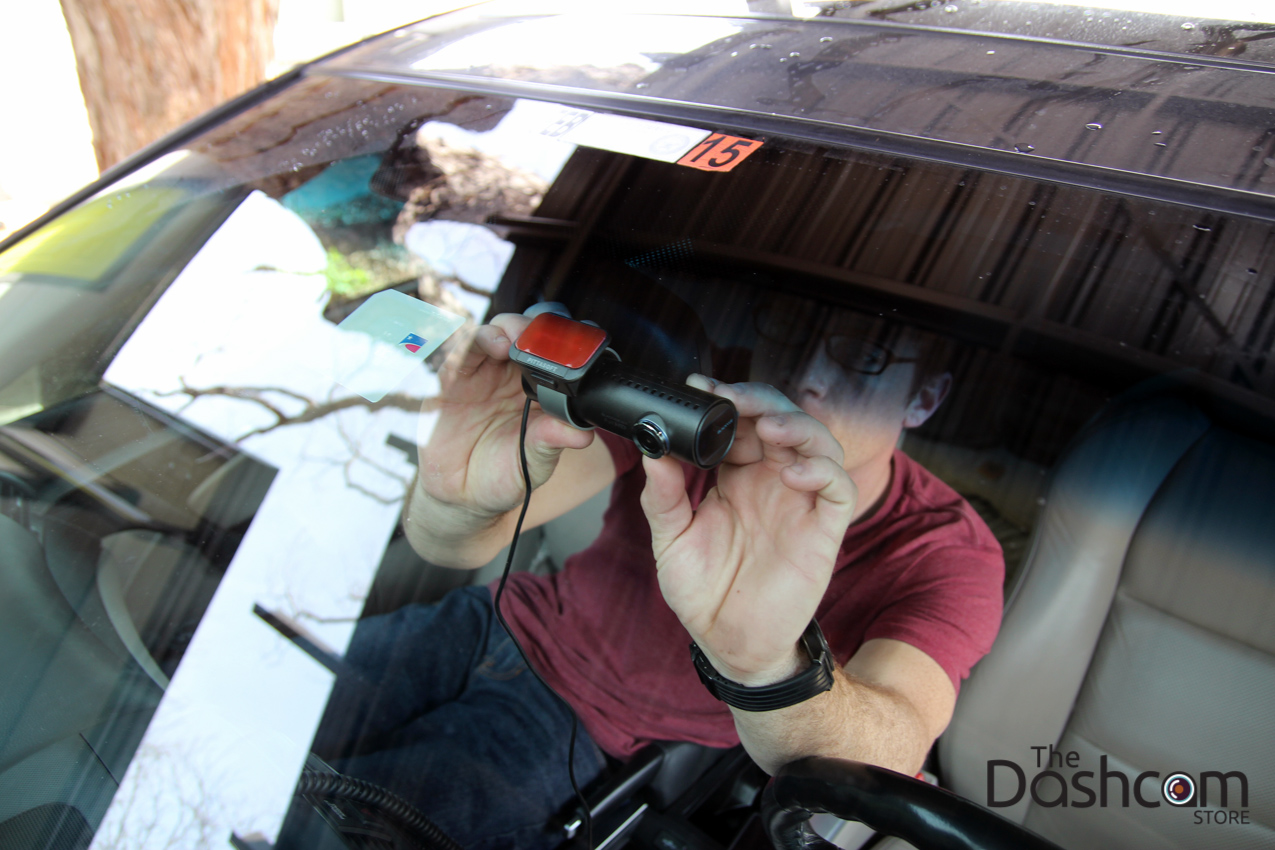
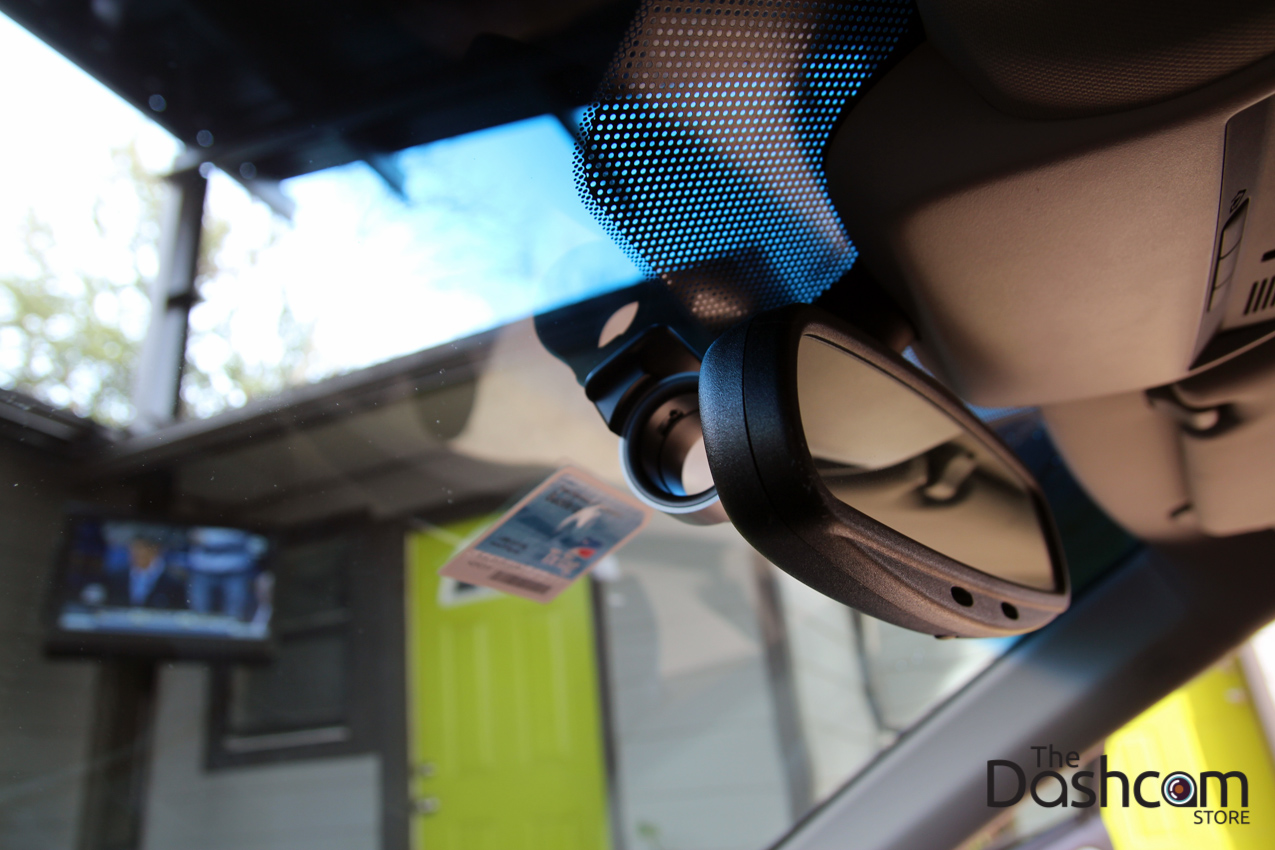
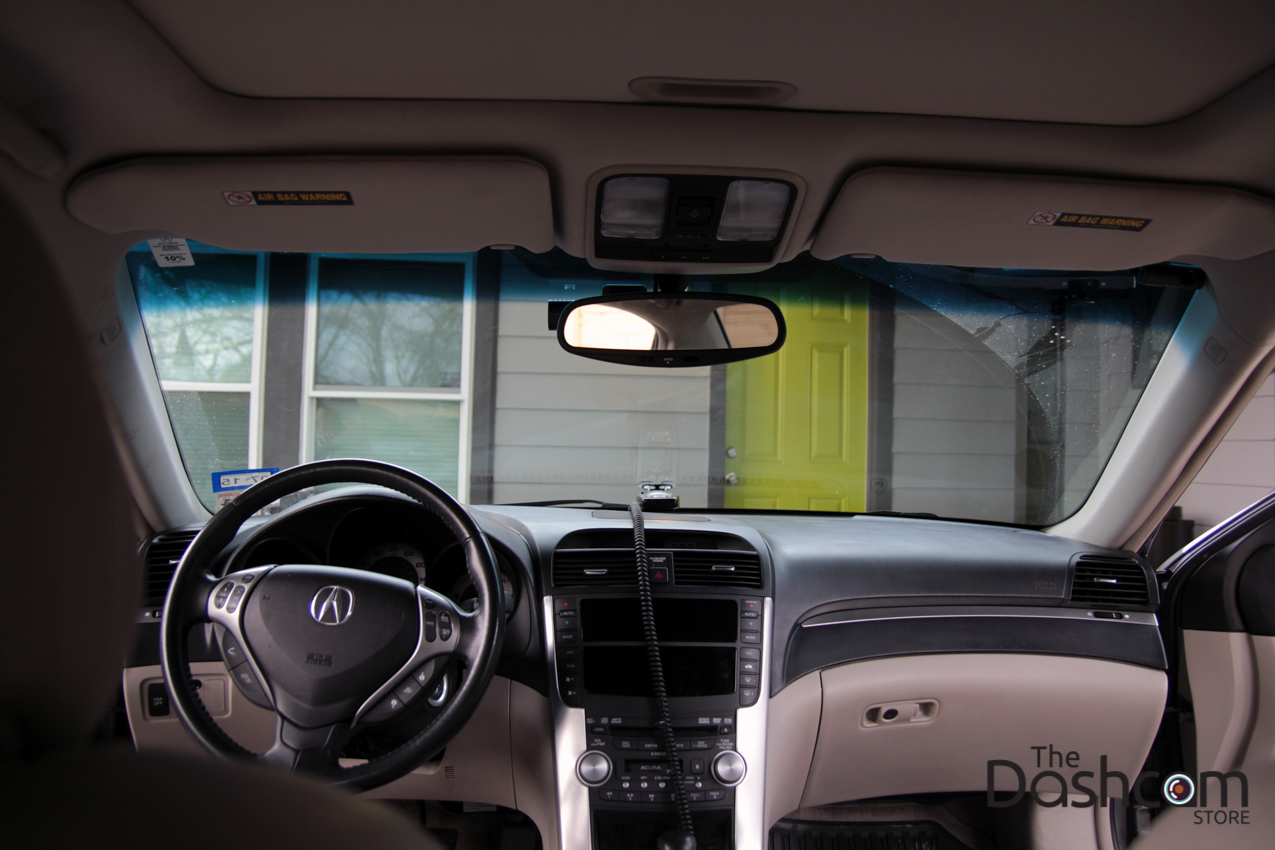
Checking placement of the main camera unit behind the rear-view mirror.
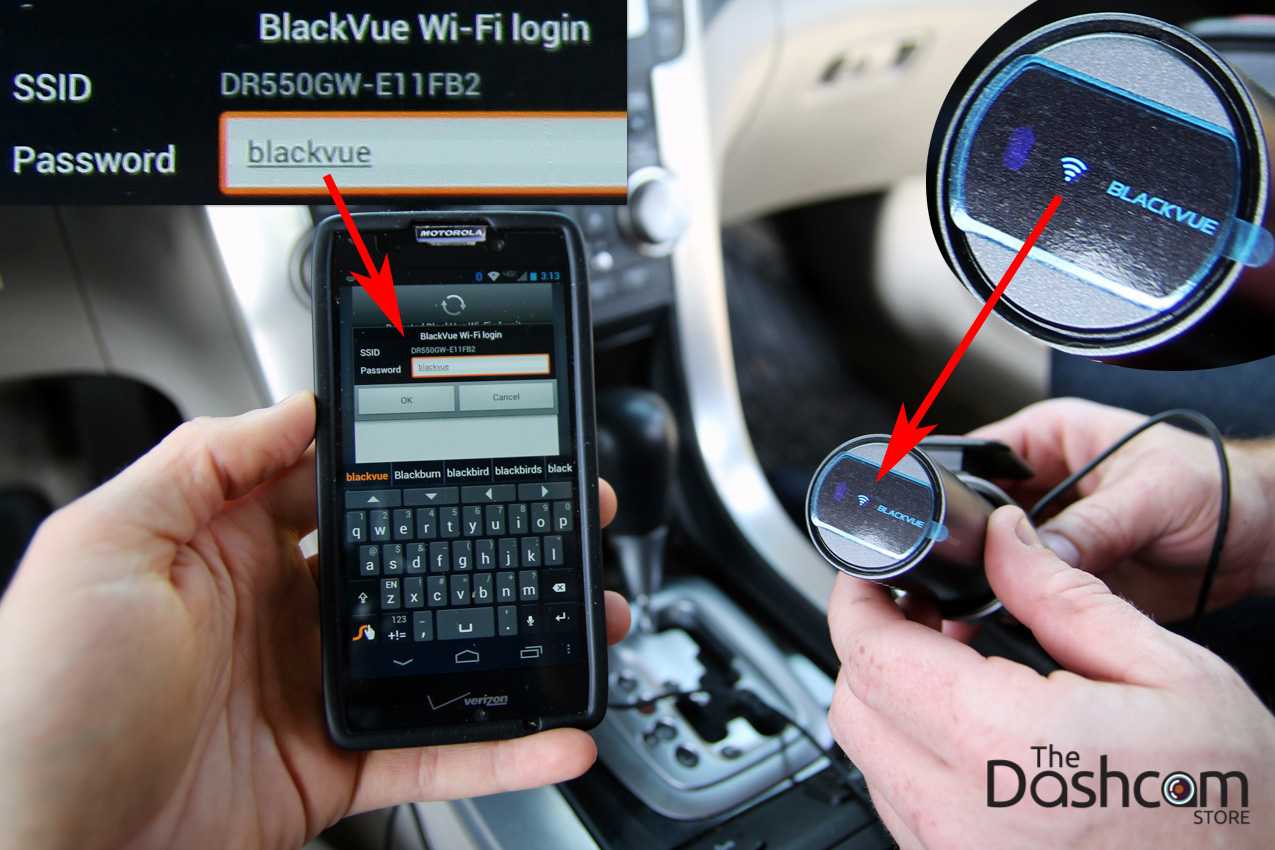
Pairing the customer's Android phone with the DR550GW-2CH for the first time. For the time being, we plug the new dashcam in to the vehicle's cigarette lighter power outlet. Once the unit is powered on, push the "WiFi" button on the right side of the BlackVue unit, and wait for the WiFi icon to light up and stay solid. The default password is: blackvue
The BlackVue App can be downloaded here for Android or here for iPhone.
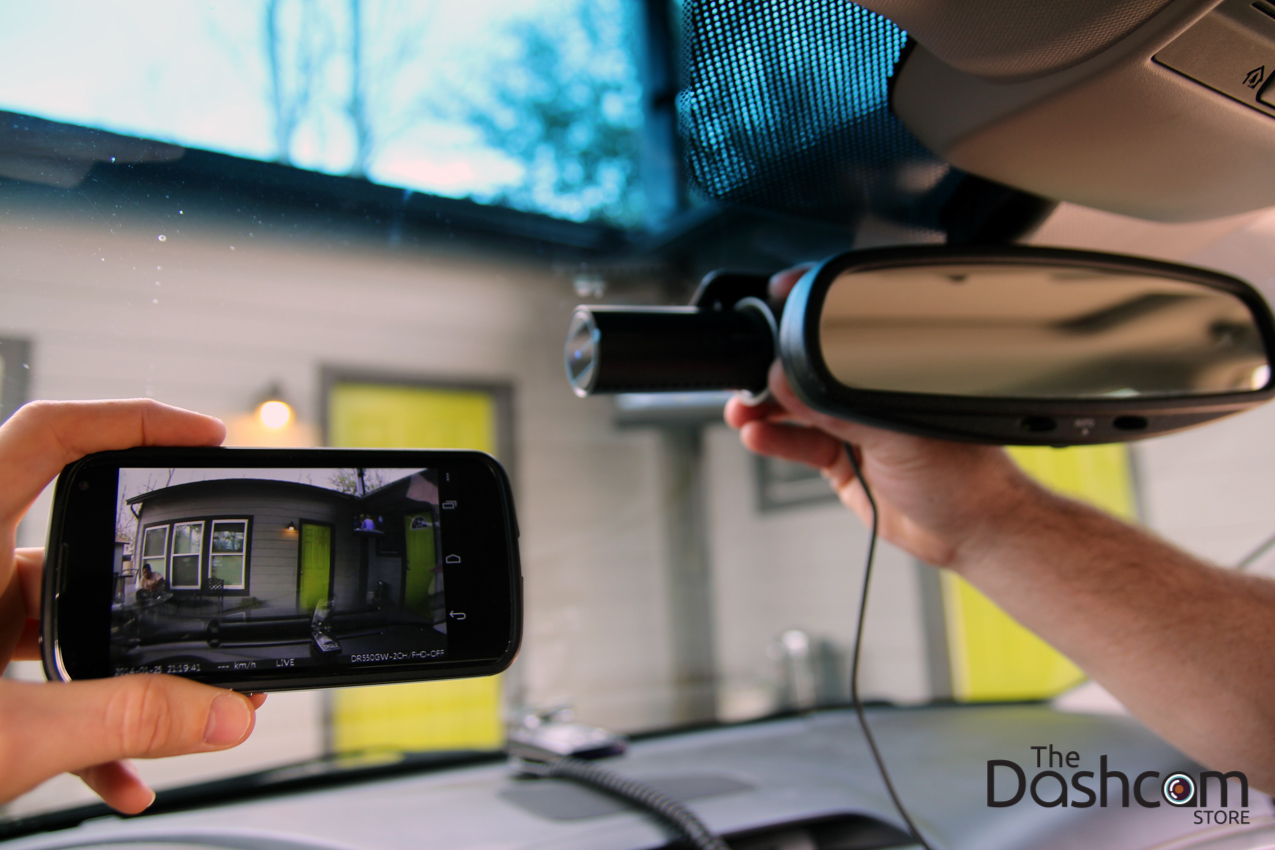
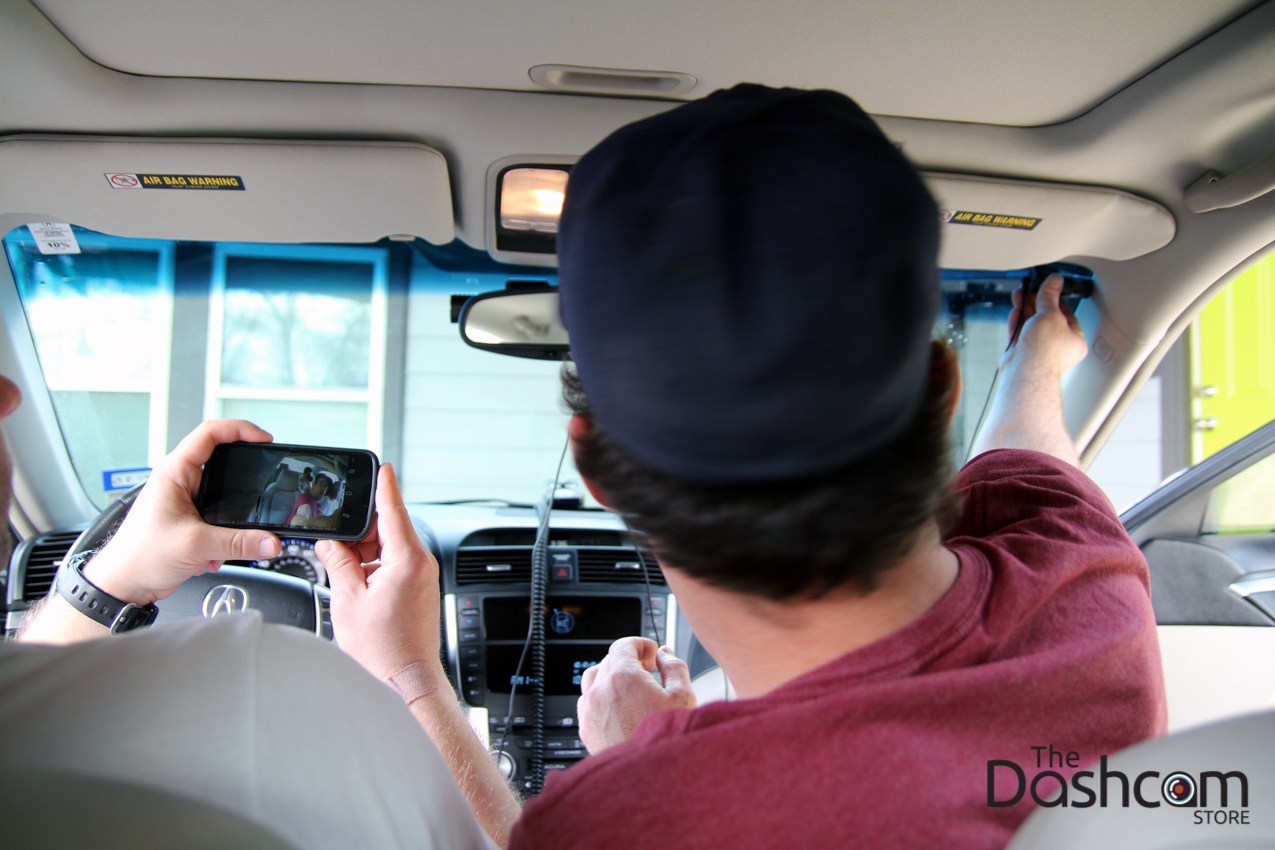
Checking the dashcam front element placement with the live video feed over WiFi.
The BlackVue mount with the camera unit removed.
This customer opted for the second camera to face into the vehicle. This way, anyone breaking into the vehicle would be caught on video!
Checking the placement of the secondary camera with the live video feed over WiFi.
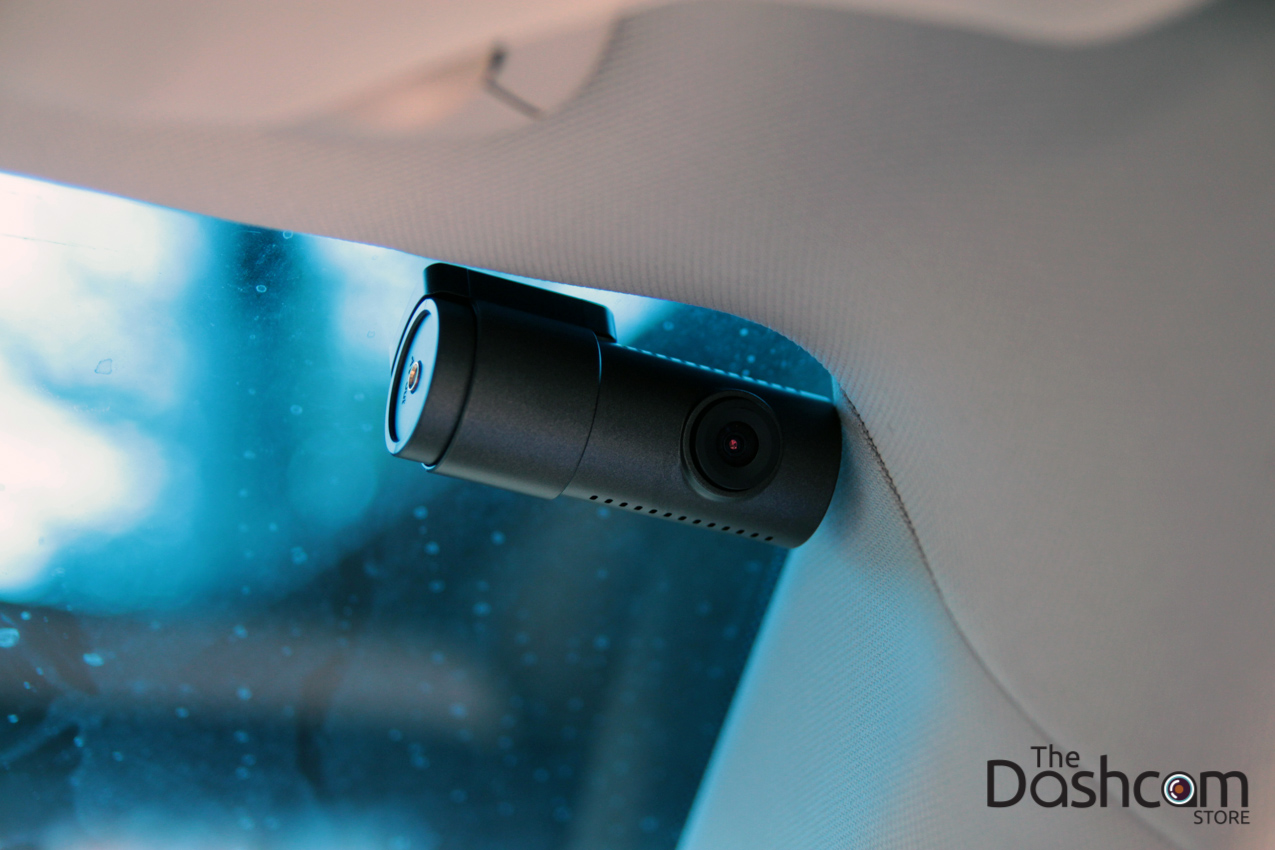
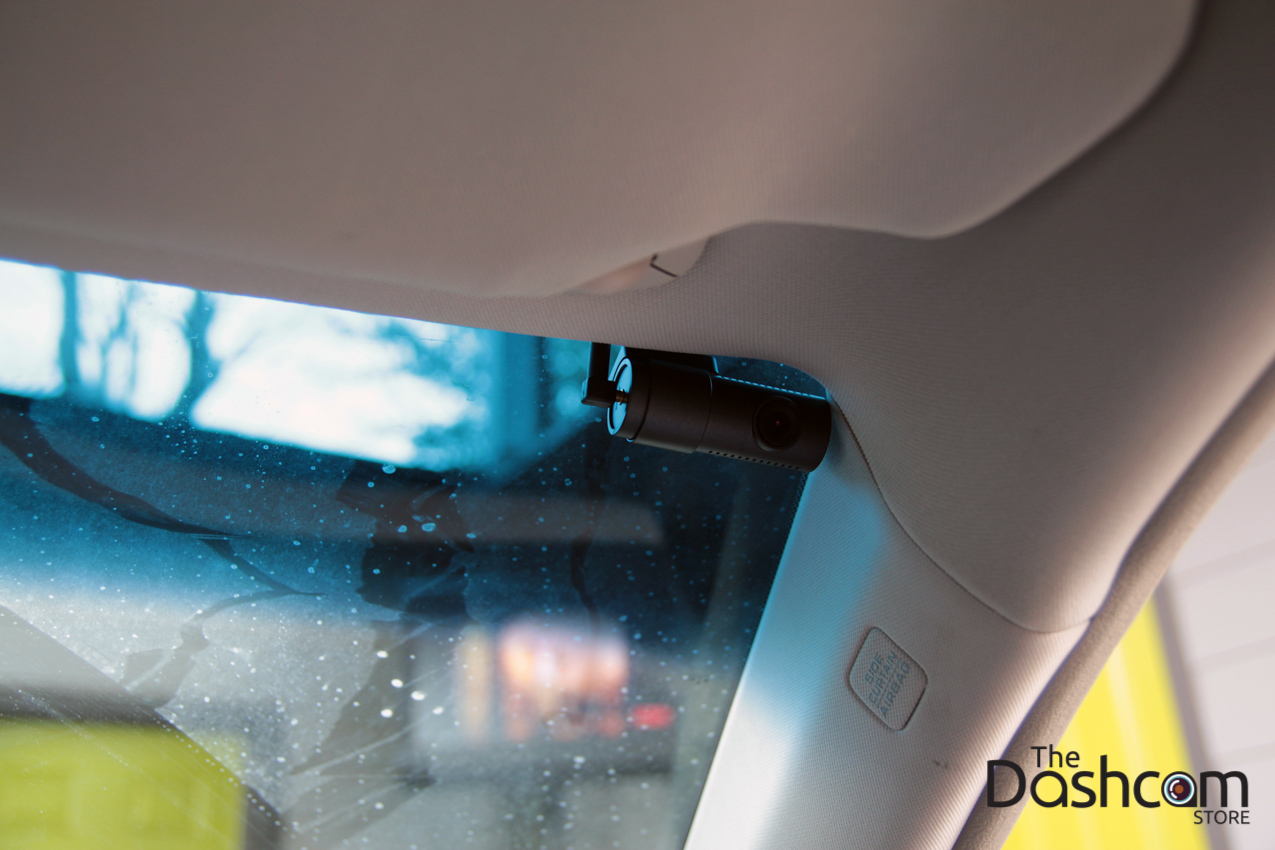
DR550GW-2CH secondary camera tucked neatly out of view at the top right of the windshield.
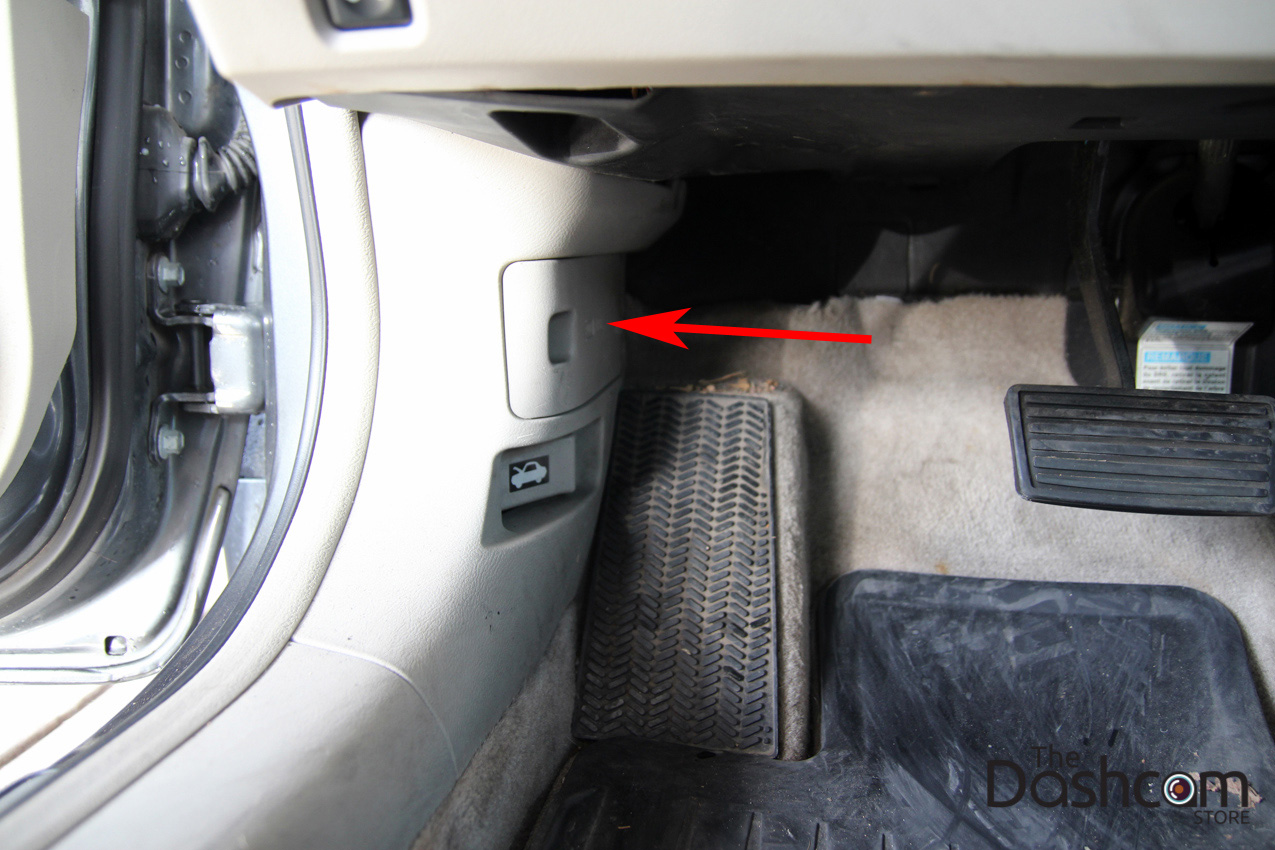
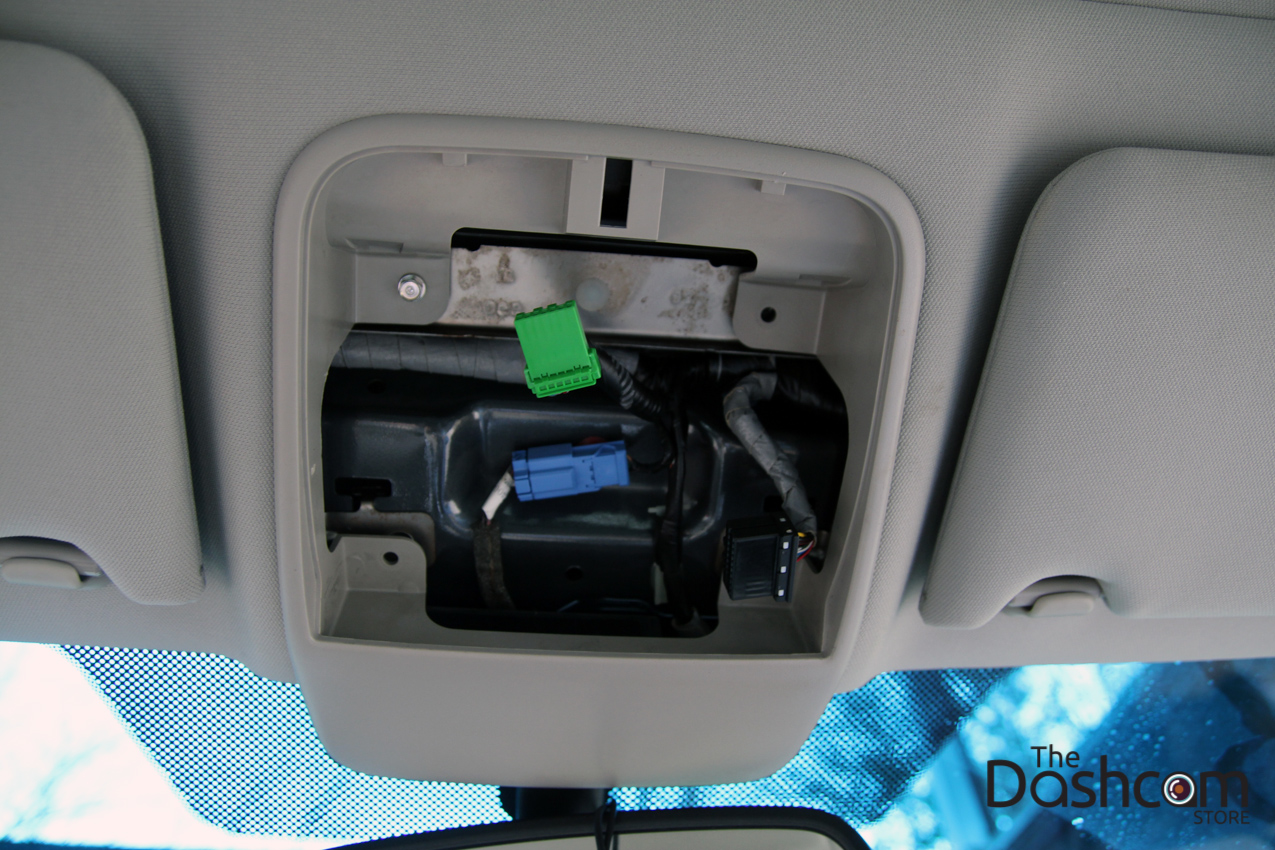
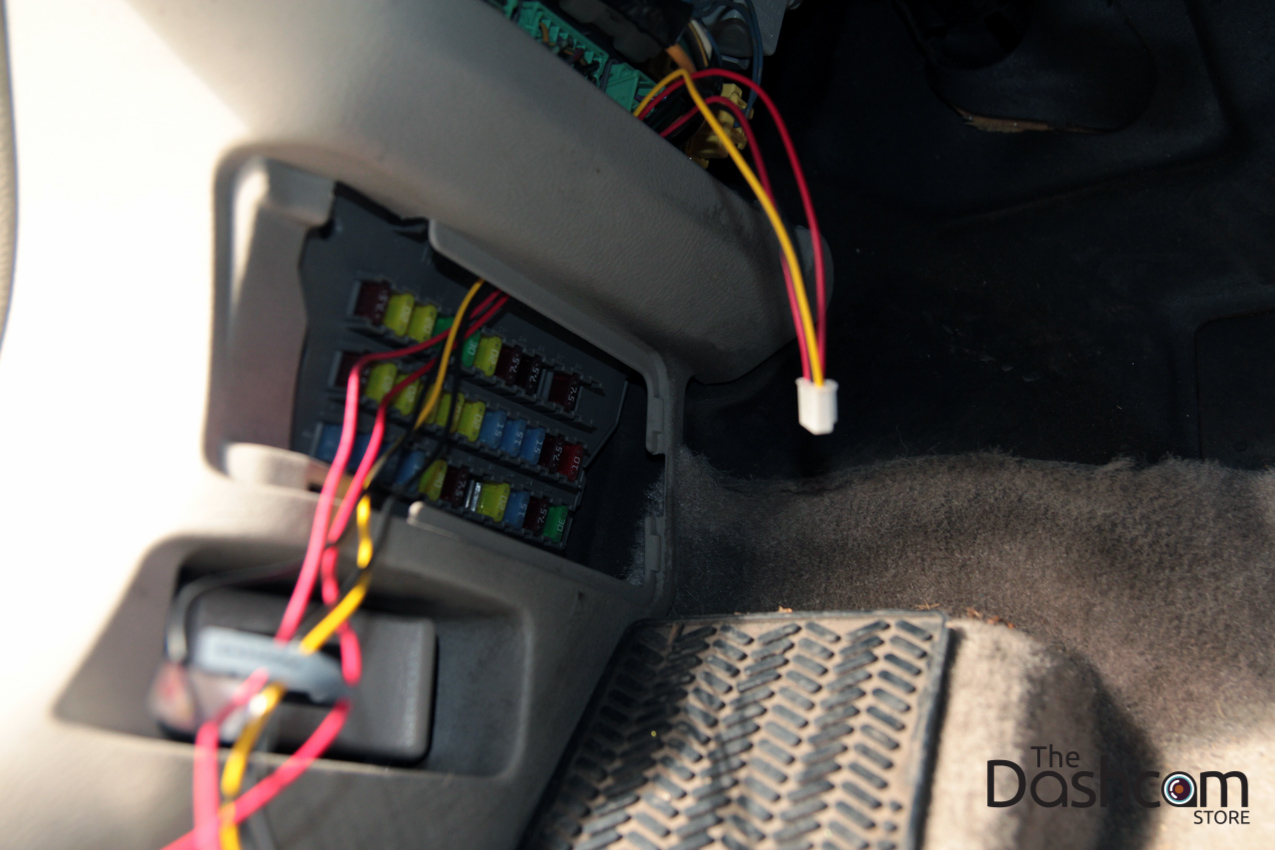
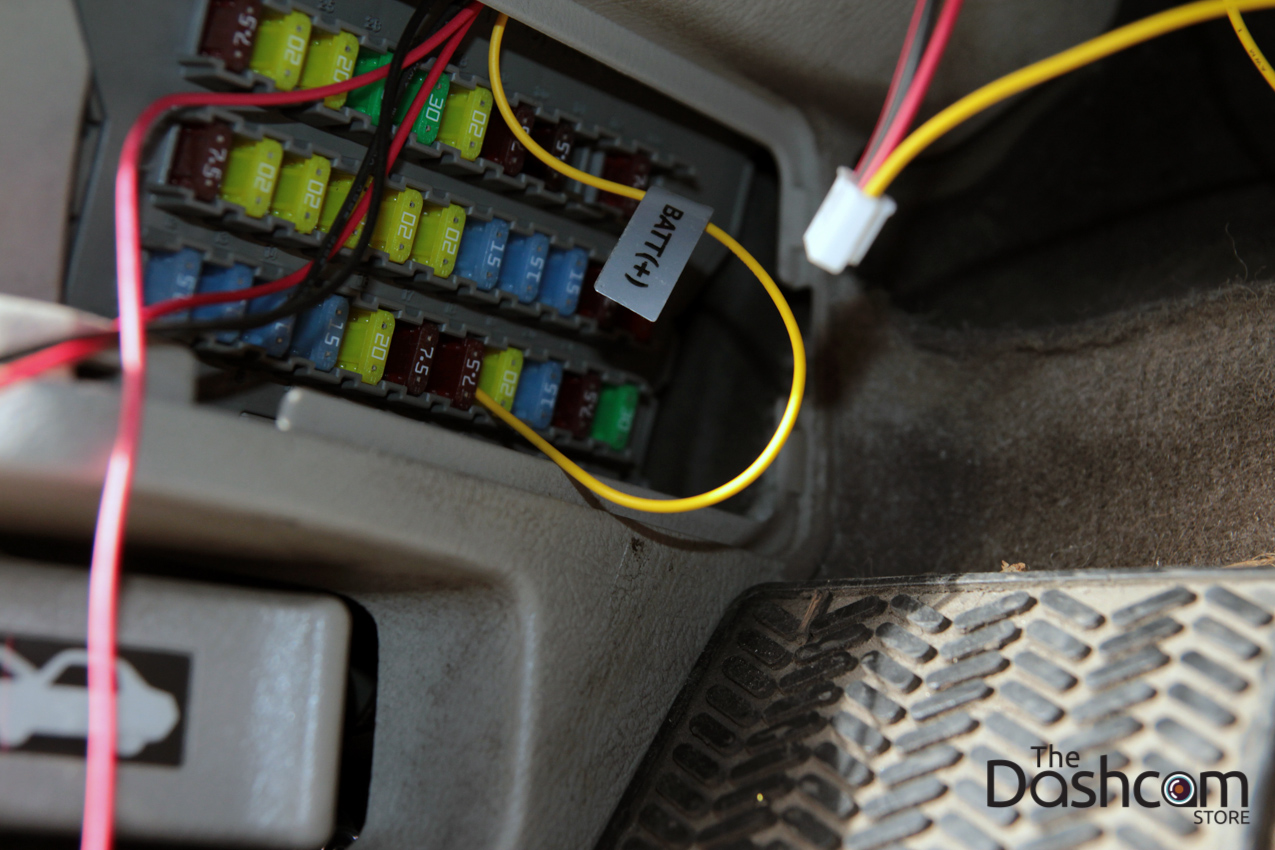
Fuse box location near the driver's foot rest. Now we know where the power wire will need to be run.
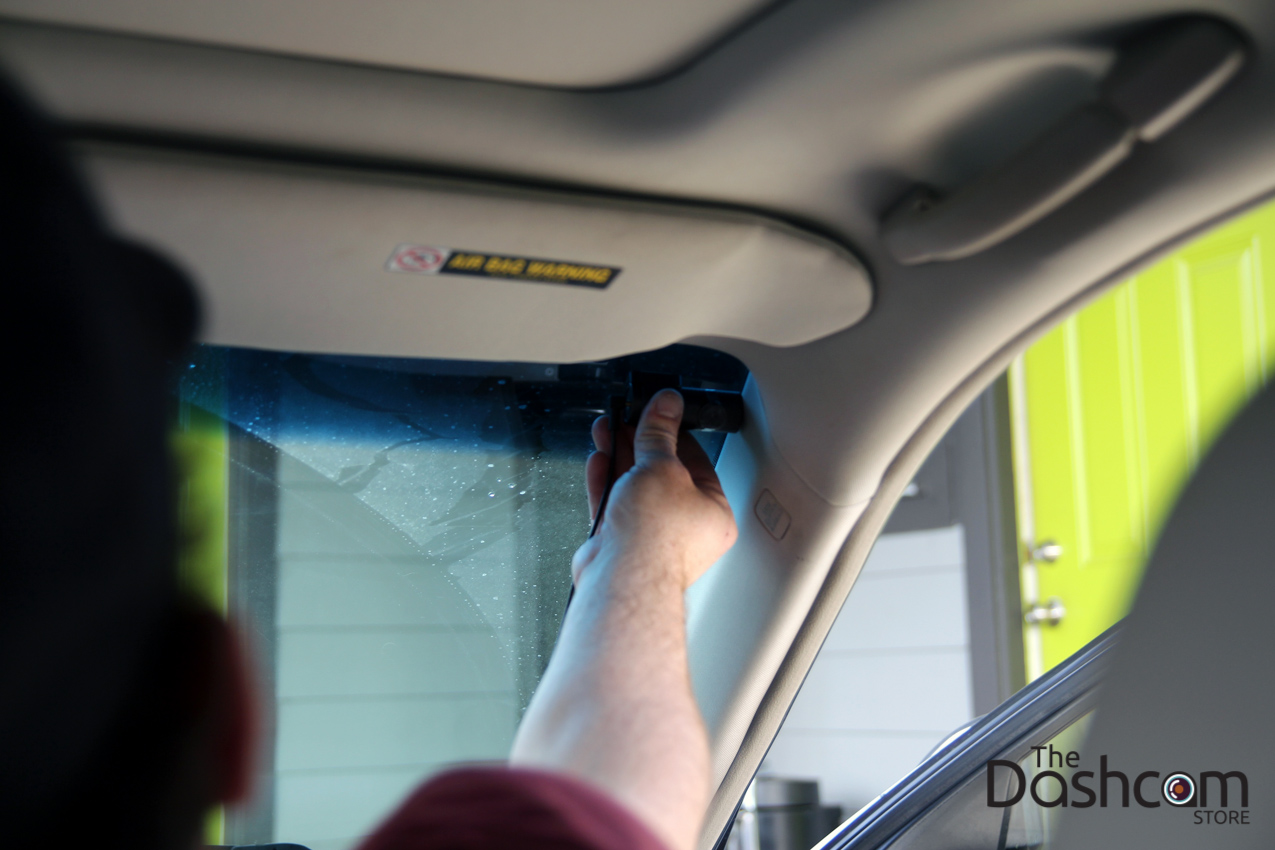
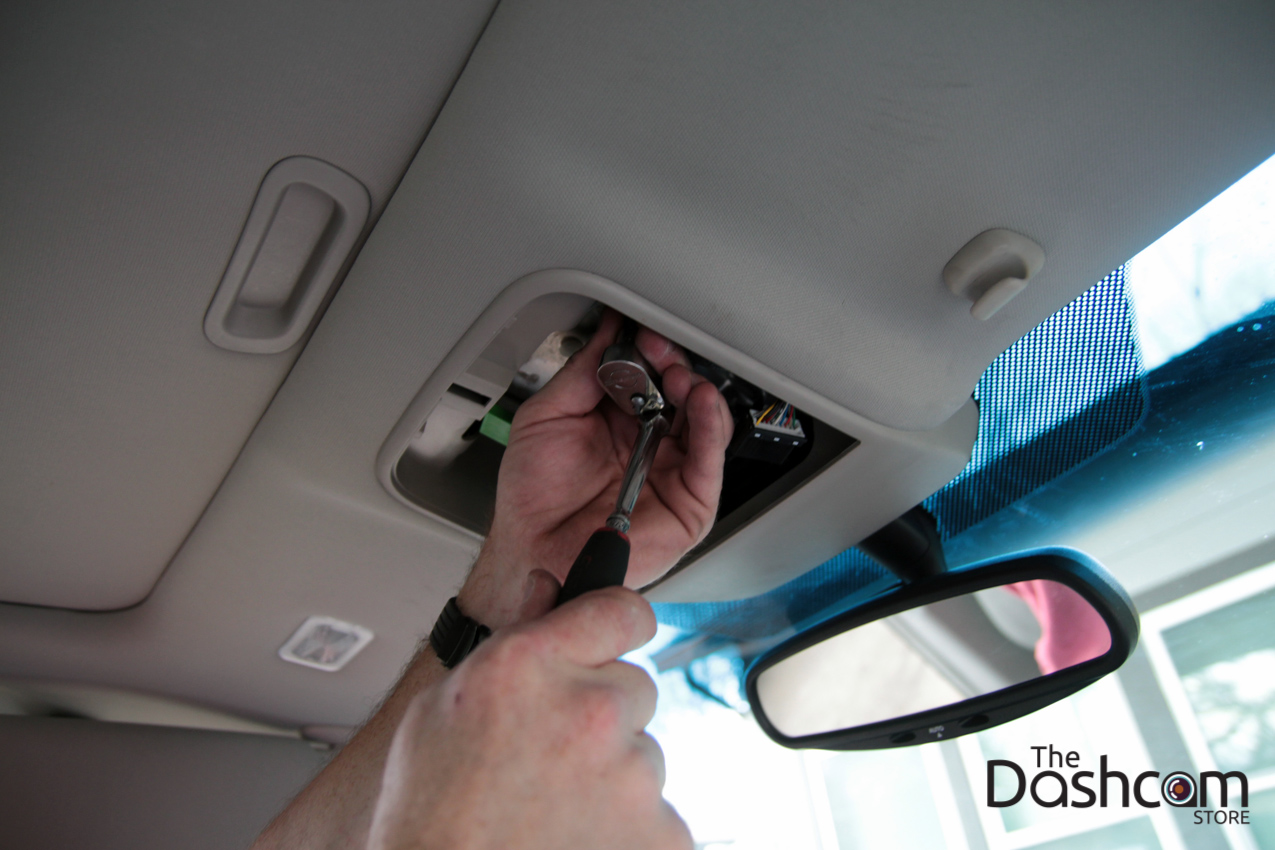
Removing the map light fixture to run the wiring.
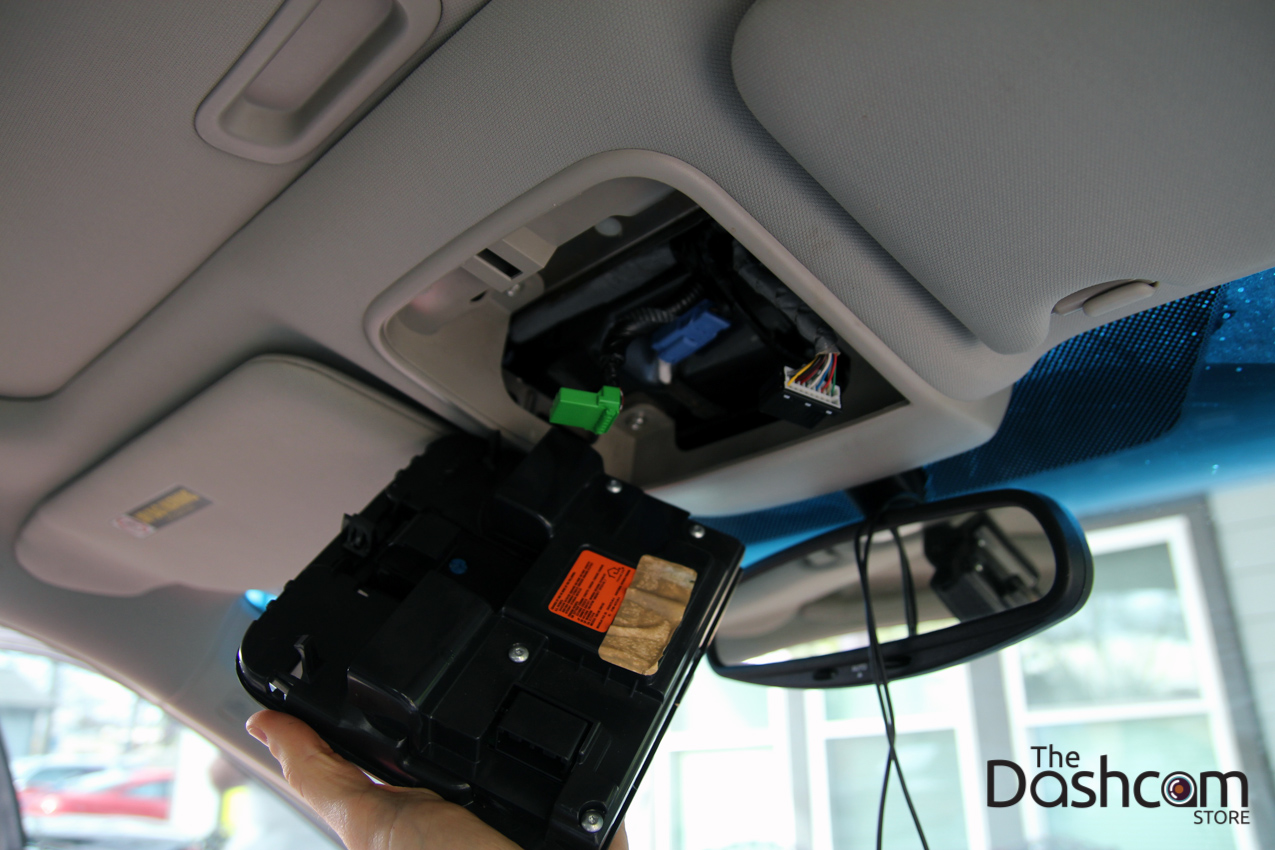
Four 8mm bolts secure this interior panel, we remove them to help us run the data cable (between main camera and secondary camera) and power cable (between the main camera and fuse box) through the headliner.
Secondary camera and cable fully installed.
Tucking extra cabling safely out of view.

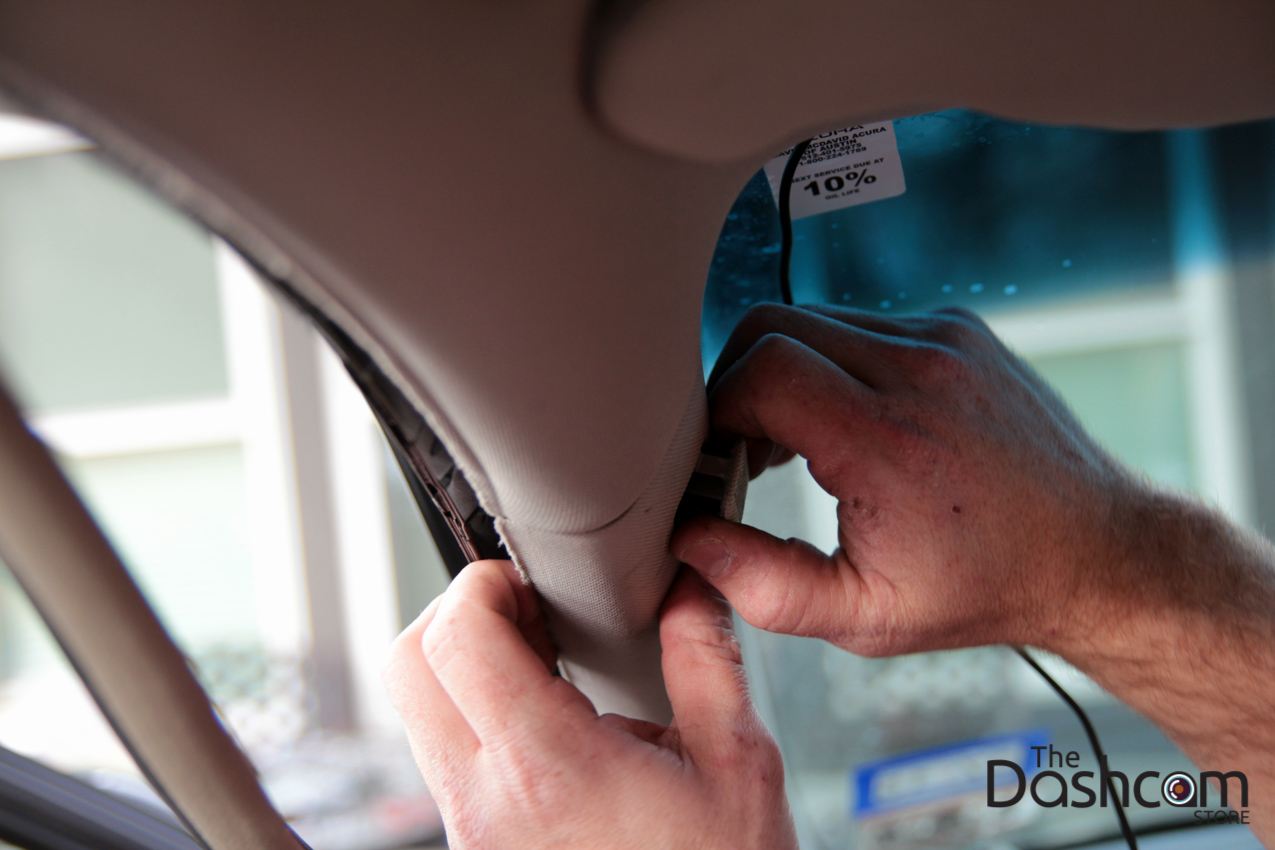
Rubber trim pulled away from the body to help remove the A-pillar.
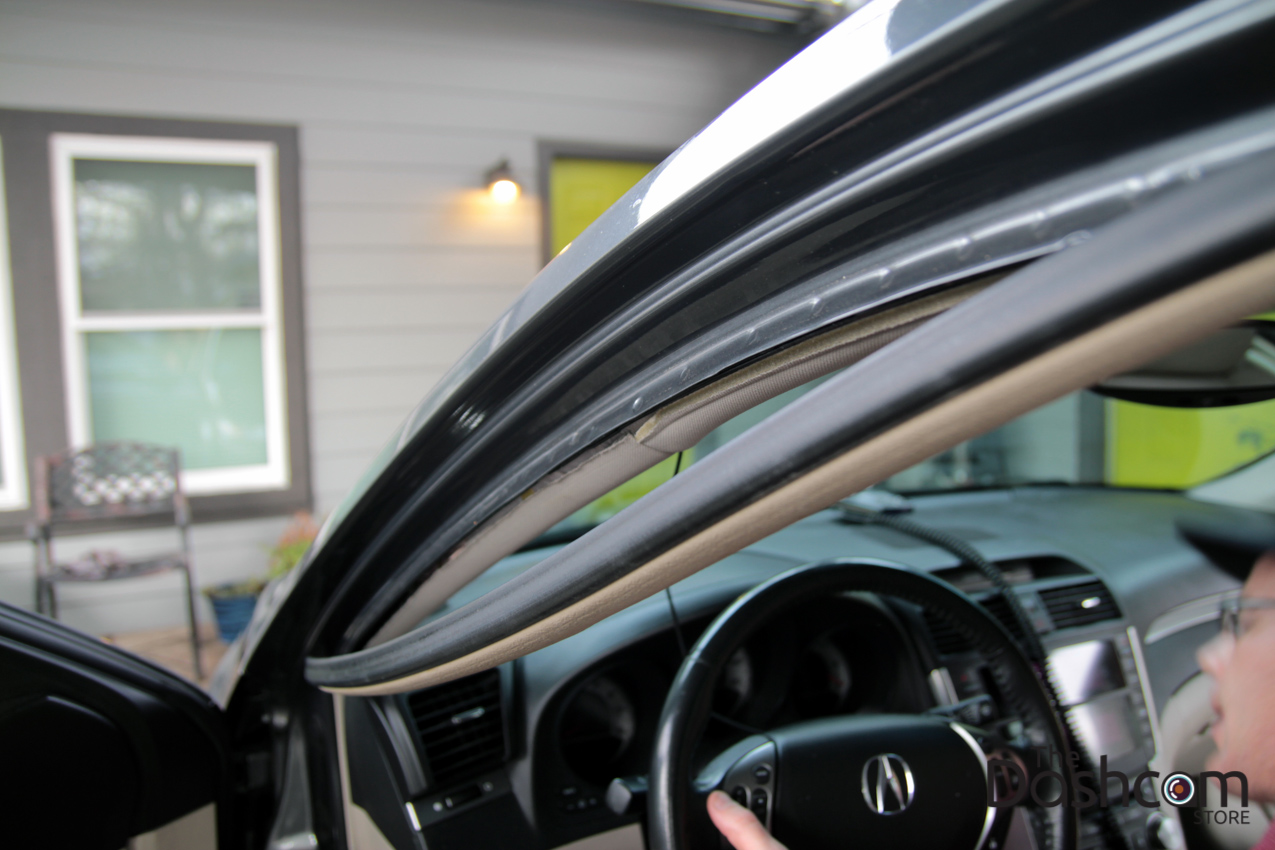
Removing the A-pillar cover.
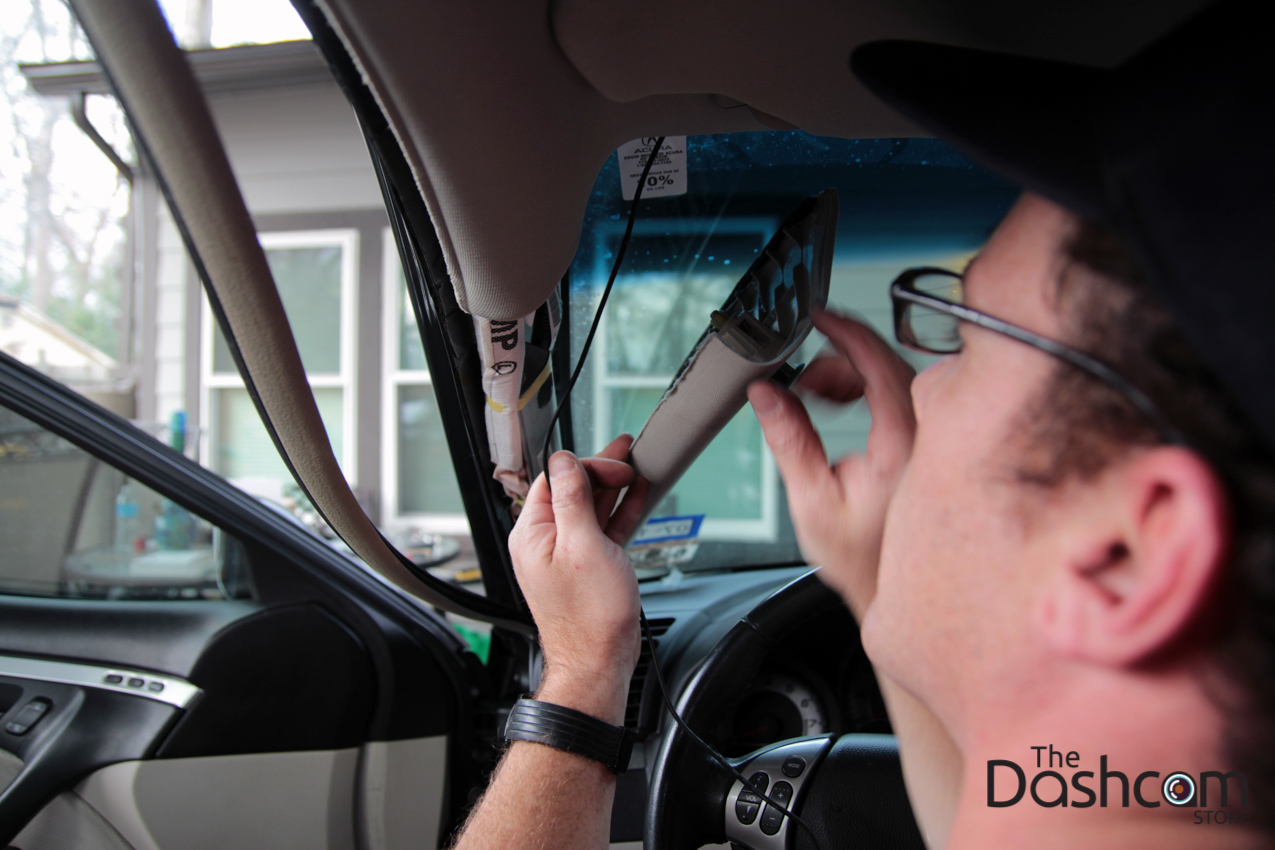
Tucking the BlackVue dashcam power cable down the A-pillar
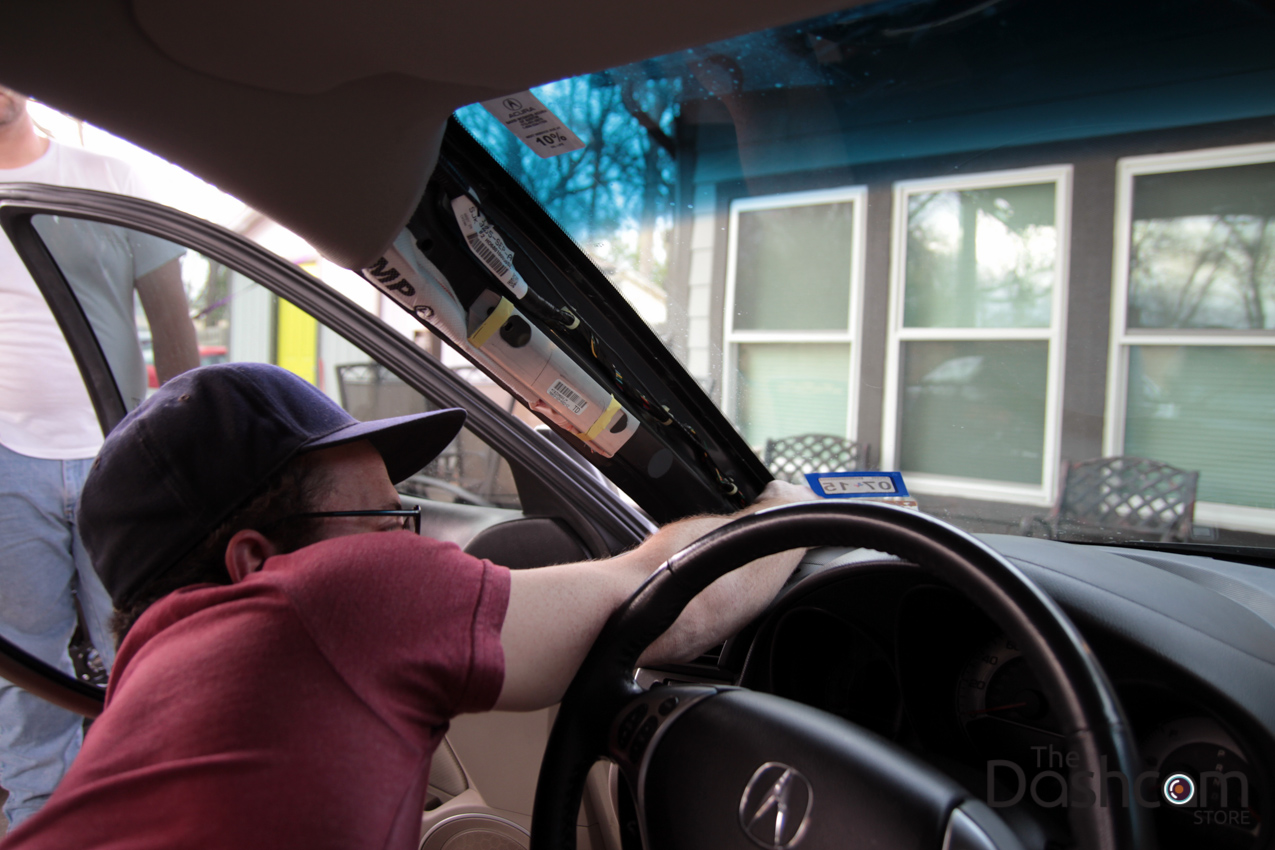
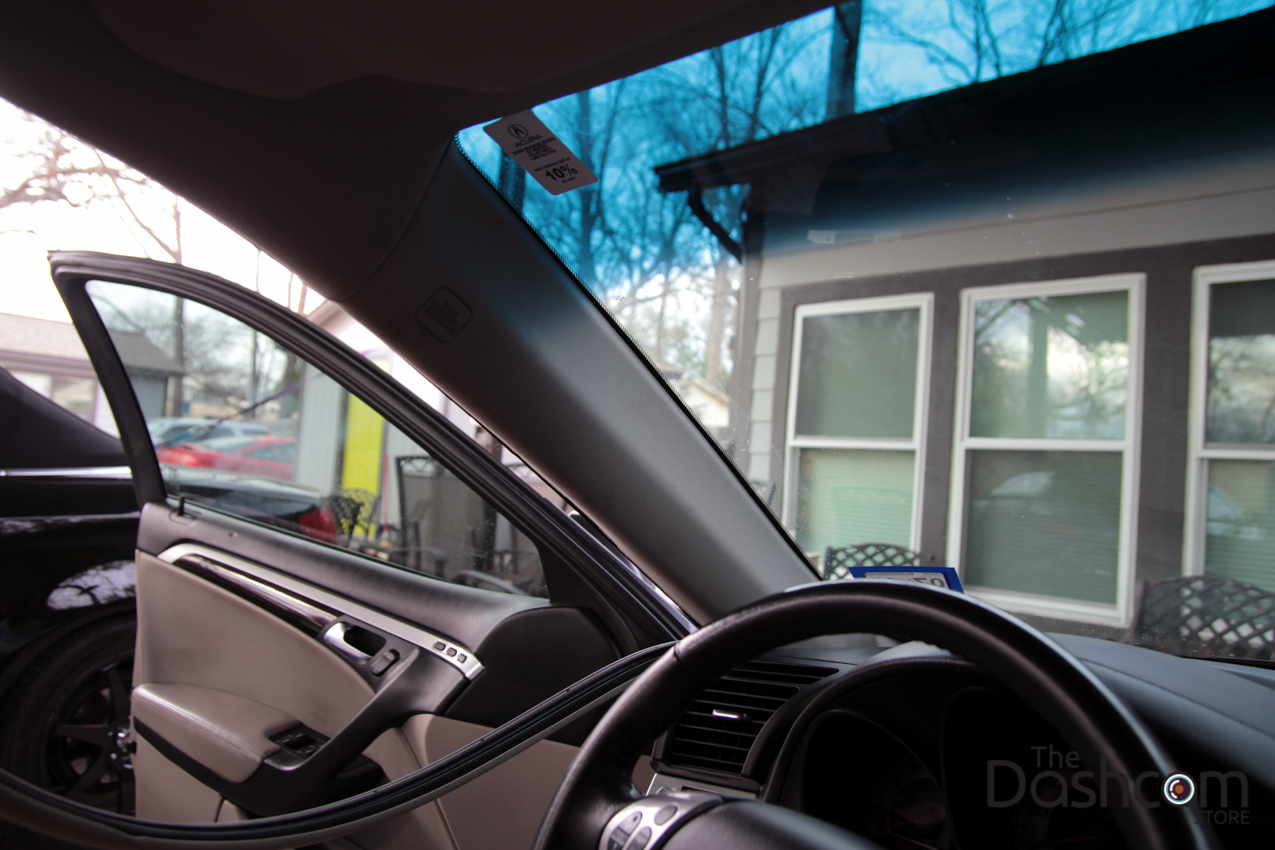
A-pillar cover reinstalled.
Running the Power Magic Pro wires around the body panels to the fuse box.
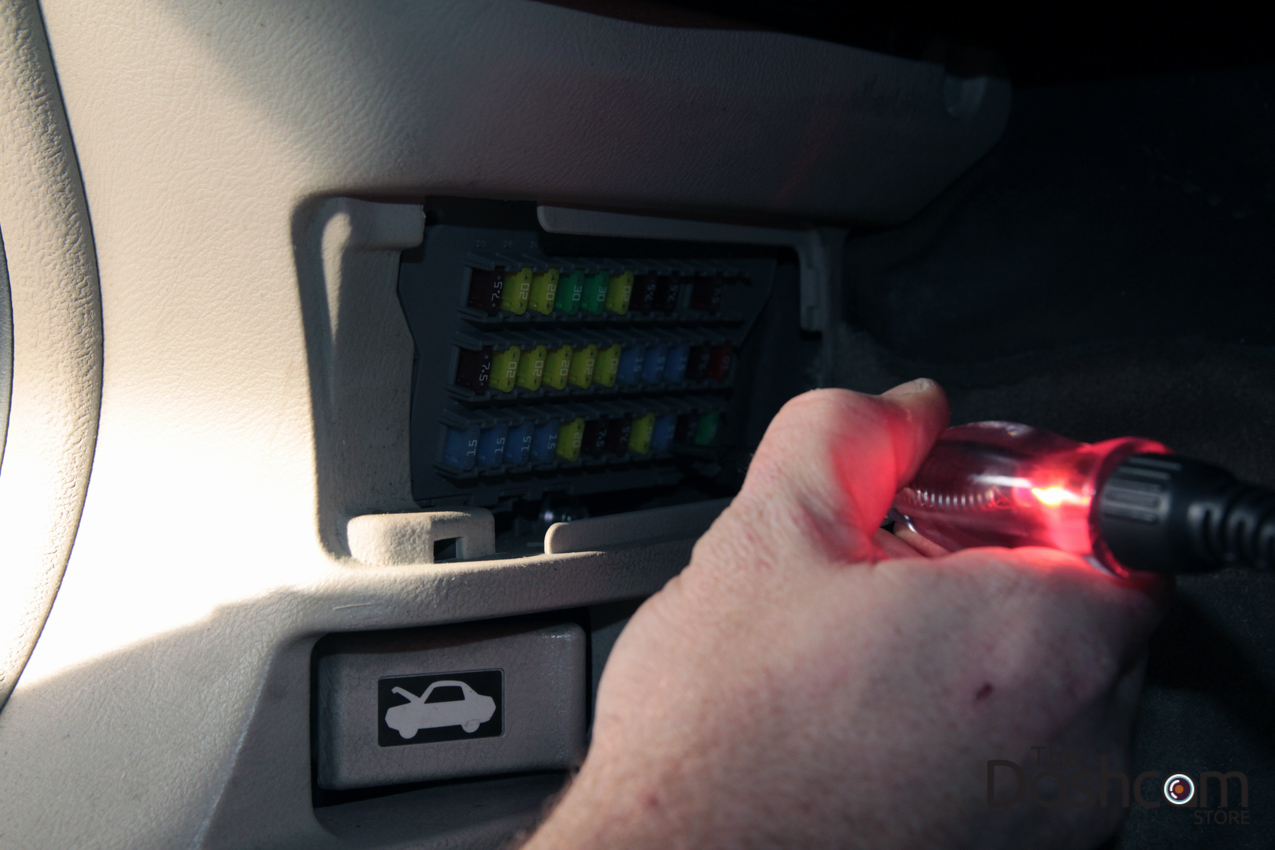
Identifying the "always on" and "hot in start" fuses with a simple circuit probe.
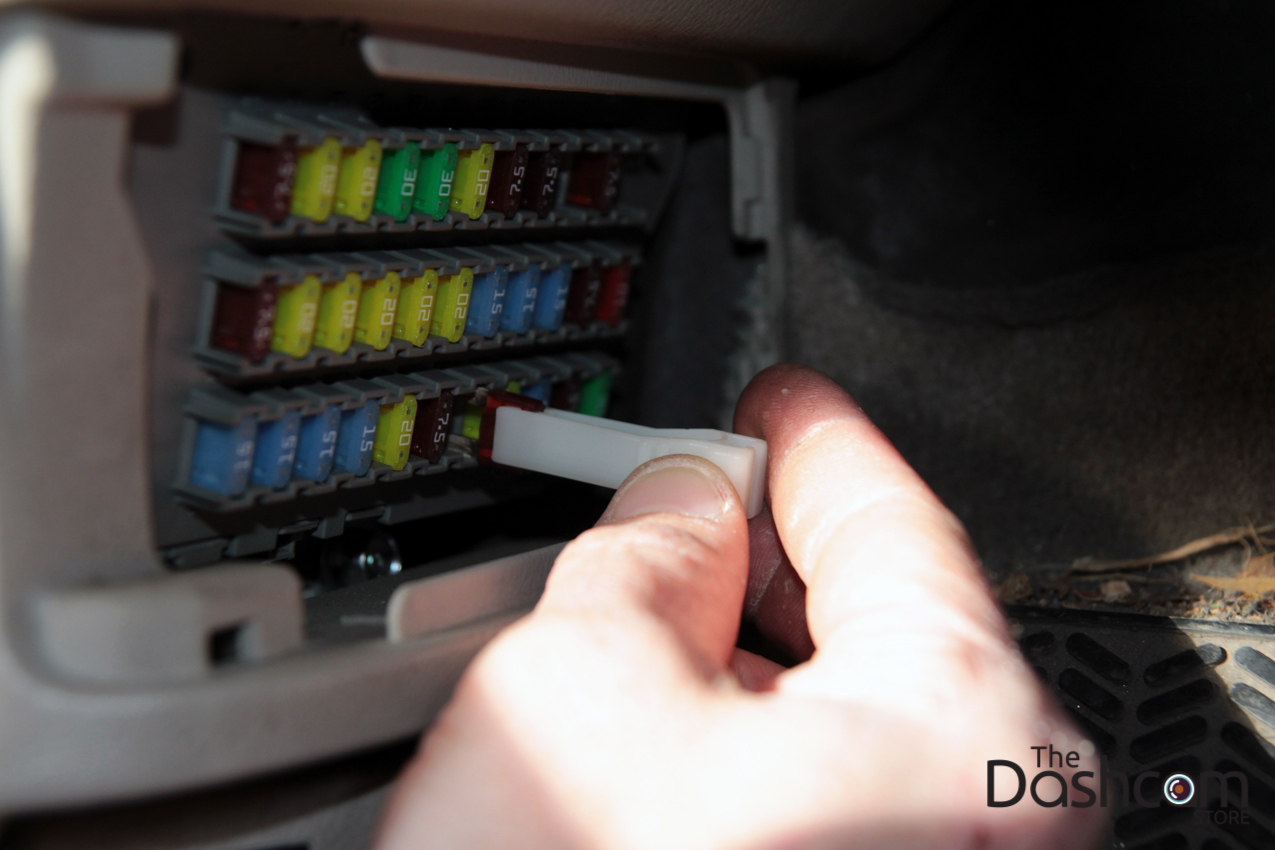
Removing the "always on" fuse with the fuse puller that comes with the vehicle.
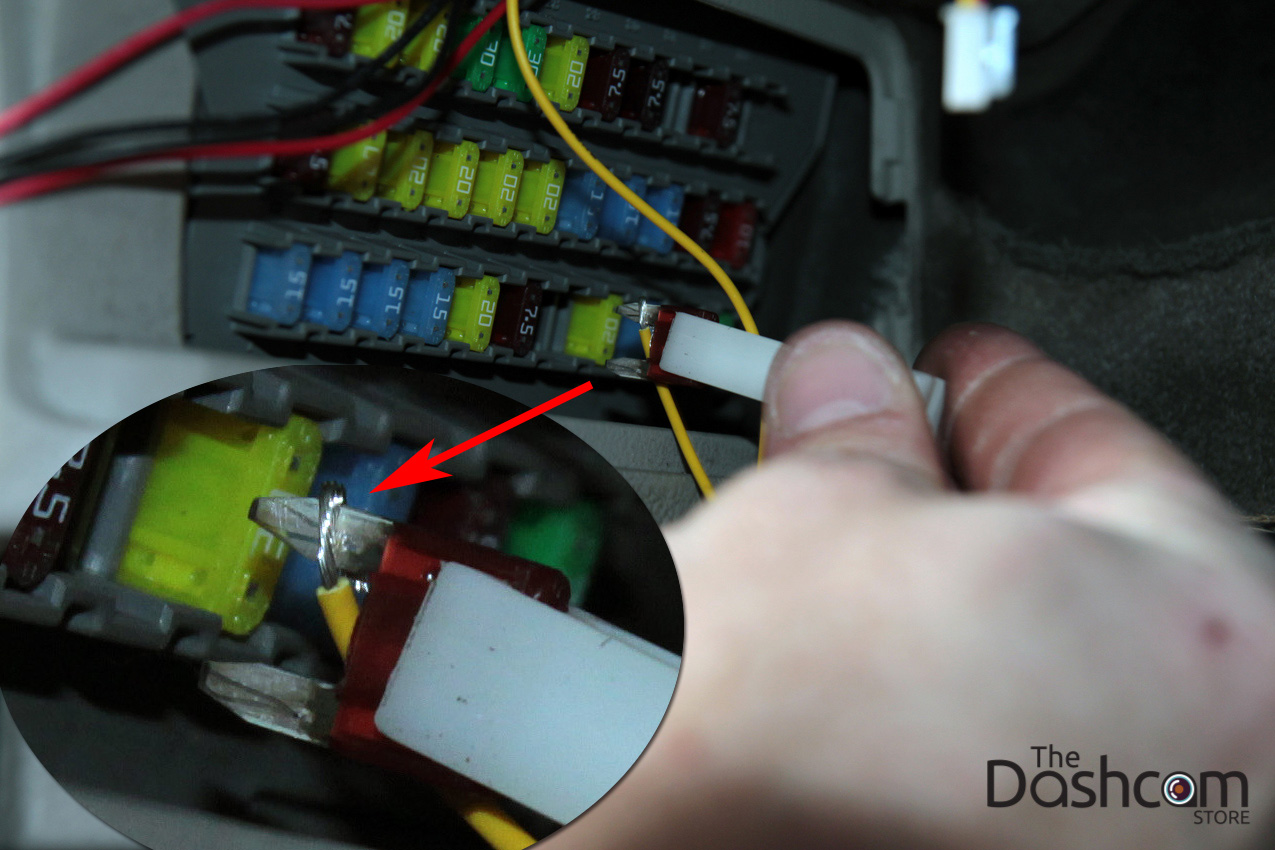
Reinstalling the fuse with the "Batt(+)" Power Magic Pro wire wrapped around one of the fuse terminals.
"Always on" fuse reinstalled.
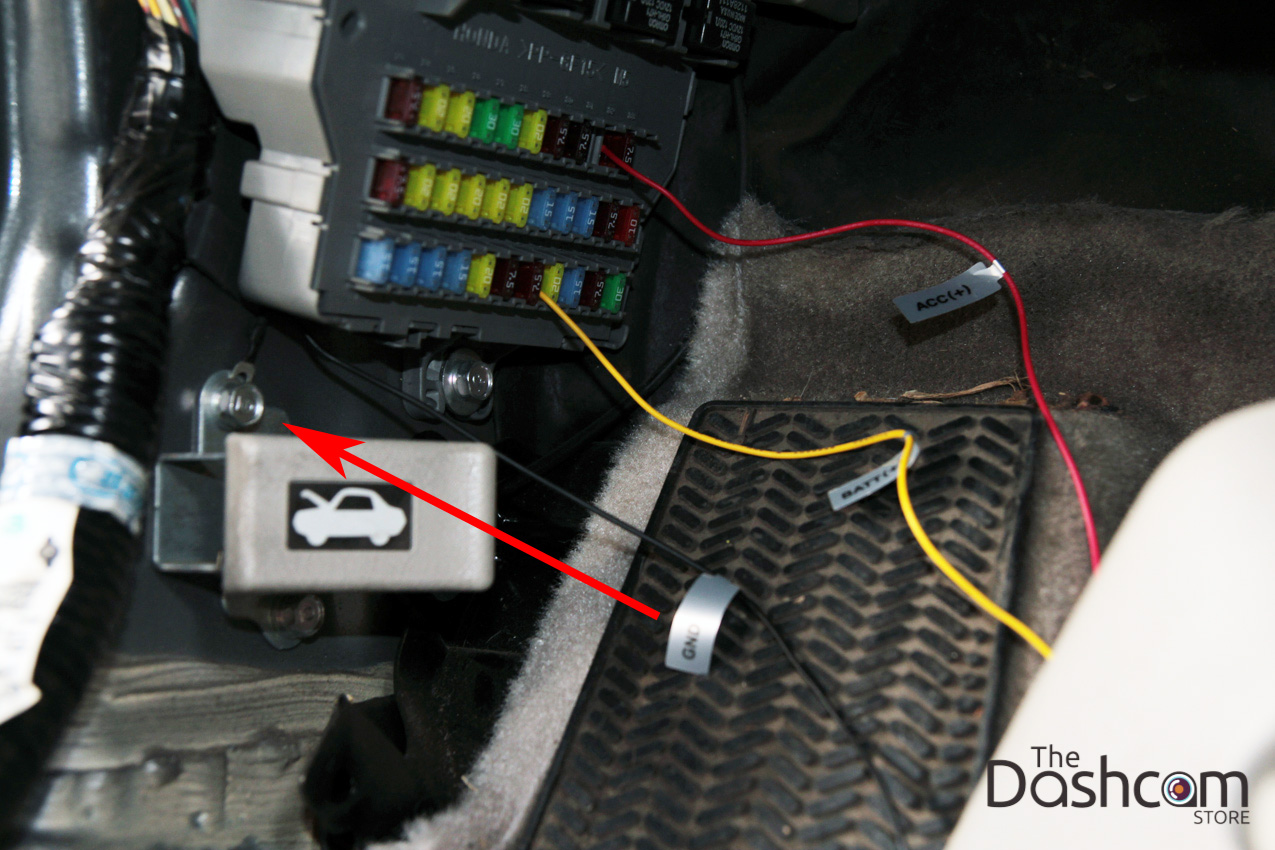
This photograph shows all three Power Magic Pro wires connected: "Batt(+)", "ACC(+)", and "Ground(-)" (red arrow shows ground location).
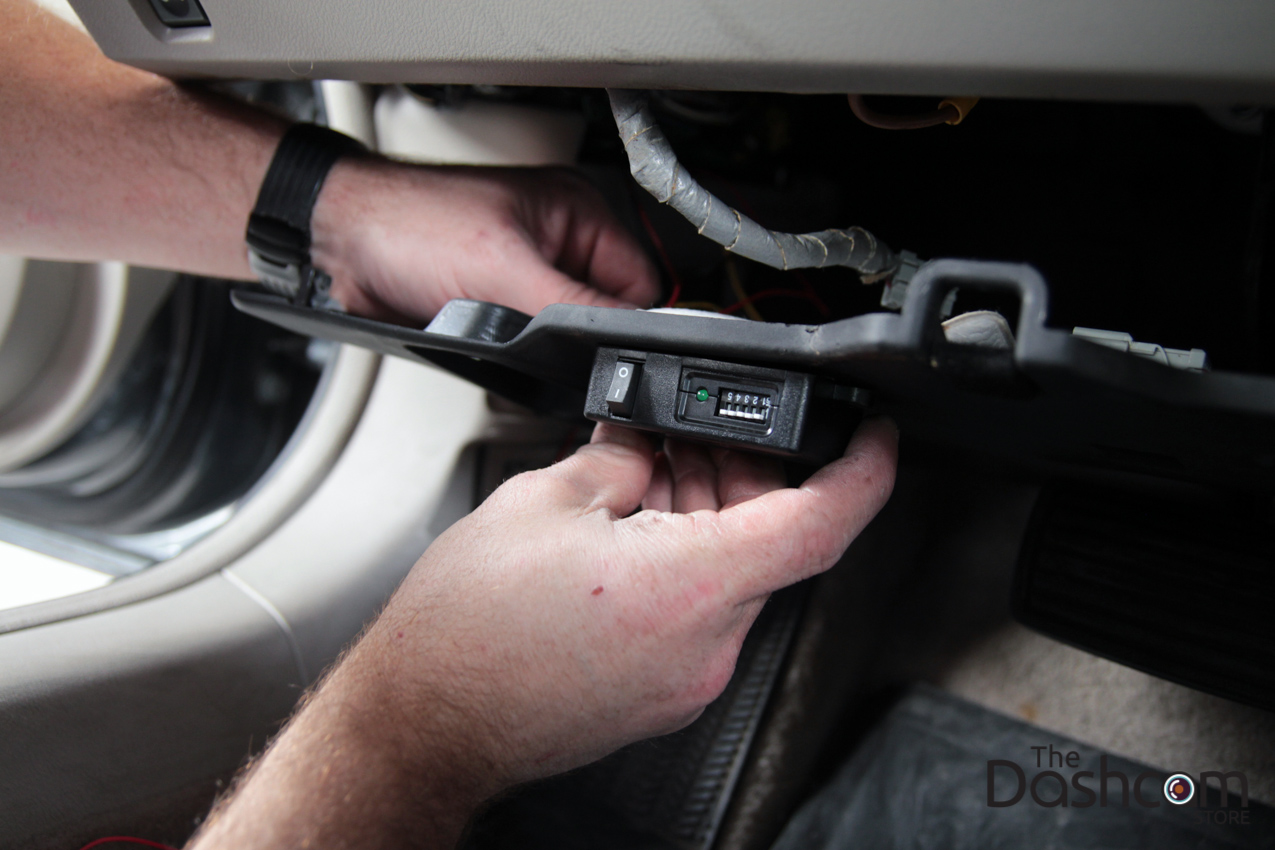
It's a good idea to test your installation before buttoning up all of the interior panels.
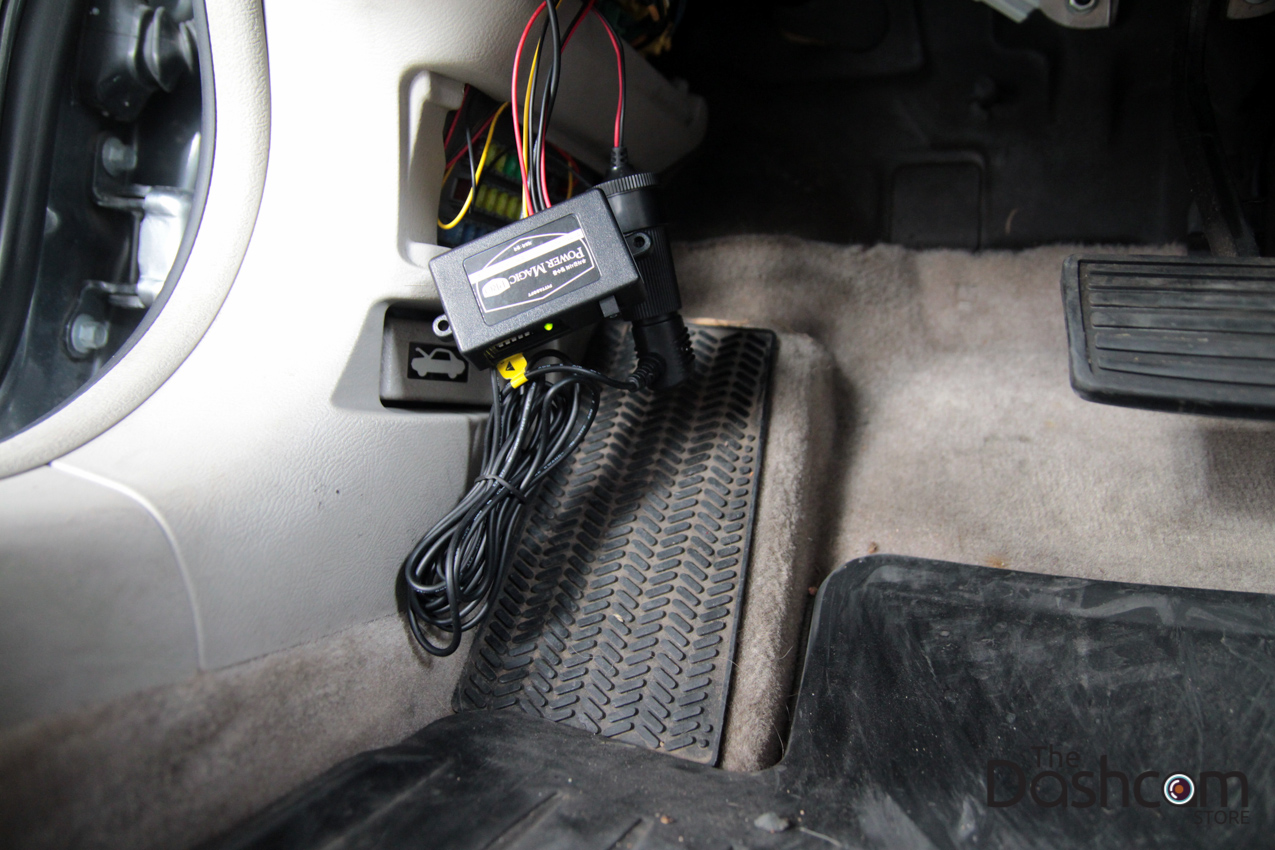
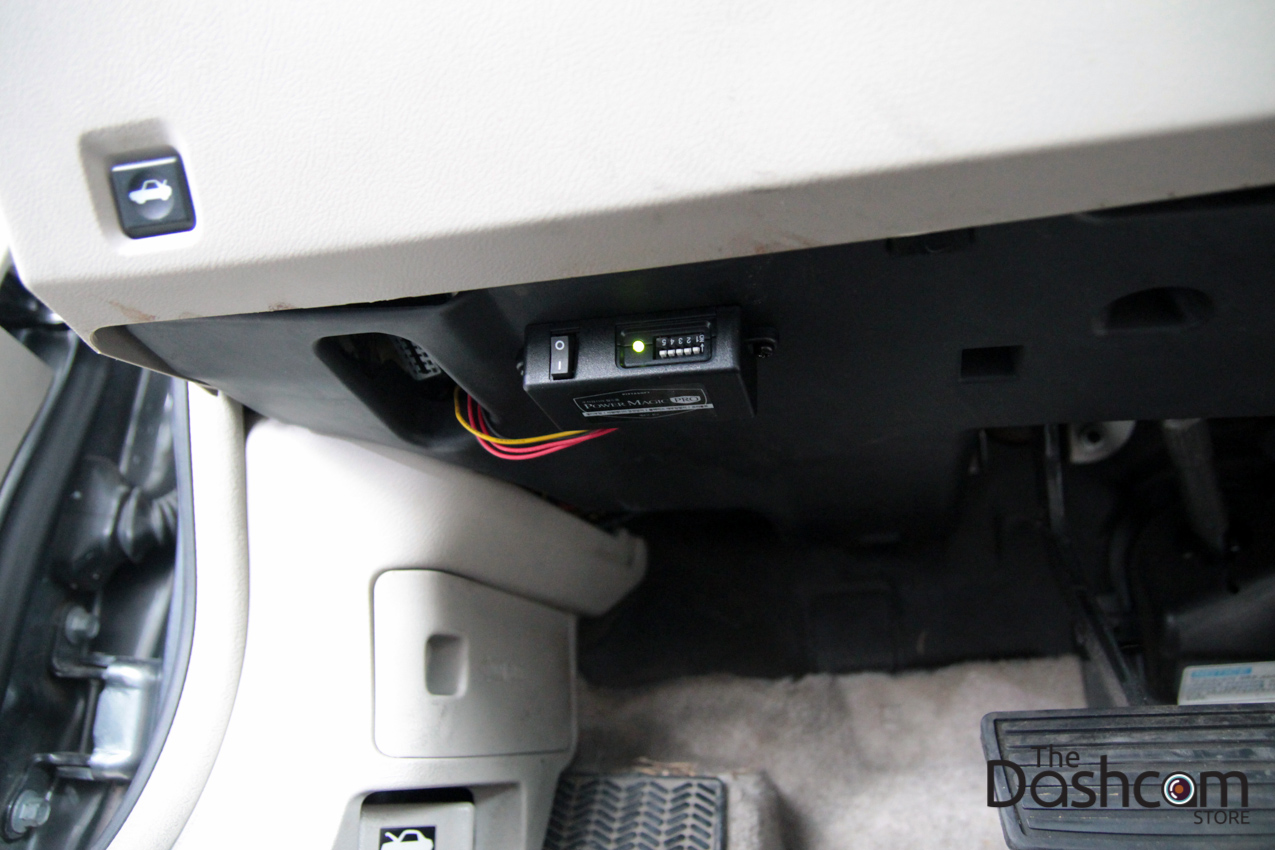
Test fitting the Power Magic Pro.
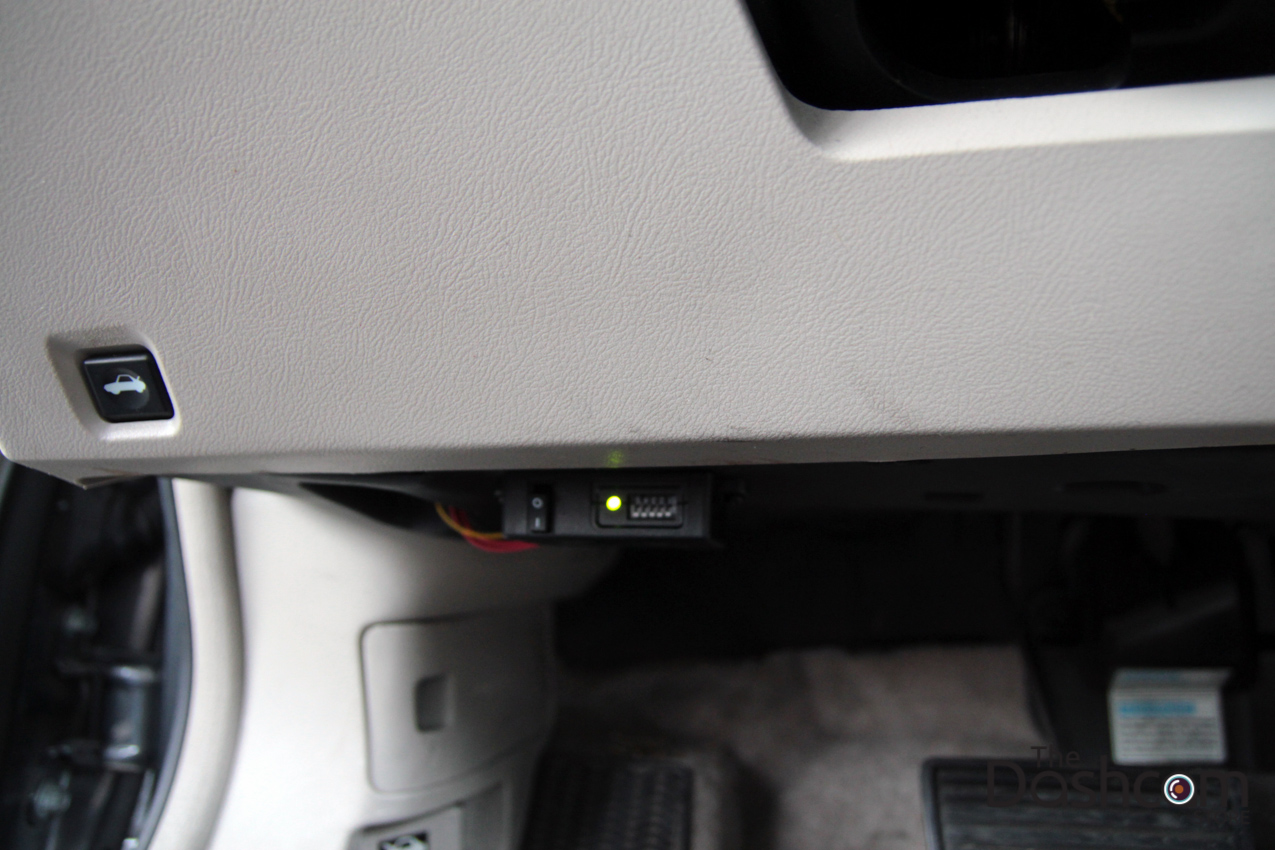
Power Magic Pro mounted out of view yet easily accessible by the driver.
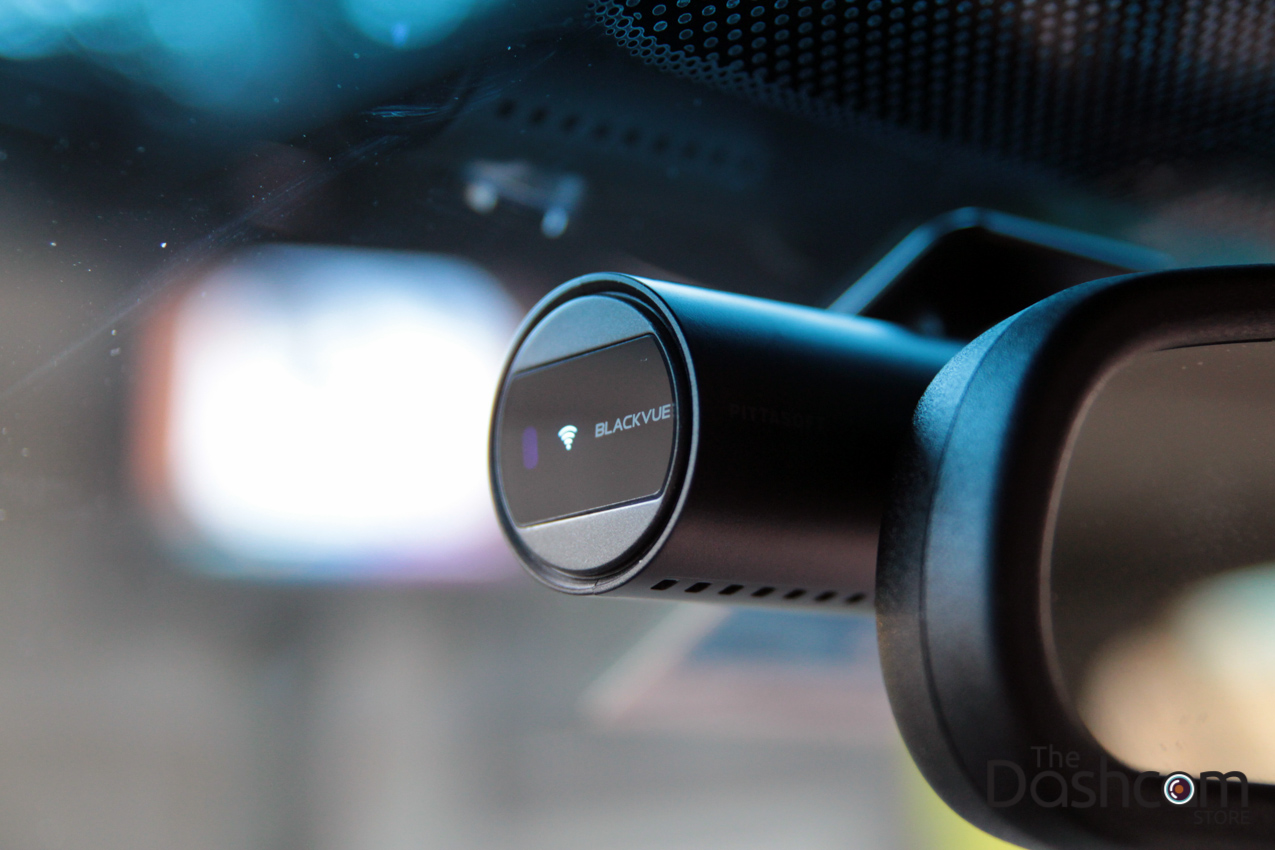
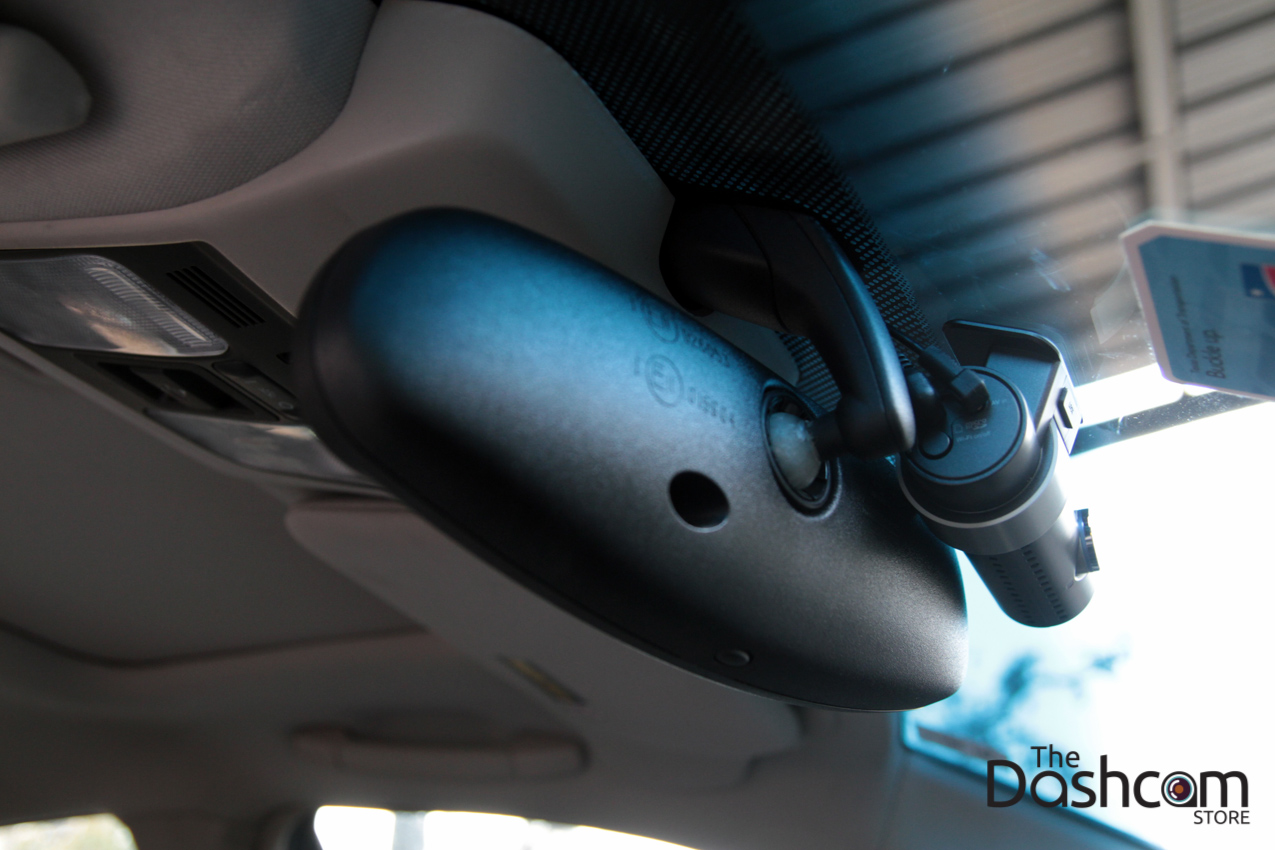
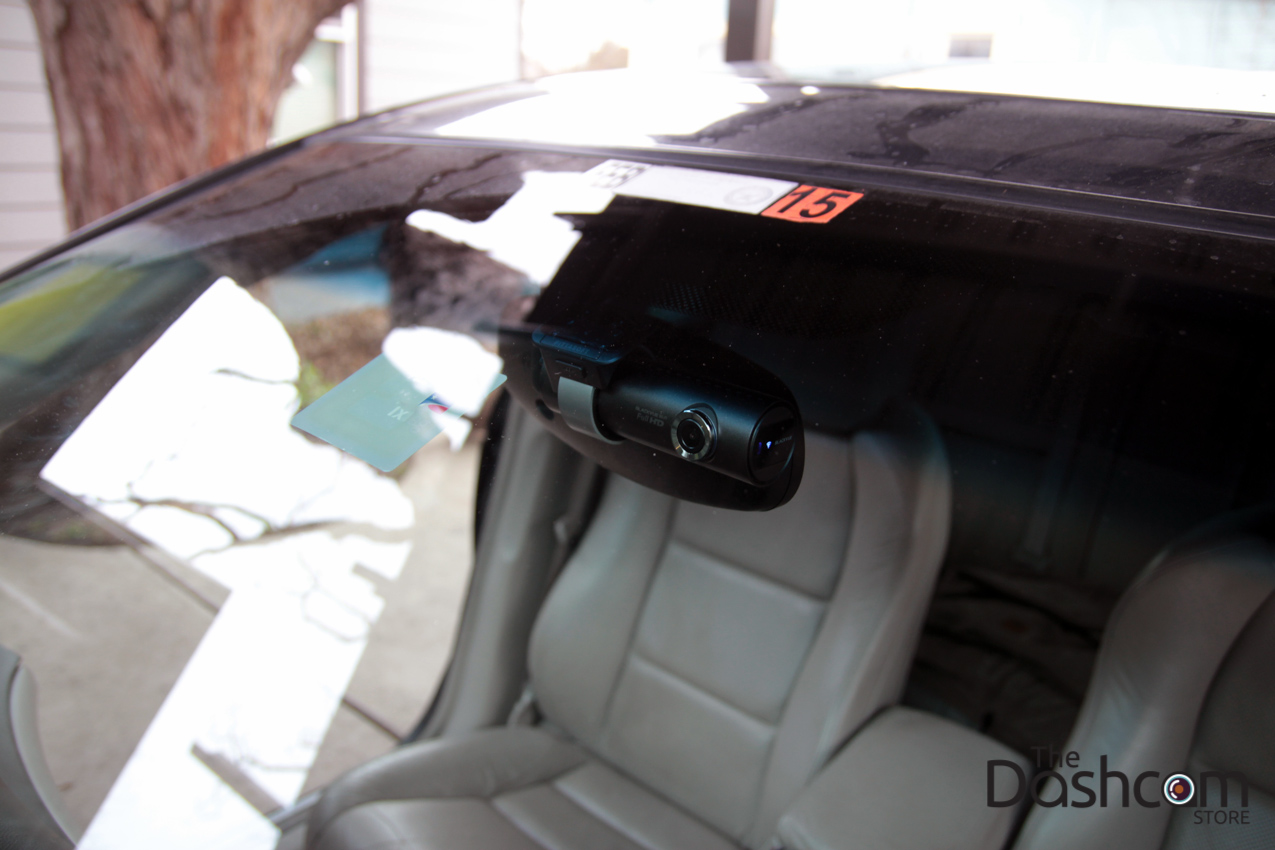
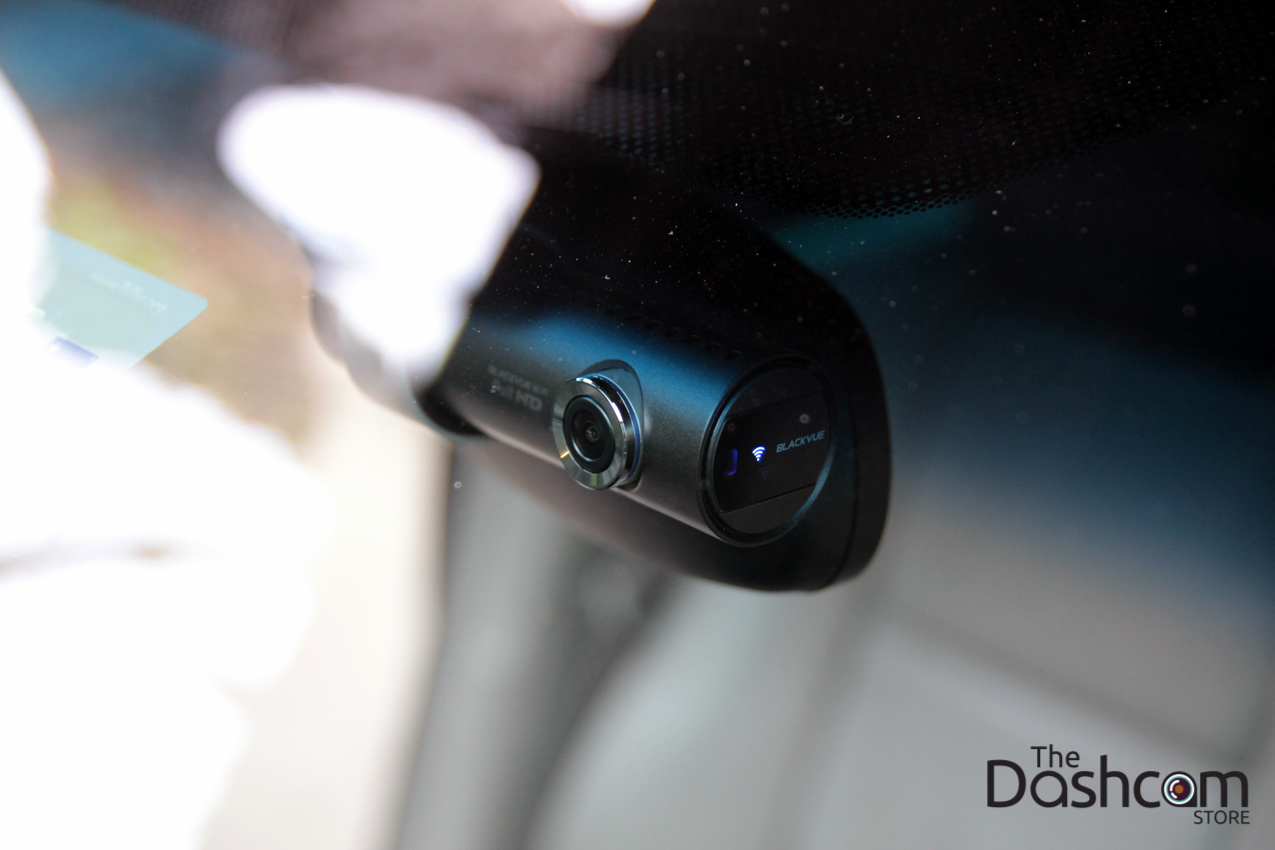
BlackVue DR550GW-2CH fully installed, beautiful!
Clean installation.
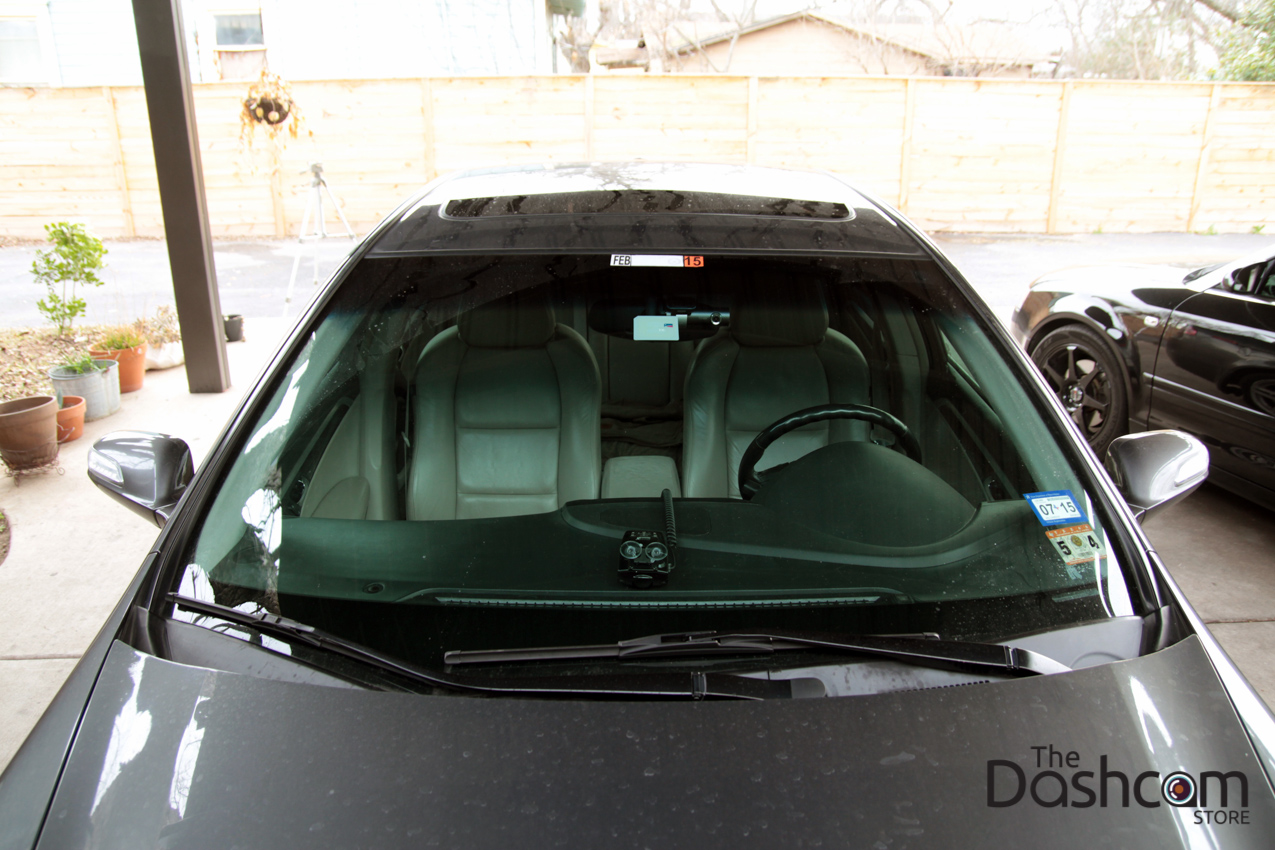
Do you see the dashcams?
Exterior views of the BlackVue DR550GW-2CH.
Drive safe!
To request additional support information, please use the contact form or e-mail us at support@thedashcamstore.com. We always give our best effort to respond to all requests within 24 hours.