
In this gallery, we perform a full installation our dual-lens, full HD BlackVue DR650GW-2CH and Power Magic Pro in a Toyota Tacoma.
NOTE: this type of installation should be performed by a qualified individual or business only. Working with your vehicle's power system can be dangerous to both you and your vehicle if you do not know what you are doing! If you have any doubts, please consult a professional.
To view additional instructions for performing an installation such as this, please view our advanced dashcam installation how-to.
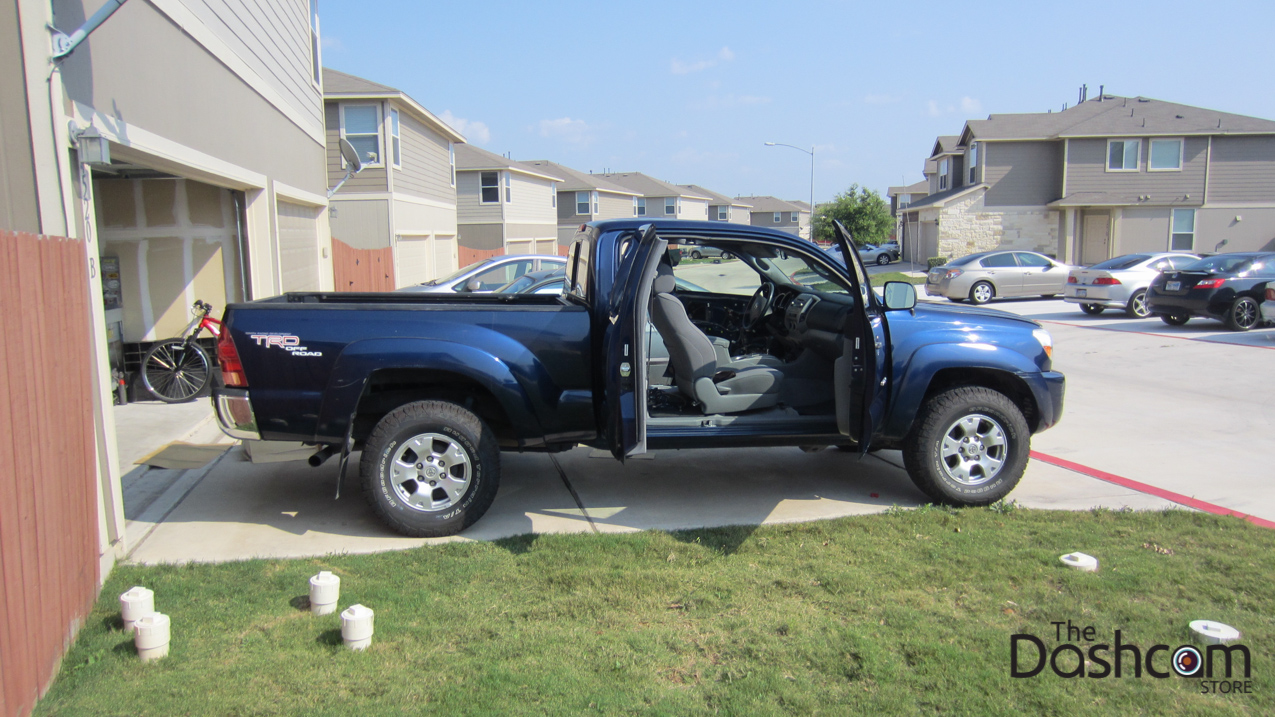
Our vehicle being outfitted with the "Dashcam Defense": 2006 Toyota Tacoma TRD 4x4 (Extended Cab). Click on any image to view a larger version.
NOTE: The BlackVue DR650GW-2CH has been discontinued, please click here to see the newest version: DR750S-2CH. The newer DR750S-2CH model looks virtually identical to the DR650GW-2CH featured in this gallery.
First step, download the BlackVue app for your Android or Apple smartphone/tablet, or your Windows 8.1 tablet/laptop
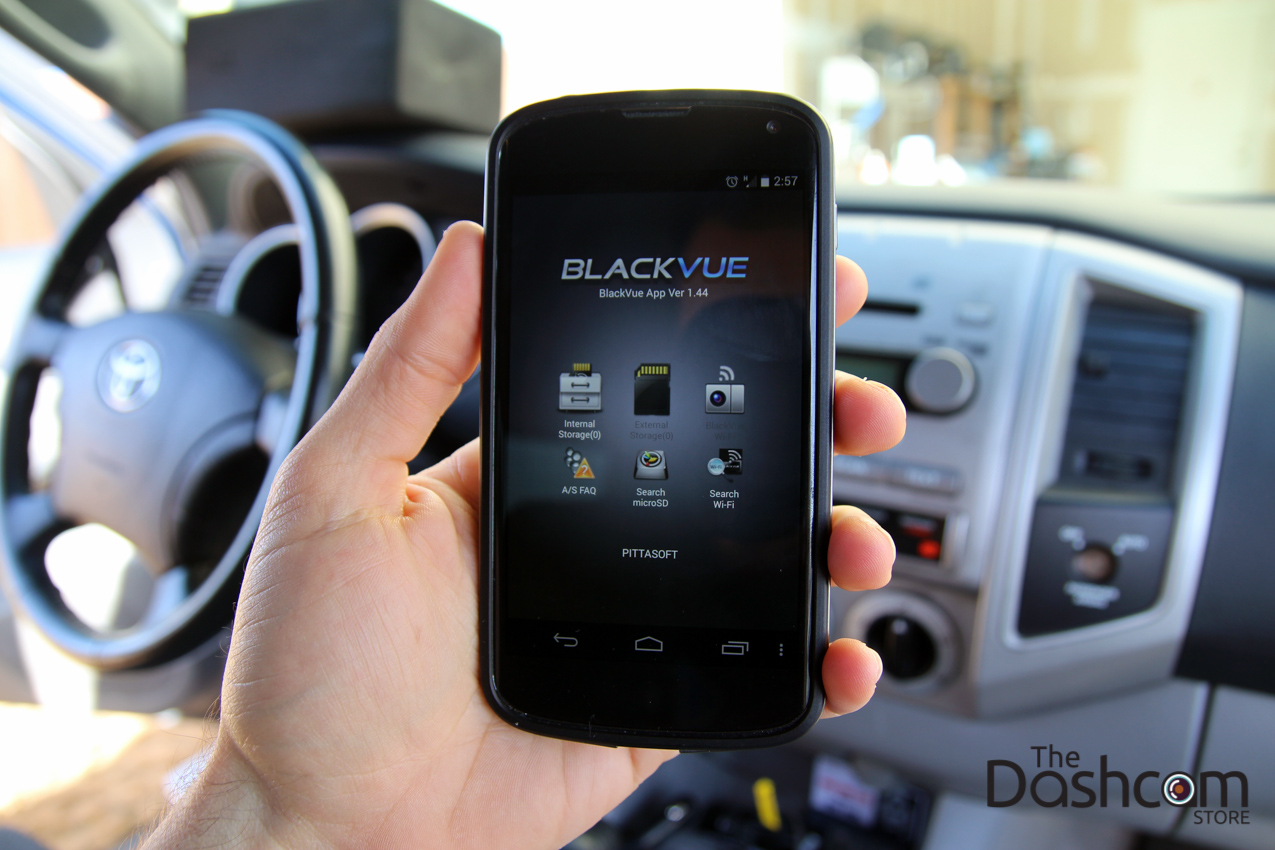
This way, you can use the live view over WiFi to help you position the camera!
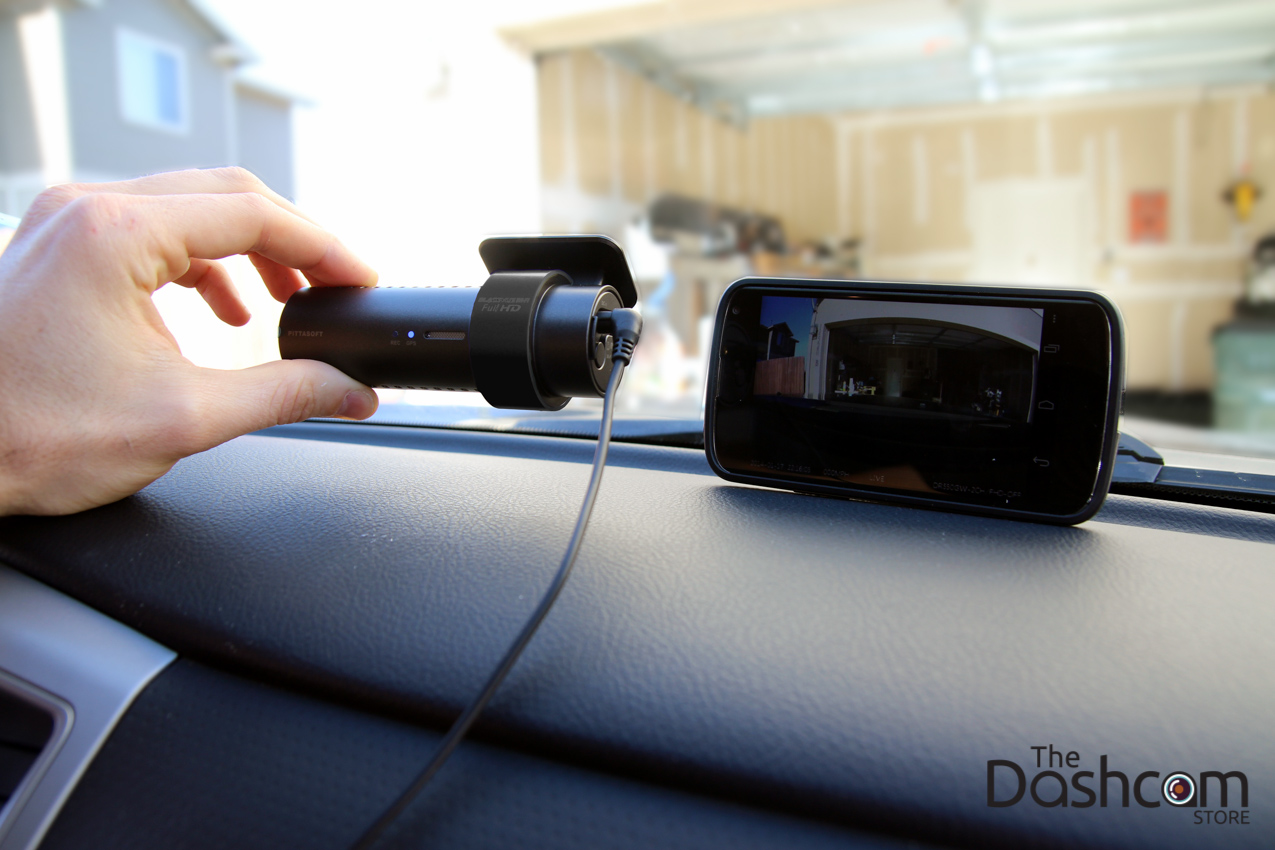
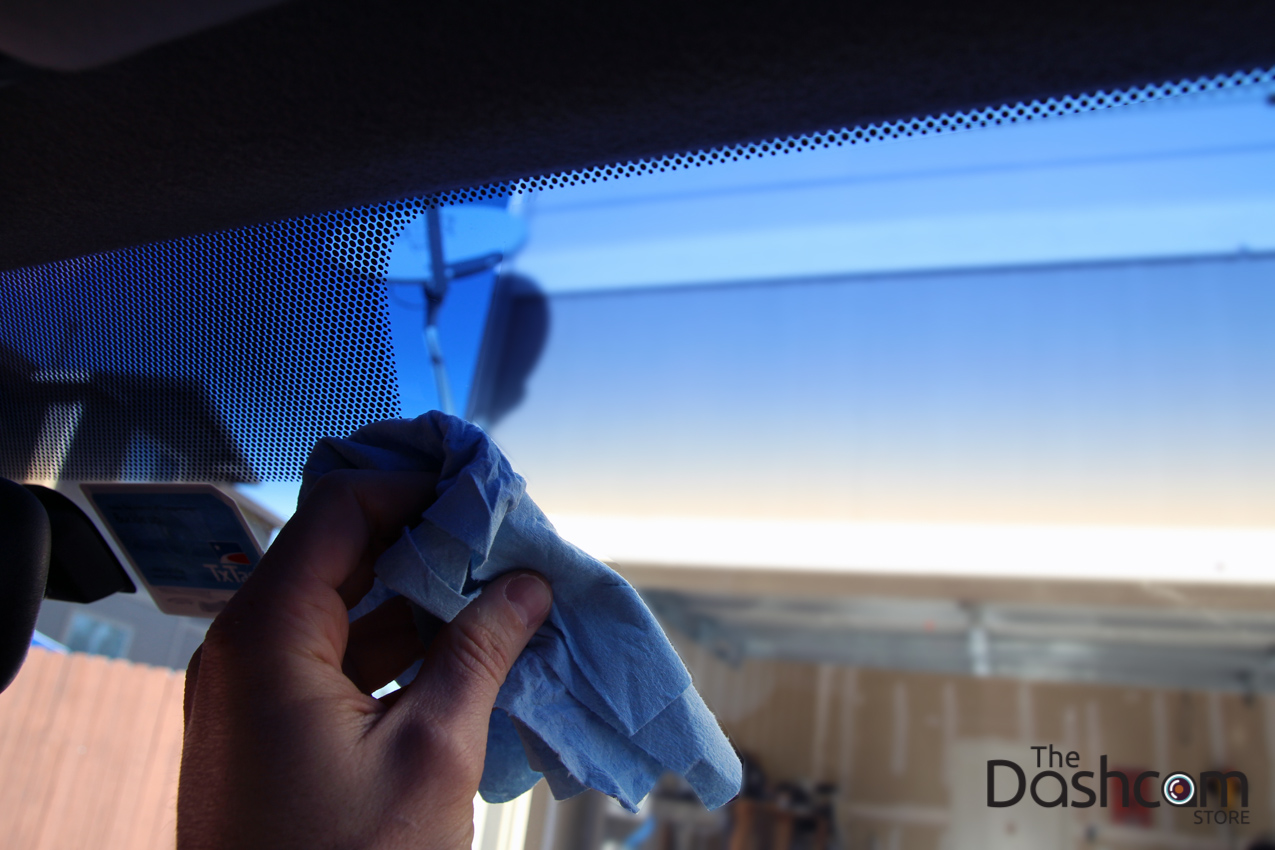
It's usually best to place the dash cam higher up in the windshield
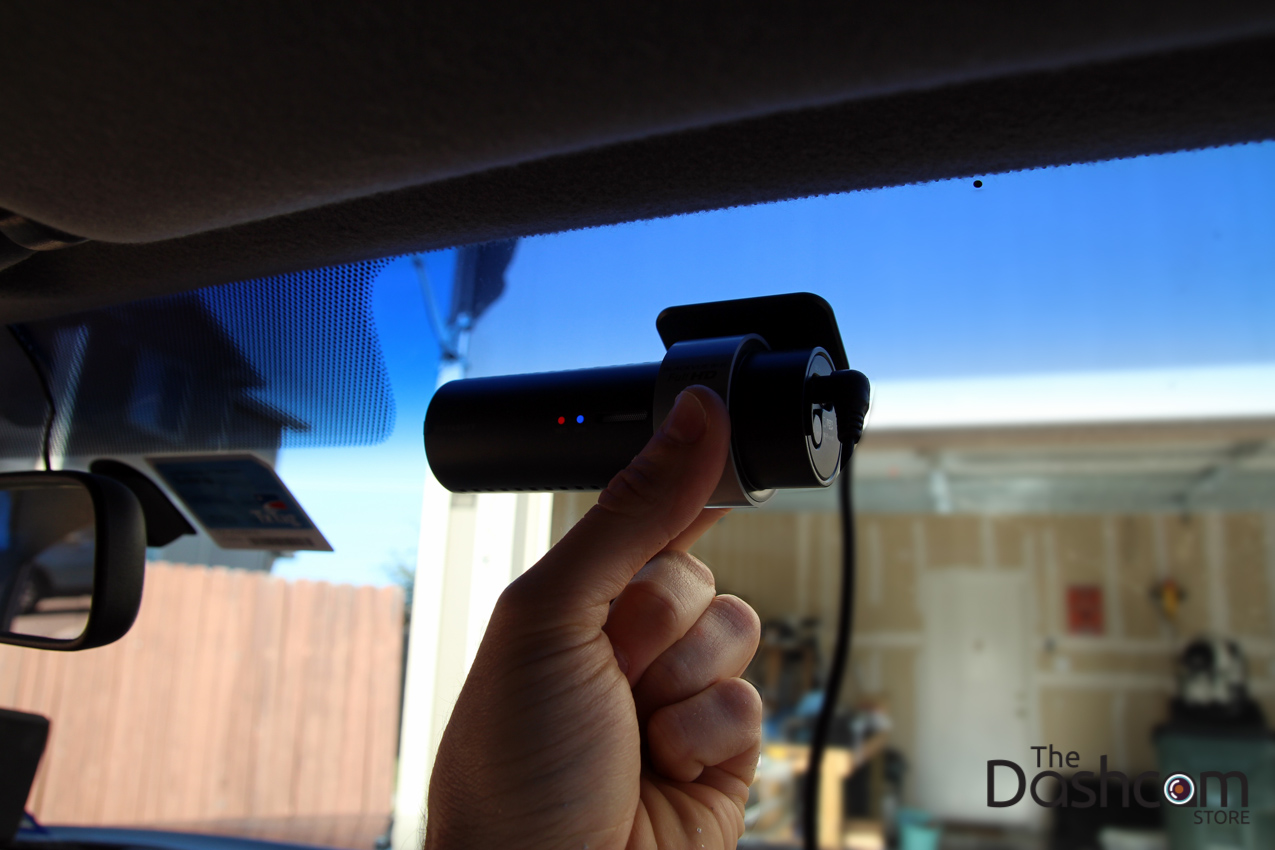
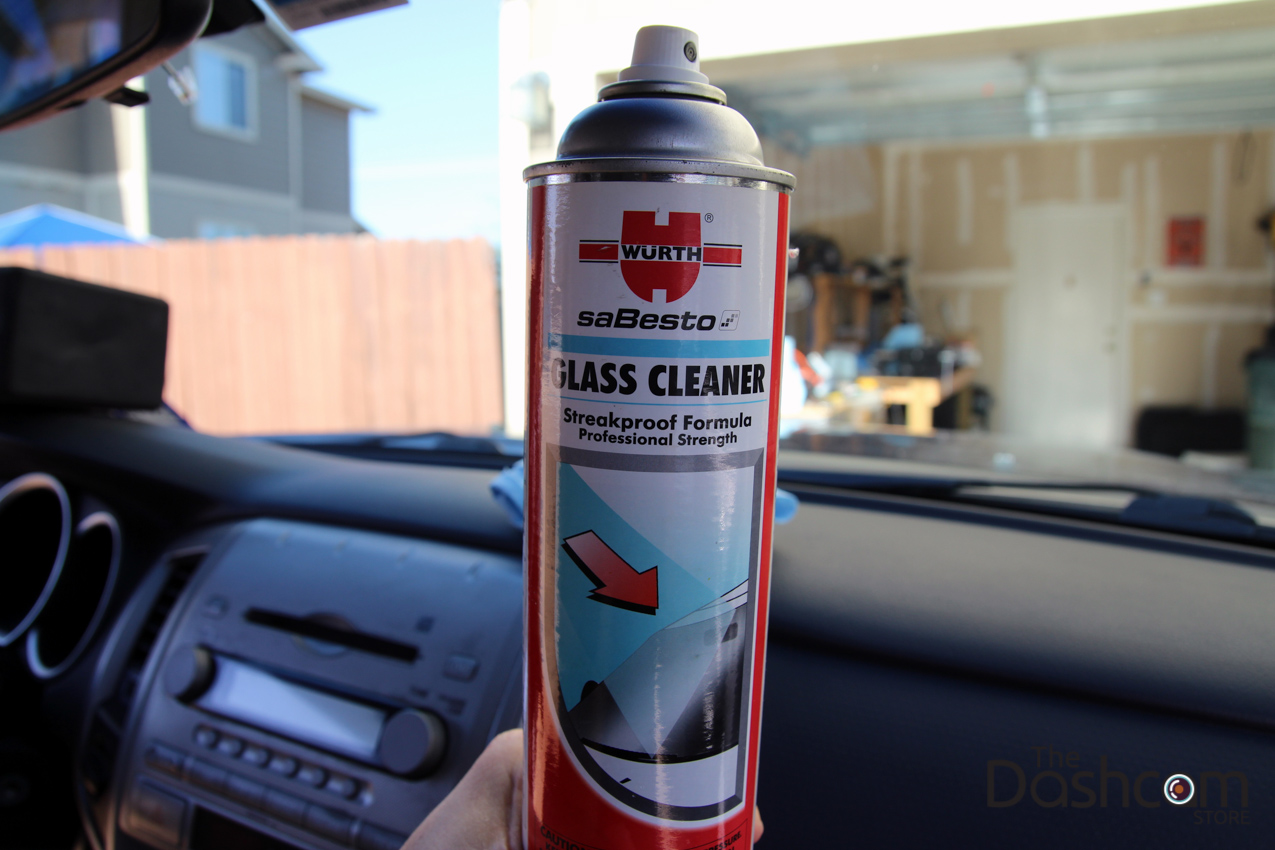
Once you've found your ideal mounting location, use a quality cleaner to prepare the windshield. It's critical to have a clean surface for the adhesive pad to stick to, if done properly, the adhesive mount will be strong for a year or more.
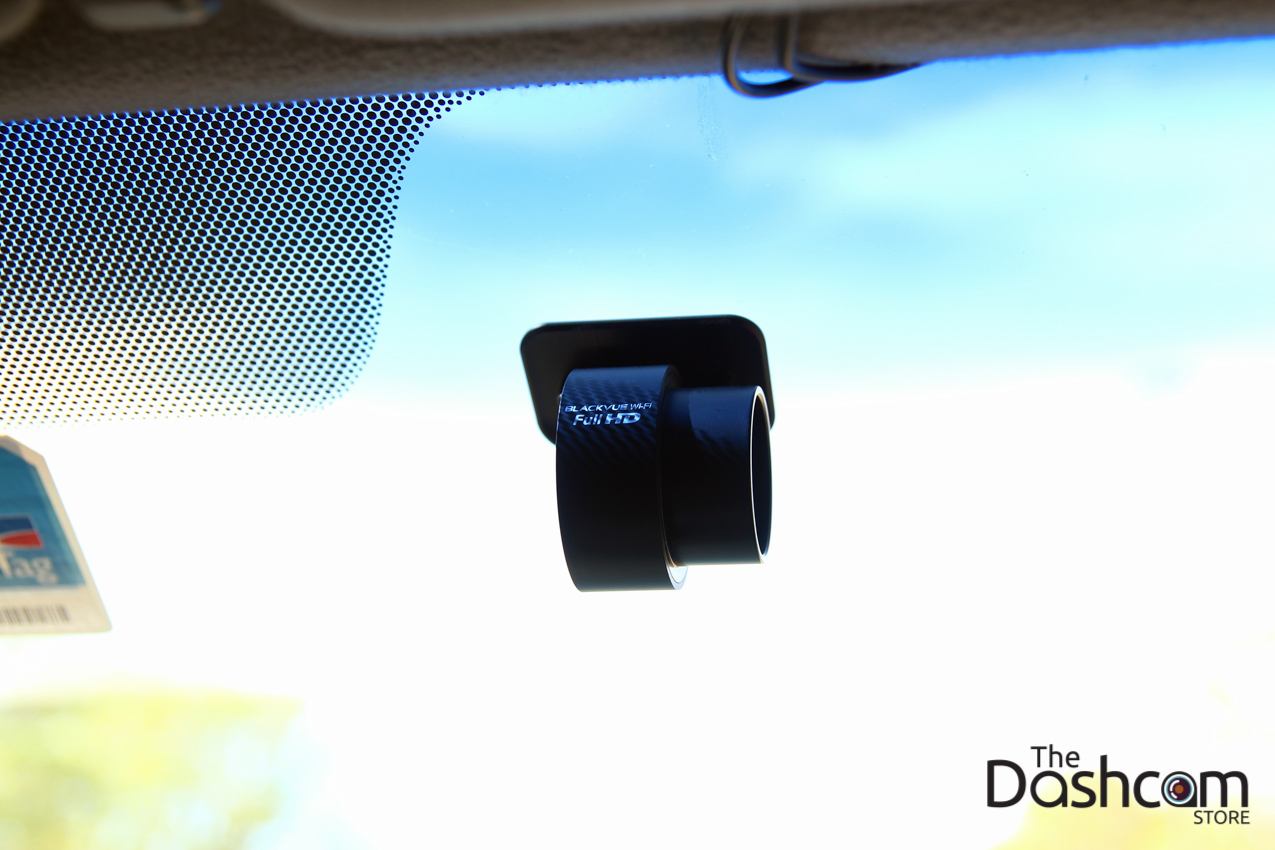
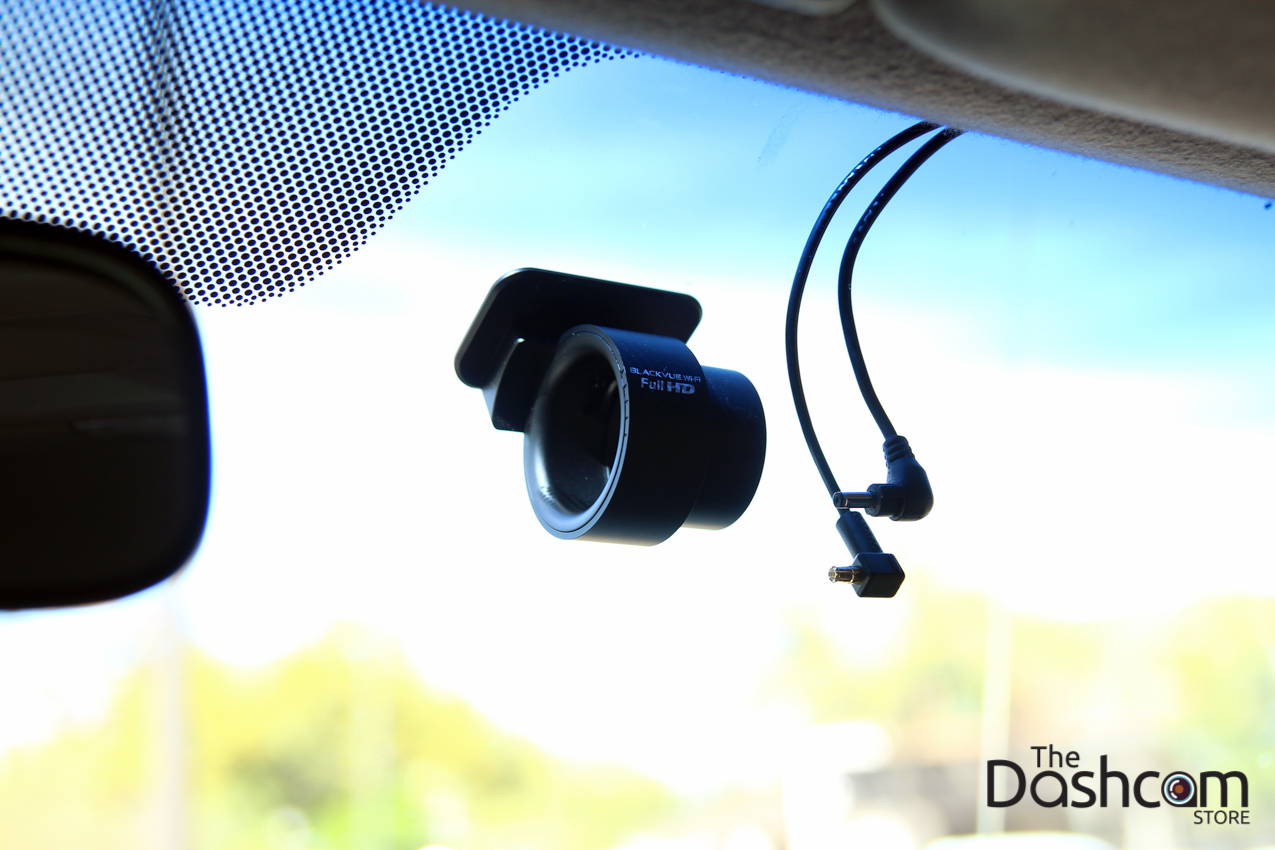
Front BlackVue DR650 / DR750 mount is fully adhered to the windshield (actual dash cam removed from the mount for now):
Now we do the same with the BlackVue rear lens element, position the camera while using the WiFi live-view:

Rear element mounted, you can see it was mounted to the right of center since the Tacoma center glass piece slides open to the left:

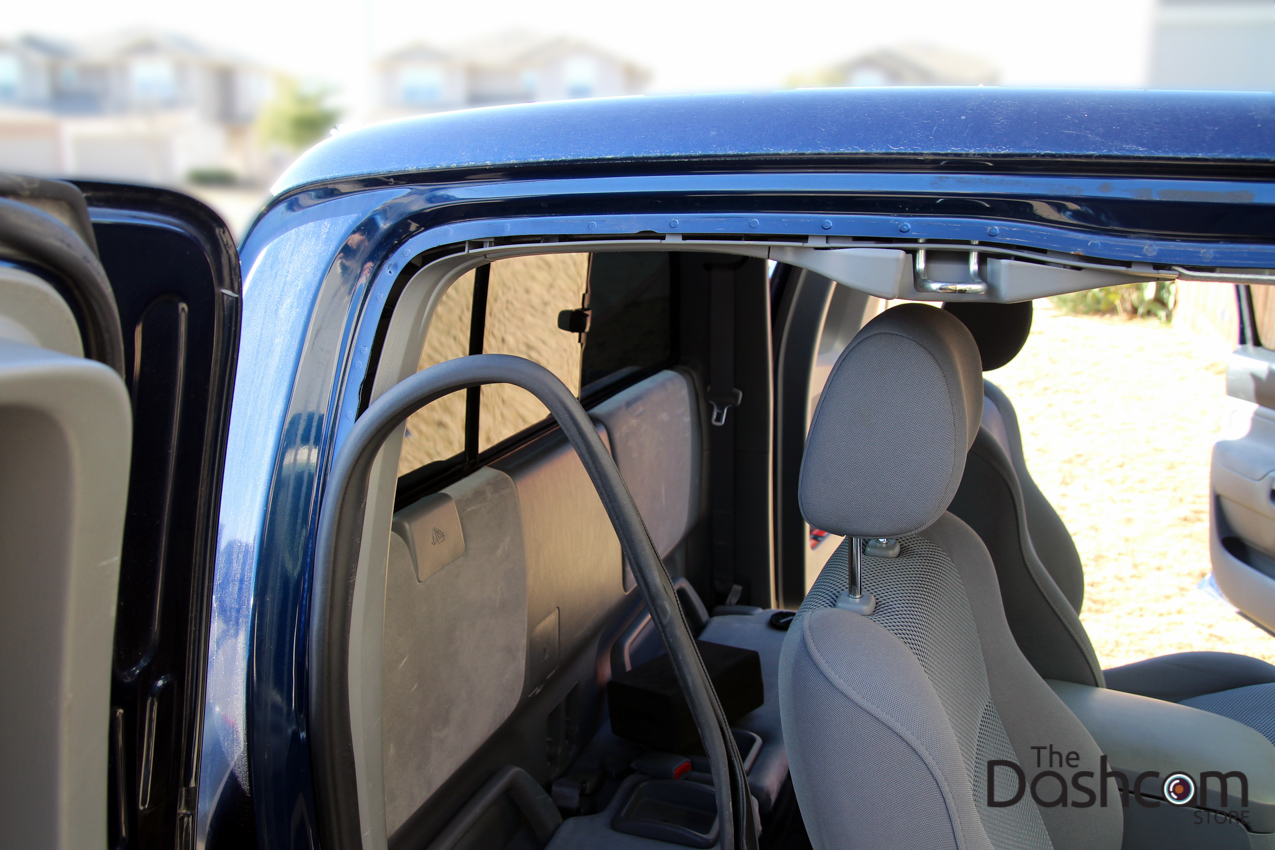
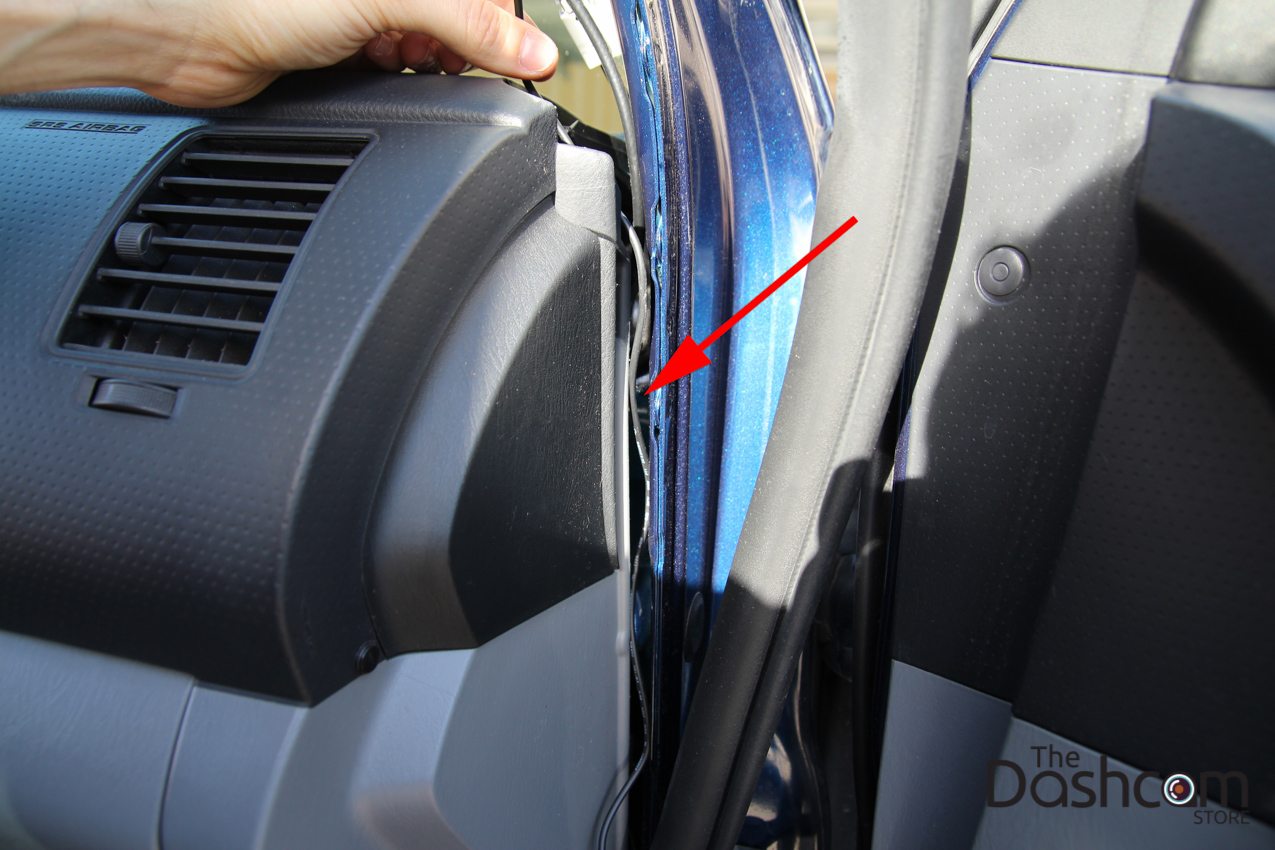
Now in order to connect the BlackVue rear lens element to the front element with the coaxial cable, we will gently tug down on the rubber door trim in order to expose the gap between the interior body panels and the frame. The gap is highlighted with the red arrows:

Door trim moulding fully dropped down from upper body frame to completely expose our path to the front camera:
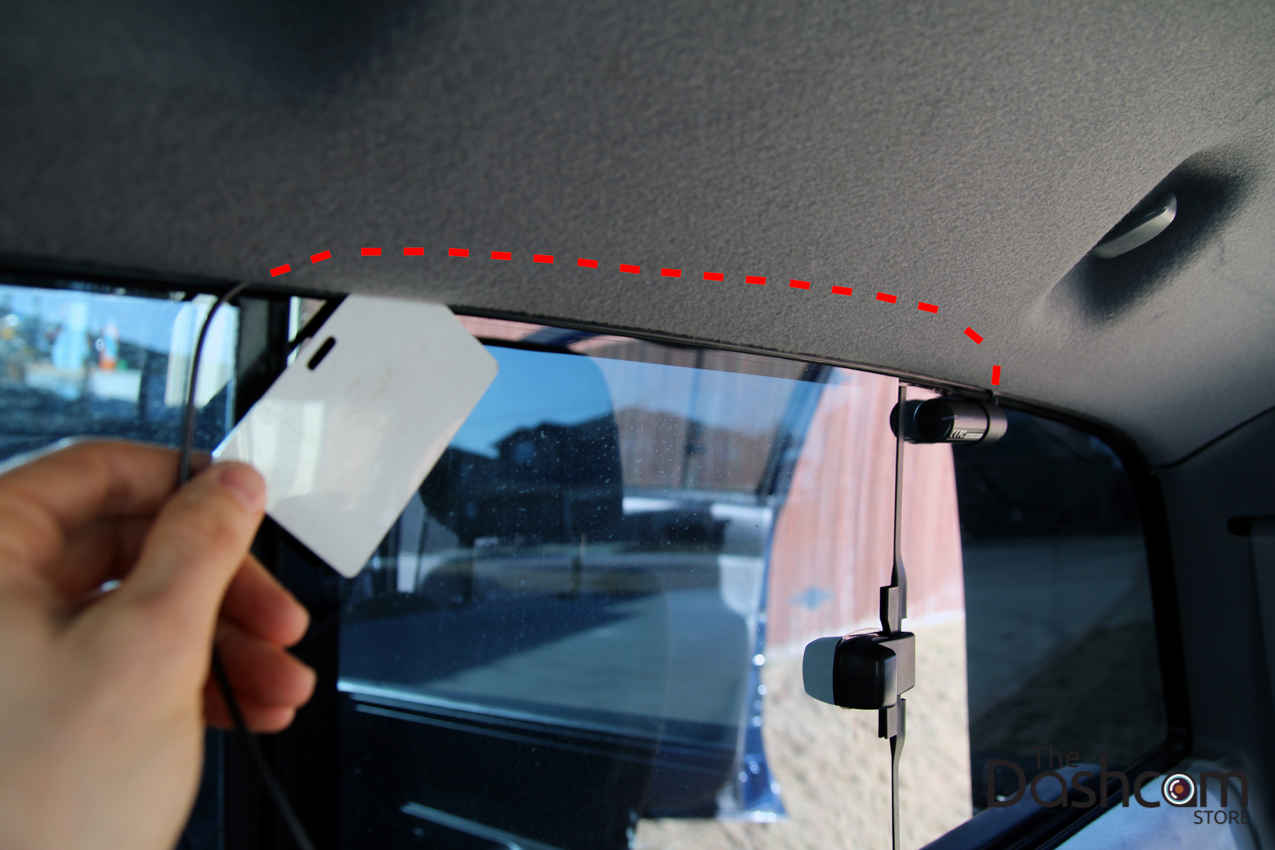
Now, starting at the back camera, start tucking the coaxial cable into the headliner as shown. It may help to use a plastic trim tool or credit card to help run the cable. The cable path is shown with the red highlighted line:
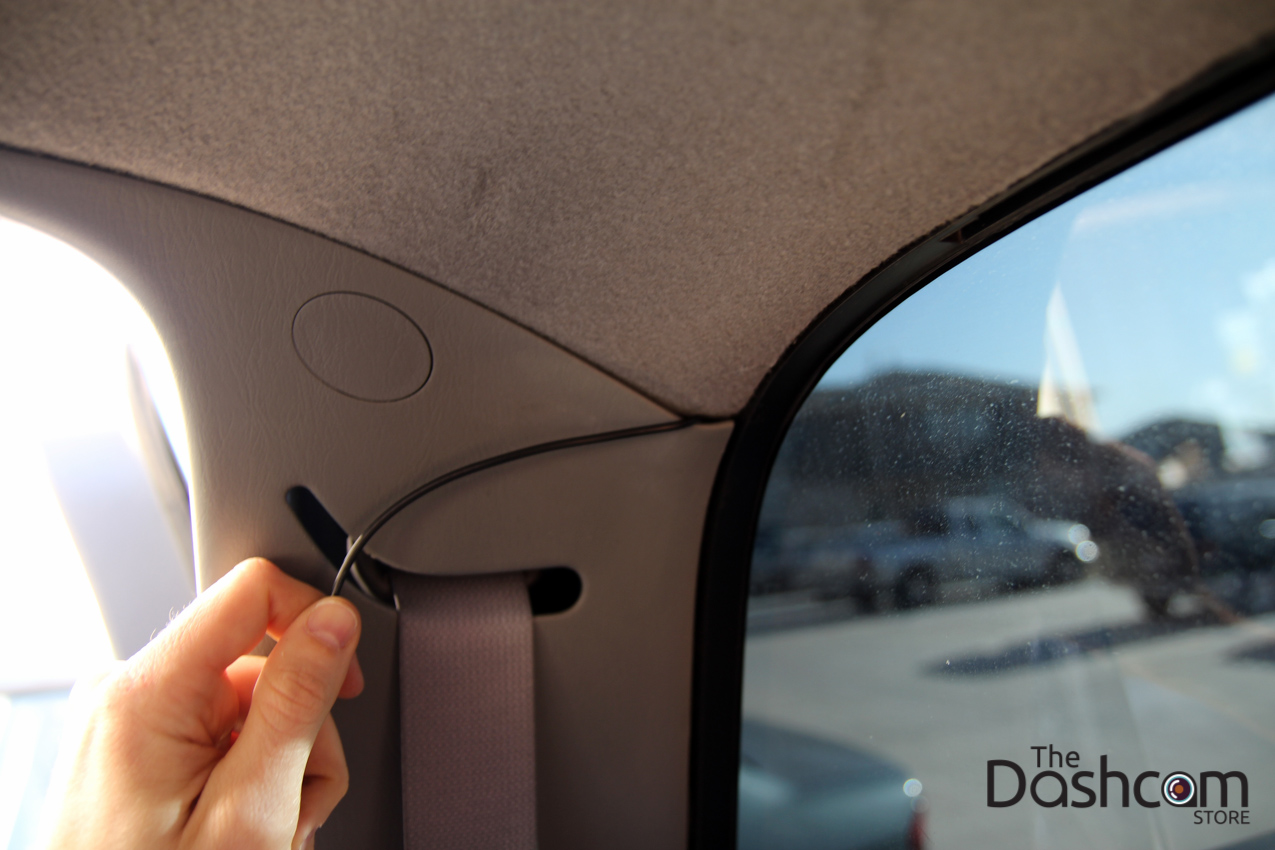
The coaxial cable is now all the way to the rear B-pillar, just continue tucking the cable along the top of the B-pillar:
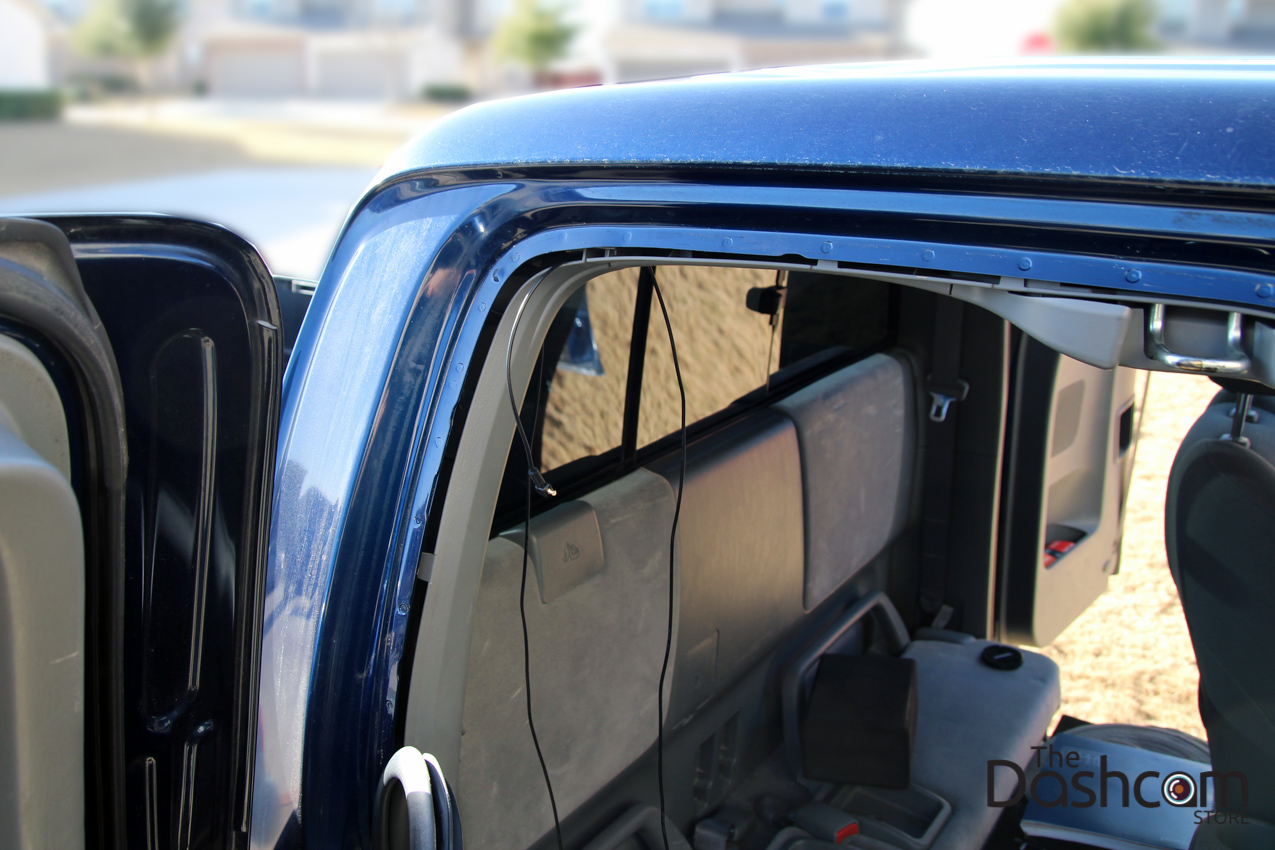
Now we have the rear camera coaxial cable partially run, we can start to tuck it into the gap we exposed earlier:
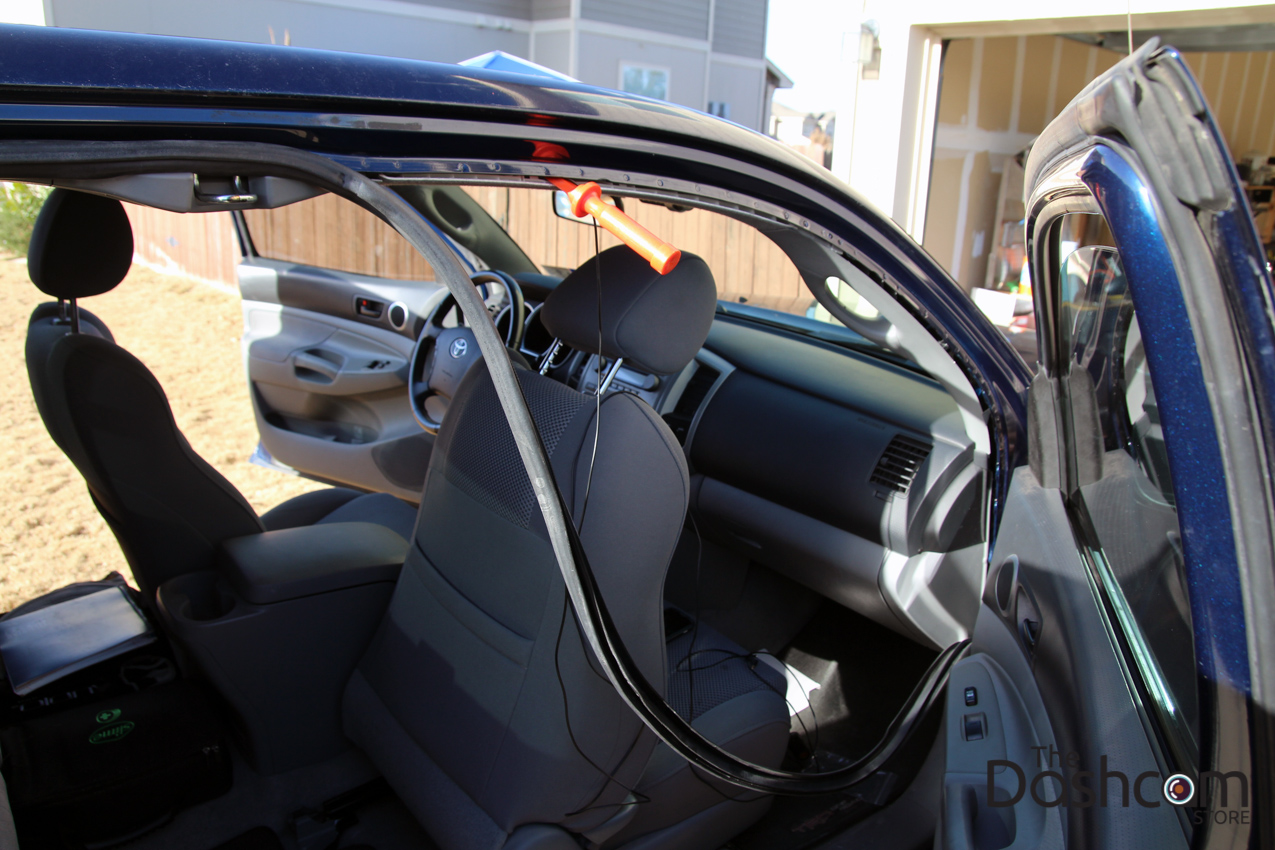
Coaxial cable is partially run and the rubber trim partially put back in place. It may help to use a plastic trim tool as shown to carefully help guide the cable along the gap:
Now the coaxial cable (gold plug) from the rear camera is run all the way to the front. Drop enough cable to plug in to the front camera, and tuck the rest securely behind the head liner. In this photo we have started running the power cable (silver plug) into the headliner as well:
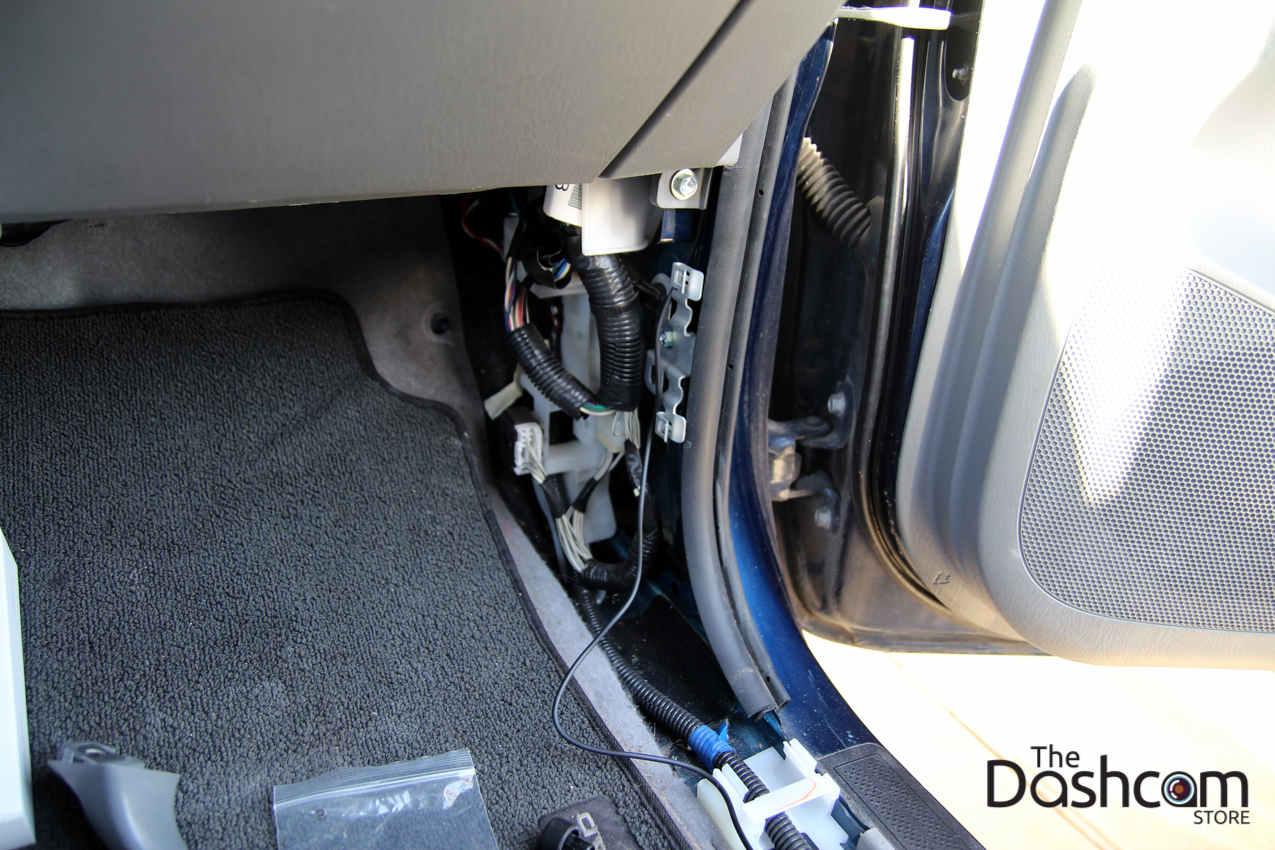
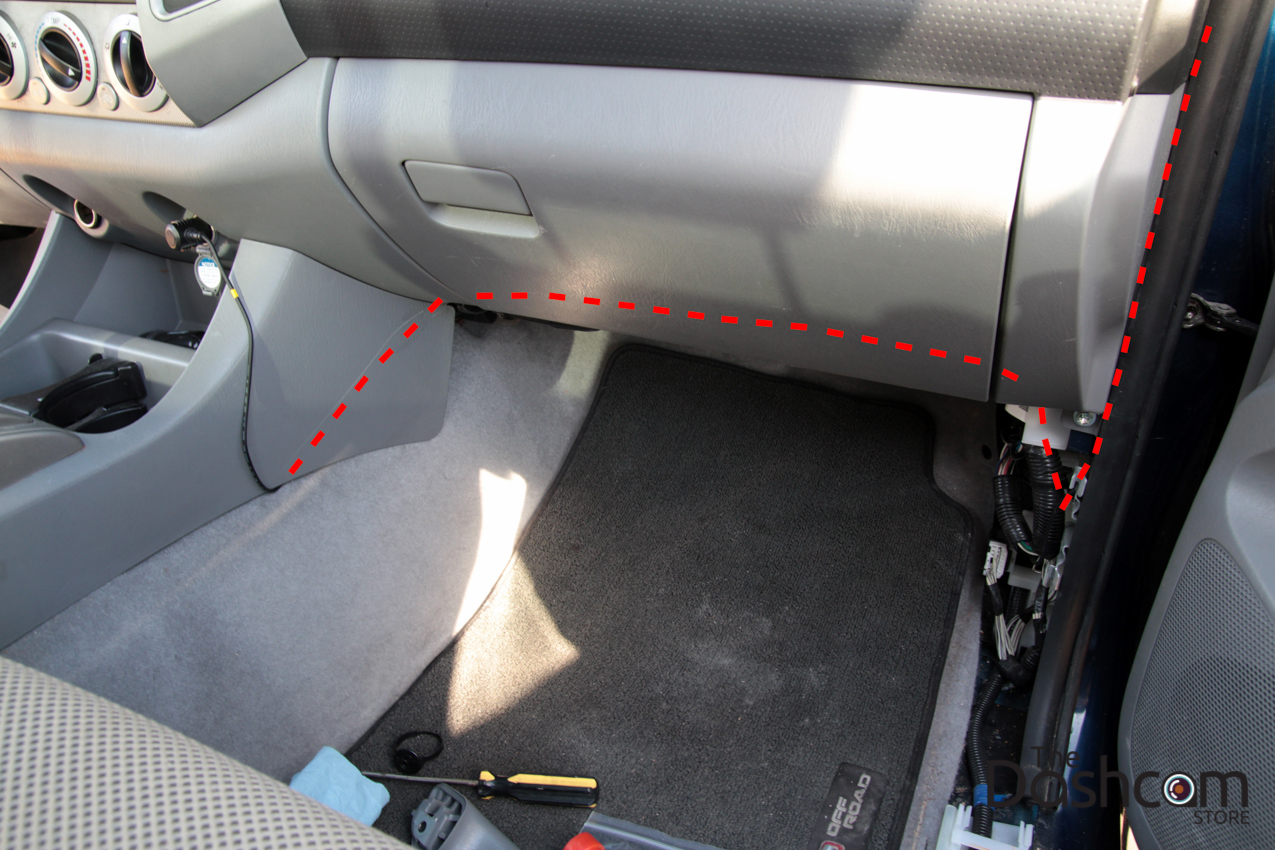
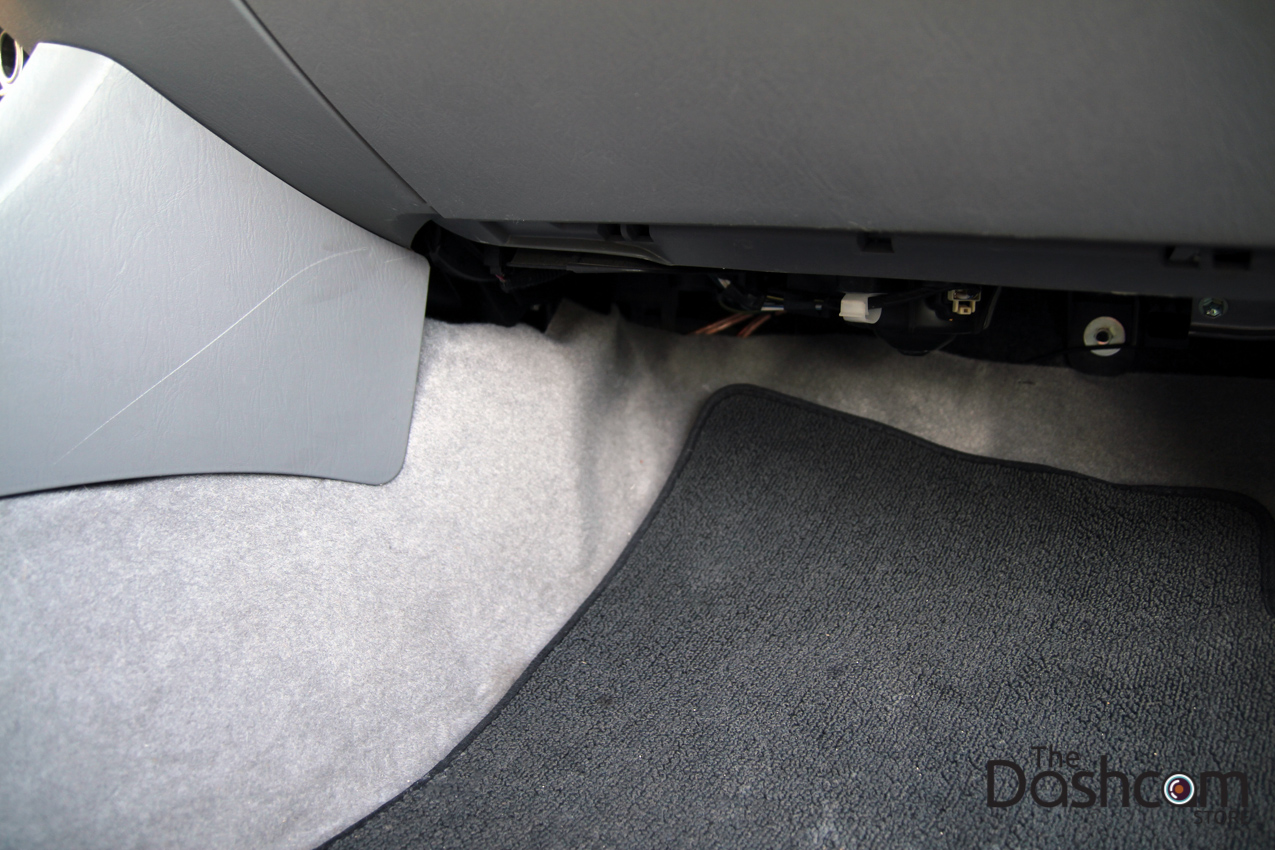
Use the same gap from the door trim piece to run the power cable down the A-pillar past the side of the dashboard:
We've removed the kick panel at the bottom of the passenger side A-pillar to continue routing the power cable:
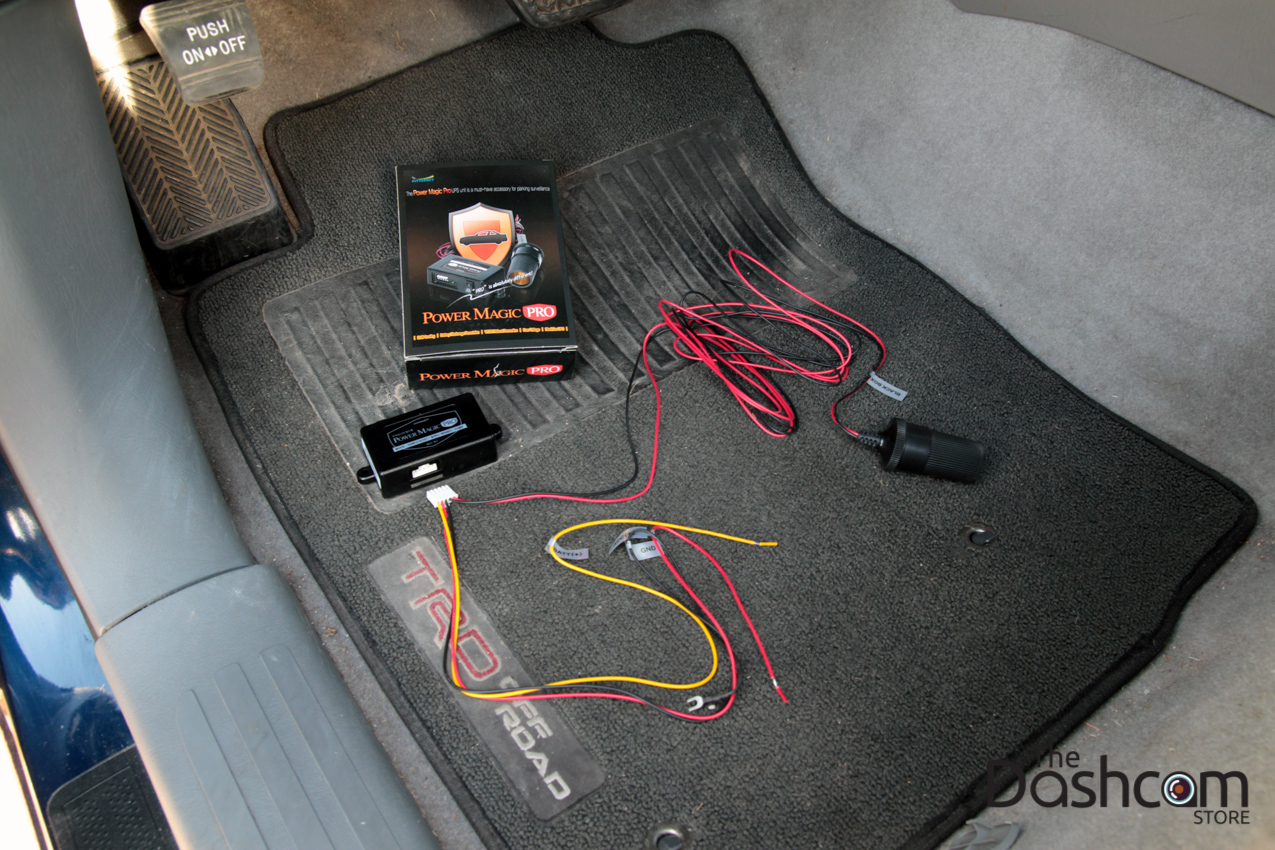
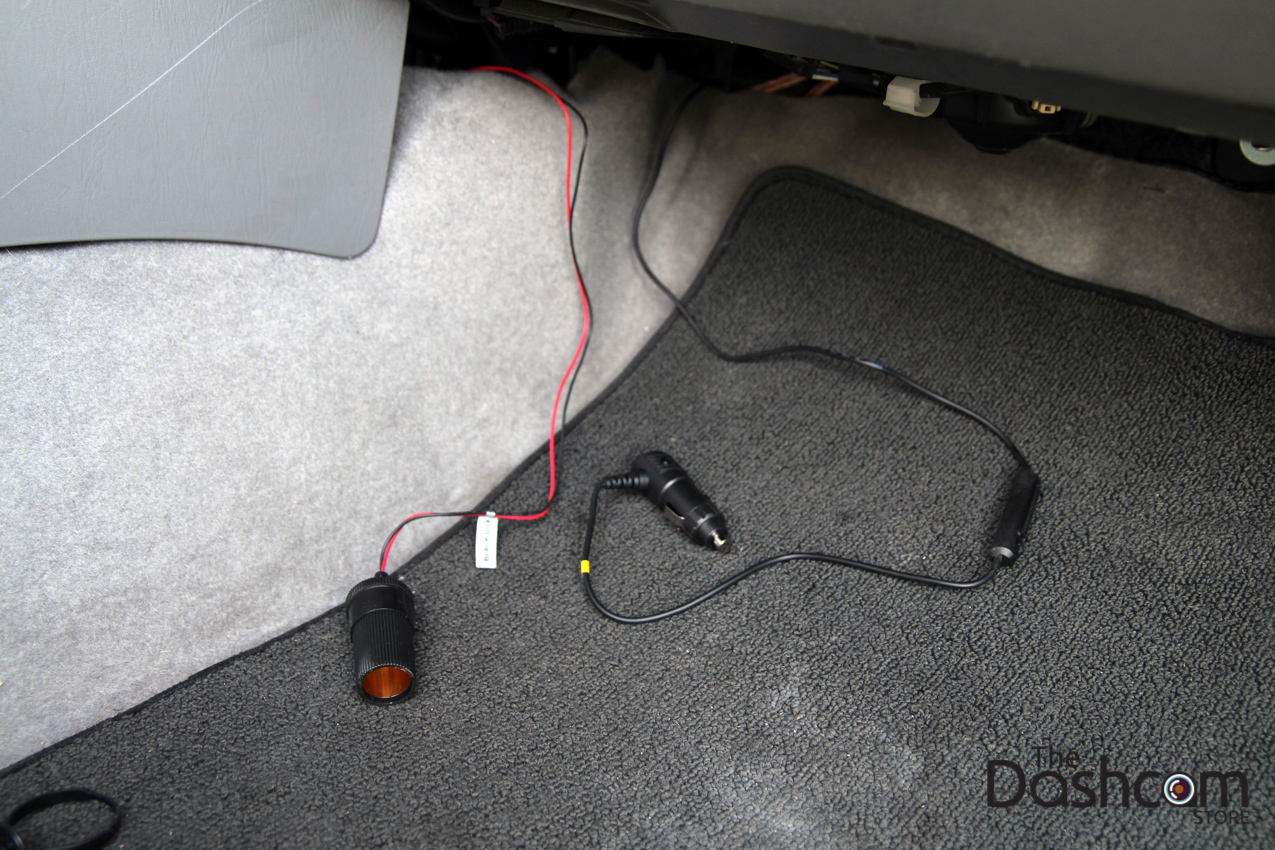
If you are installing just the BlackVue DR650GW-2CH / DR750S-2CH to your cigarette lighter outlet (and not using the Power Magic Pro), you're now done! This is what it might look like (note the BlackVue power cable plugged into the lighter power outlet):
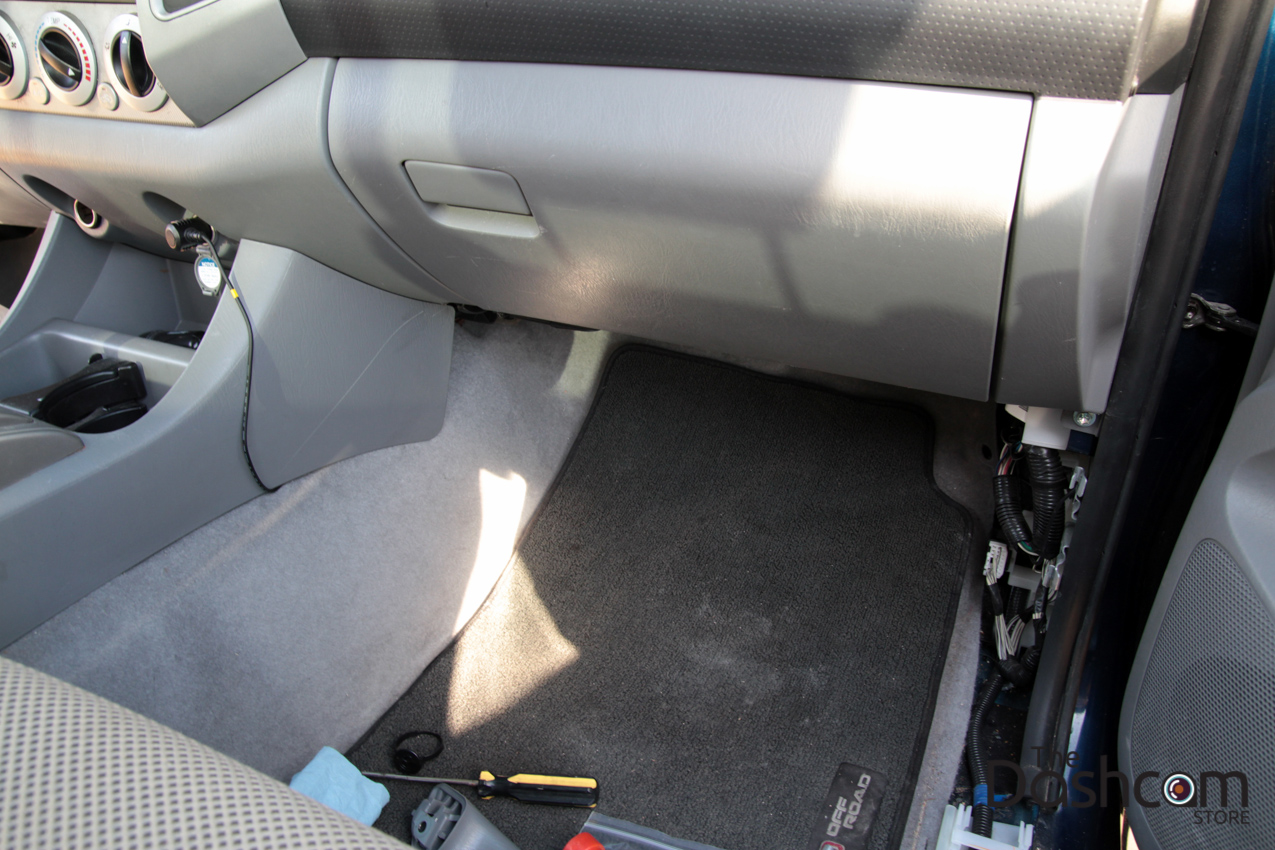
This photo shows how the power cable is routed to the power outlet if not using the Power Magic Pro:
However, we will continue with the installation process of the Power Magic Pro!
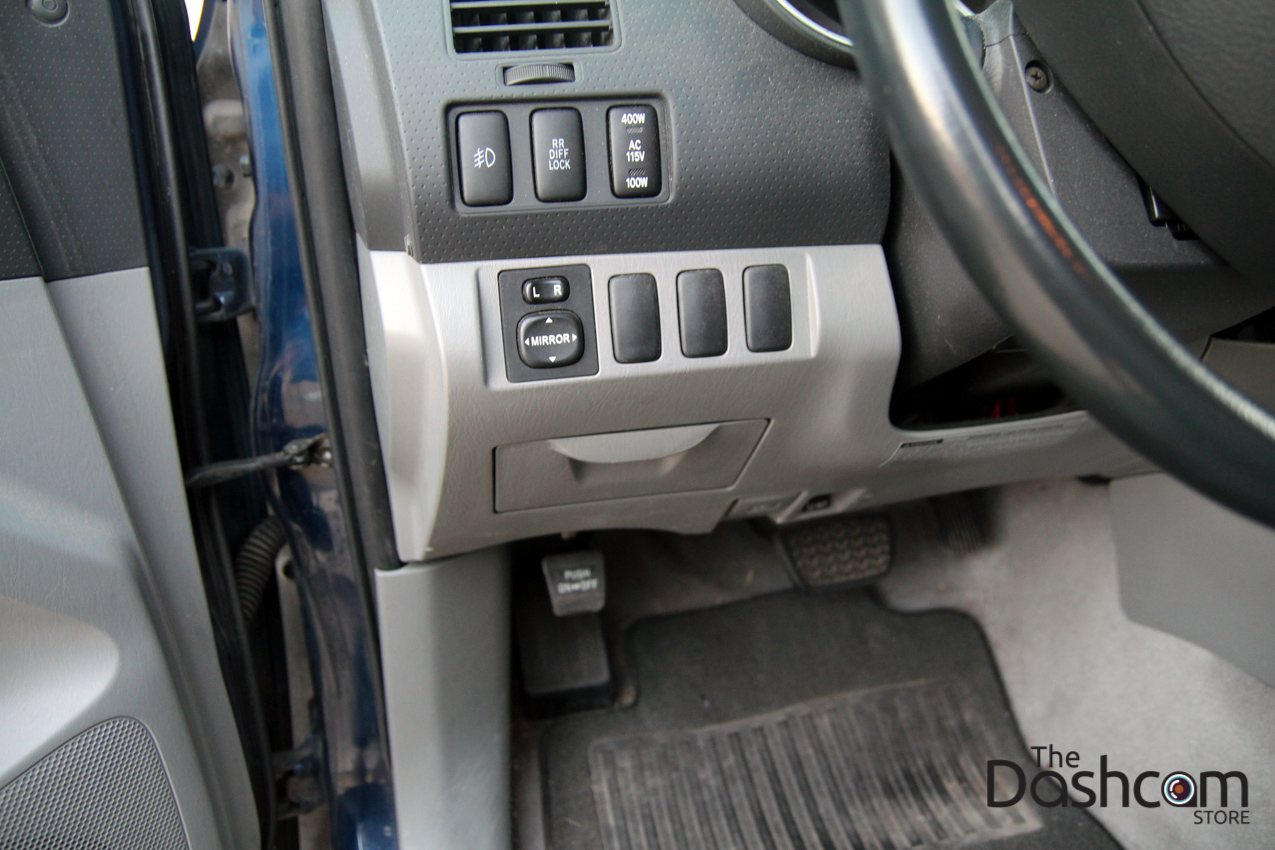
We're now on the driver's side, the interior fuse box is located behind this coin tray:
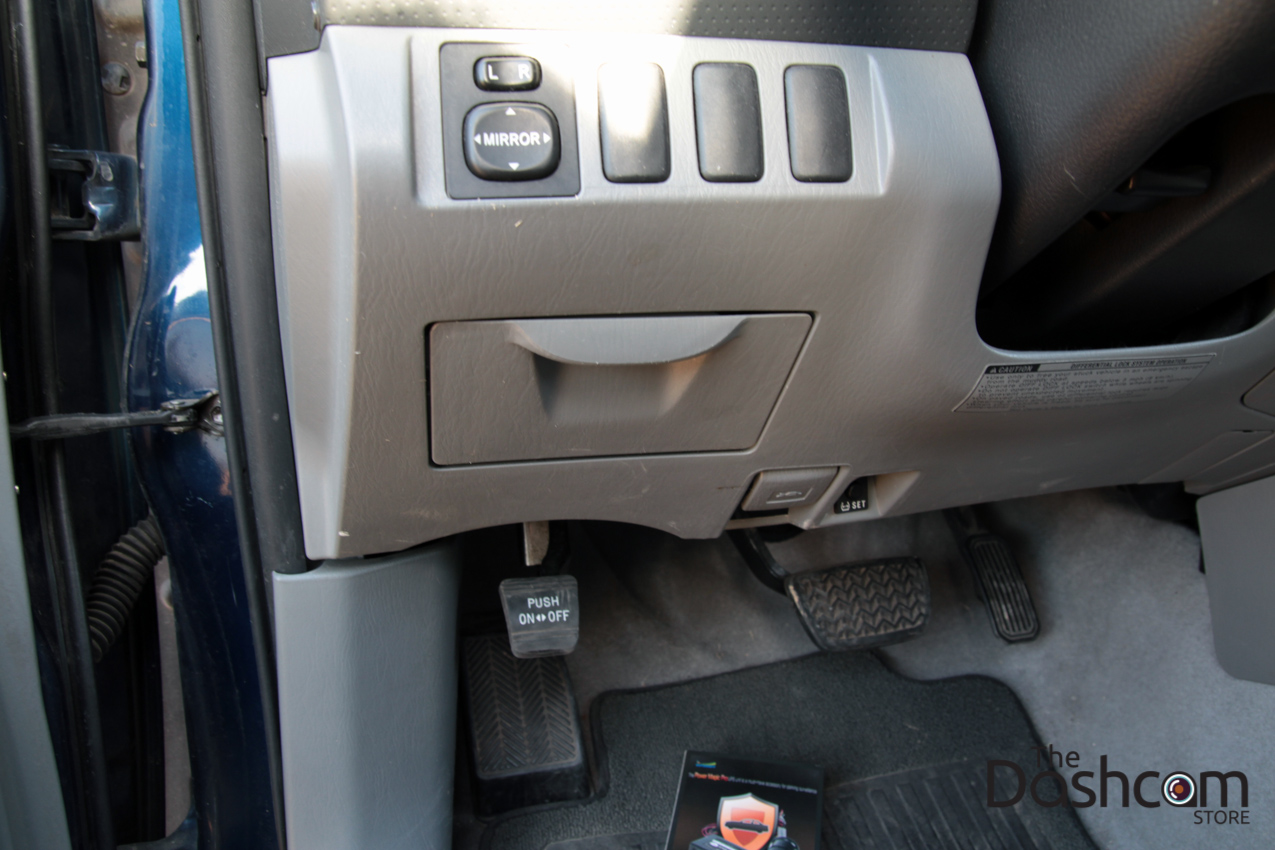
Toyota Tacoma interior fuse box hidden behind coin tray:
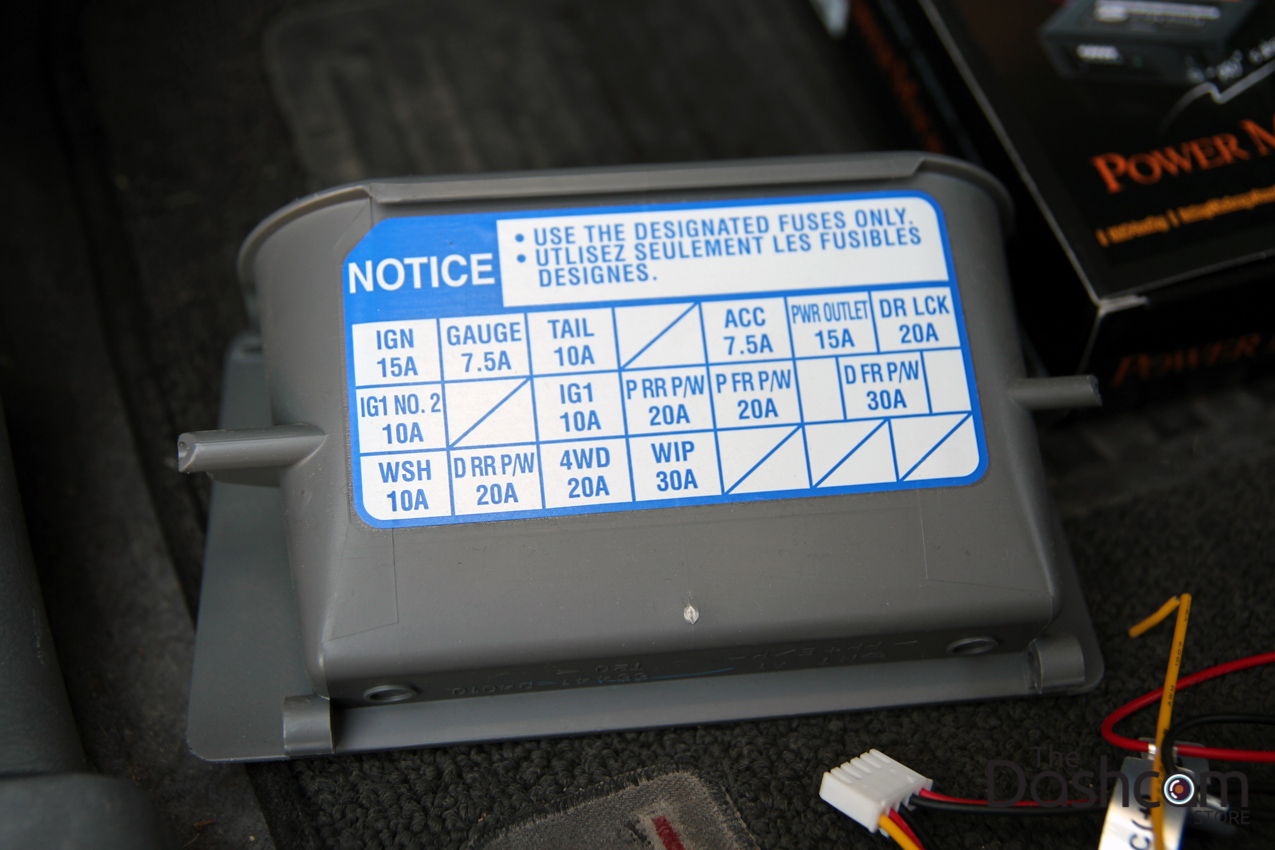
On the back of the coin tray box is a handy fuse chart to give us an idea which ones are 'hot' at all times, and which ones are 'switched' (only hot on start):
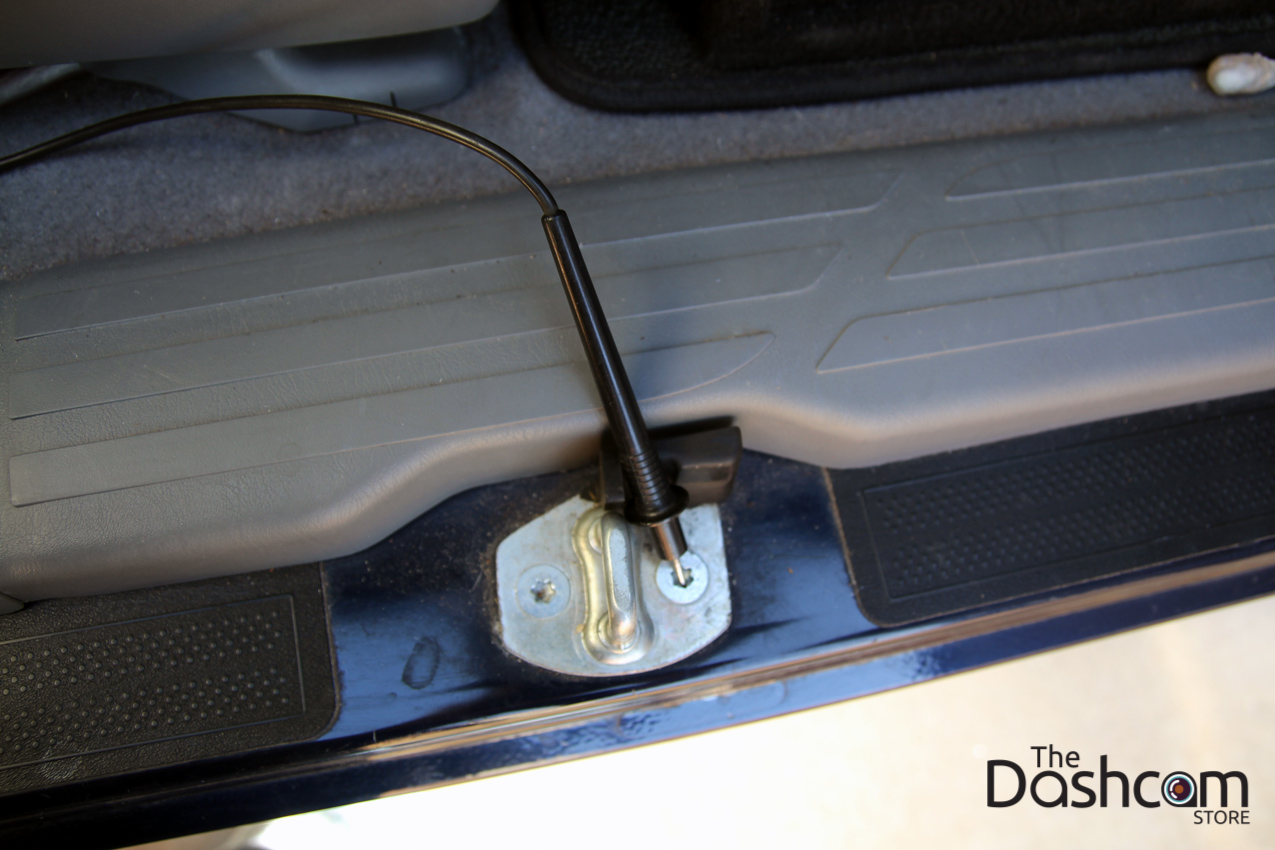
We're using an inexpensive multimeter to check our fuses, you can ground your meter on the bare metal door latch:
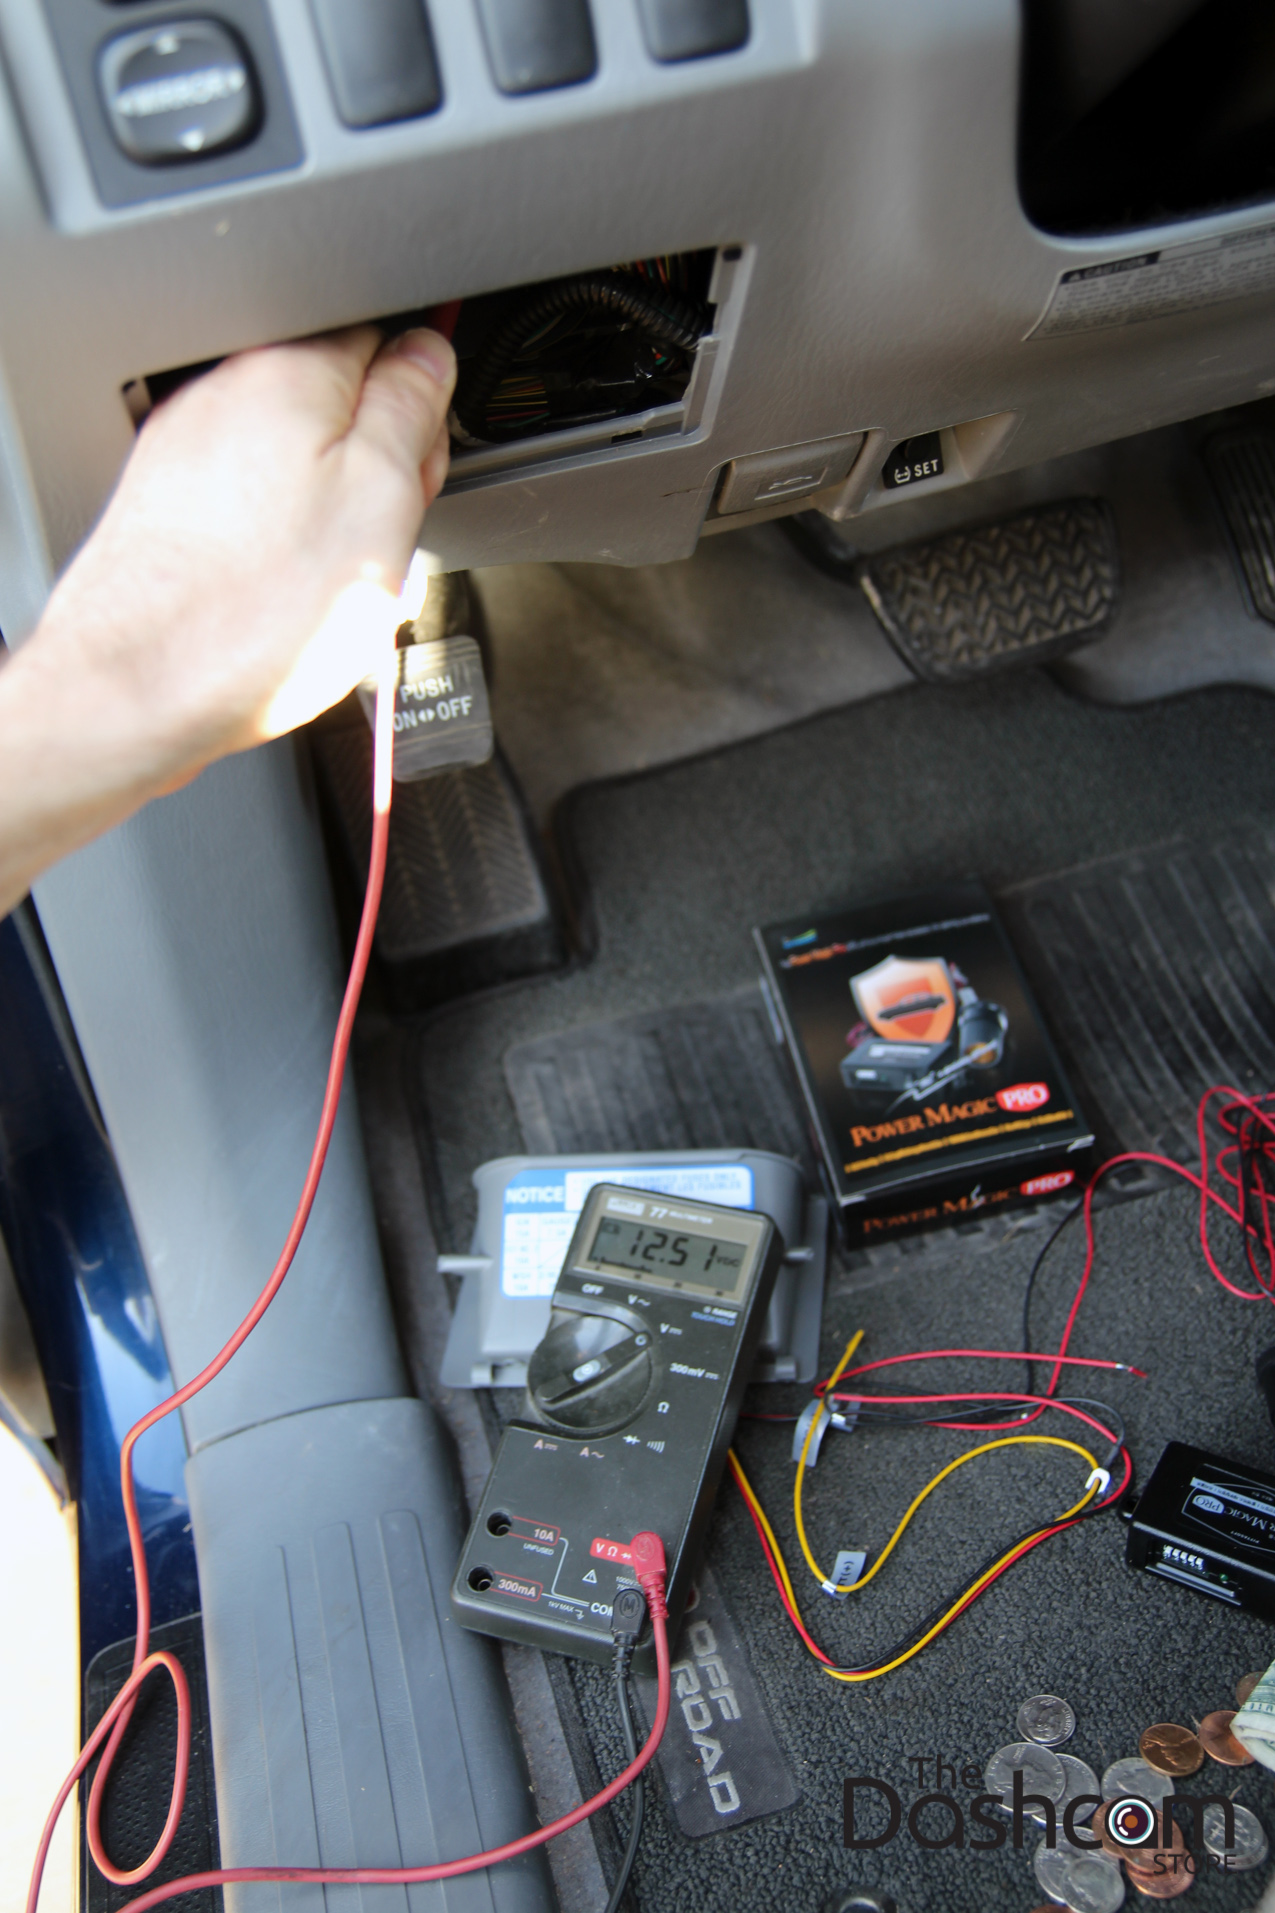
Using the voltmeter/multimeter to probe for battery voltage:
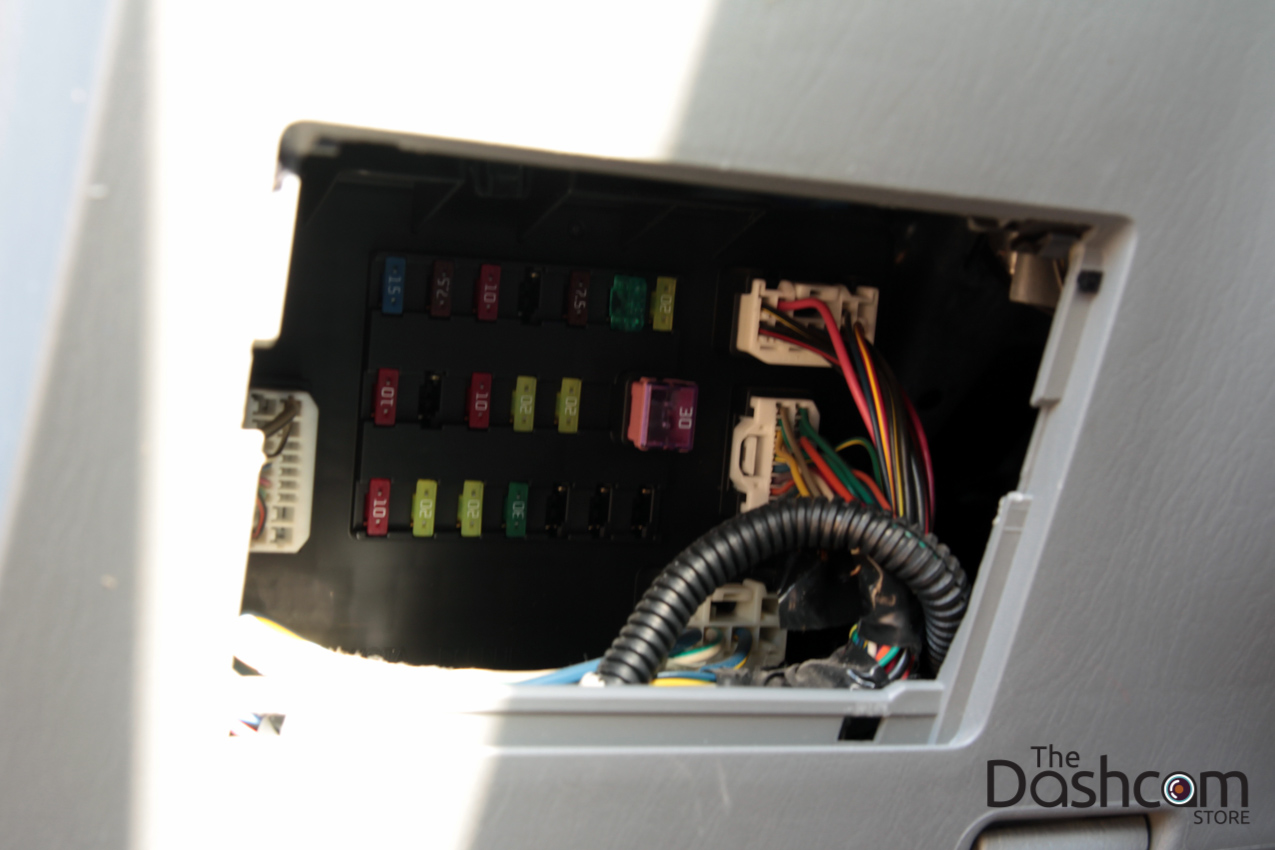
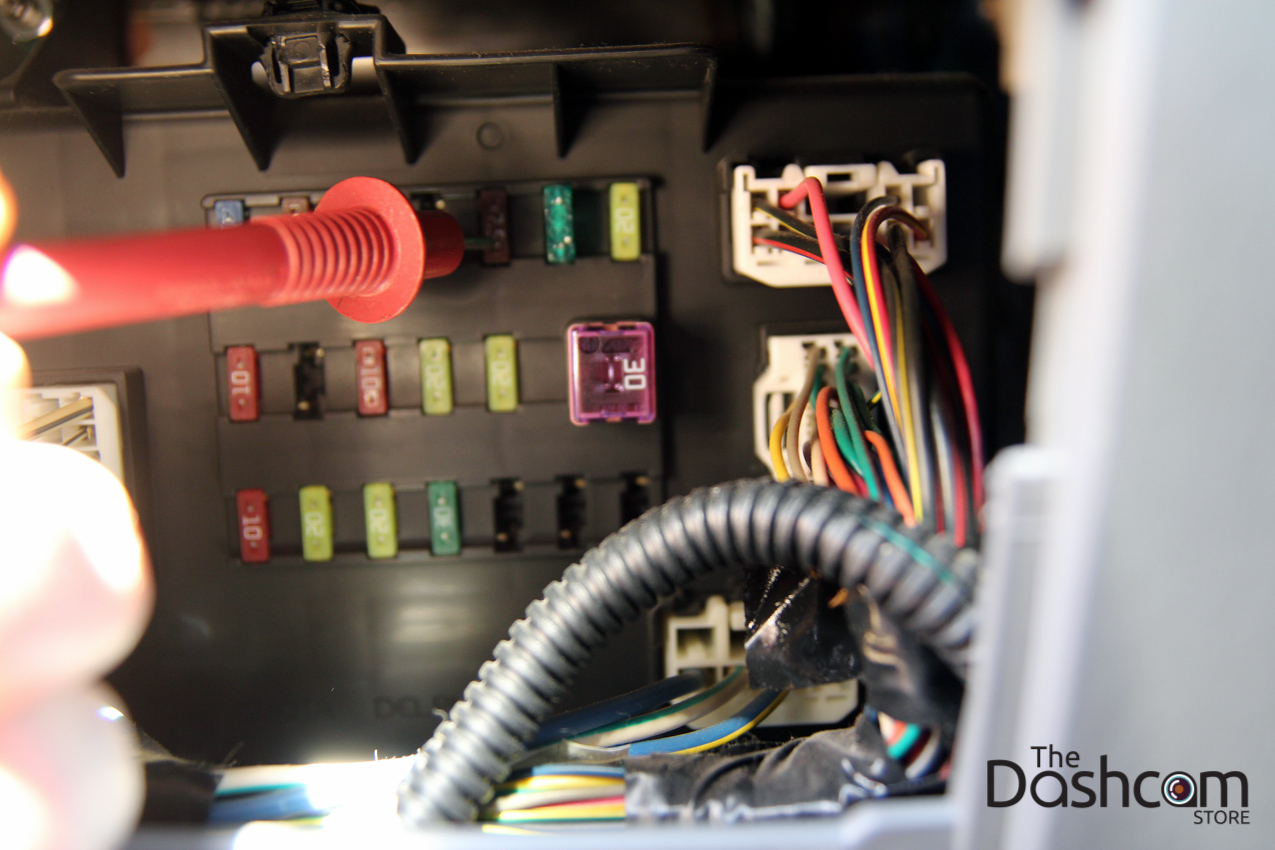
Close-up of probing the interior fuse box with the voltmeter/multimeter:
Power Magic Pro module mounted with the supplied adhesive pad inside the coin tray (a small hole was drilled in the back of the tray for the wire harness):
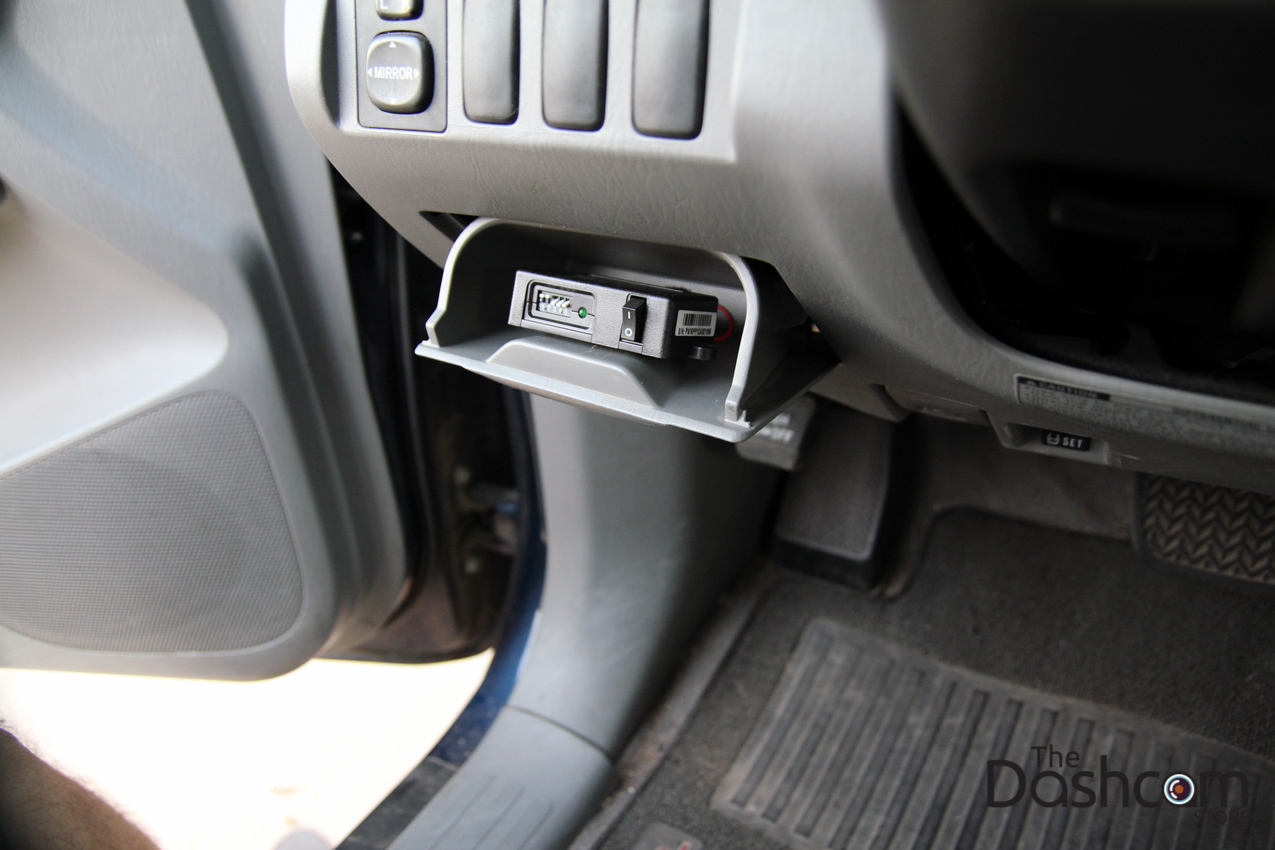
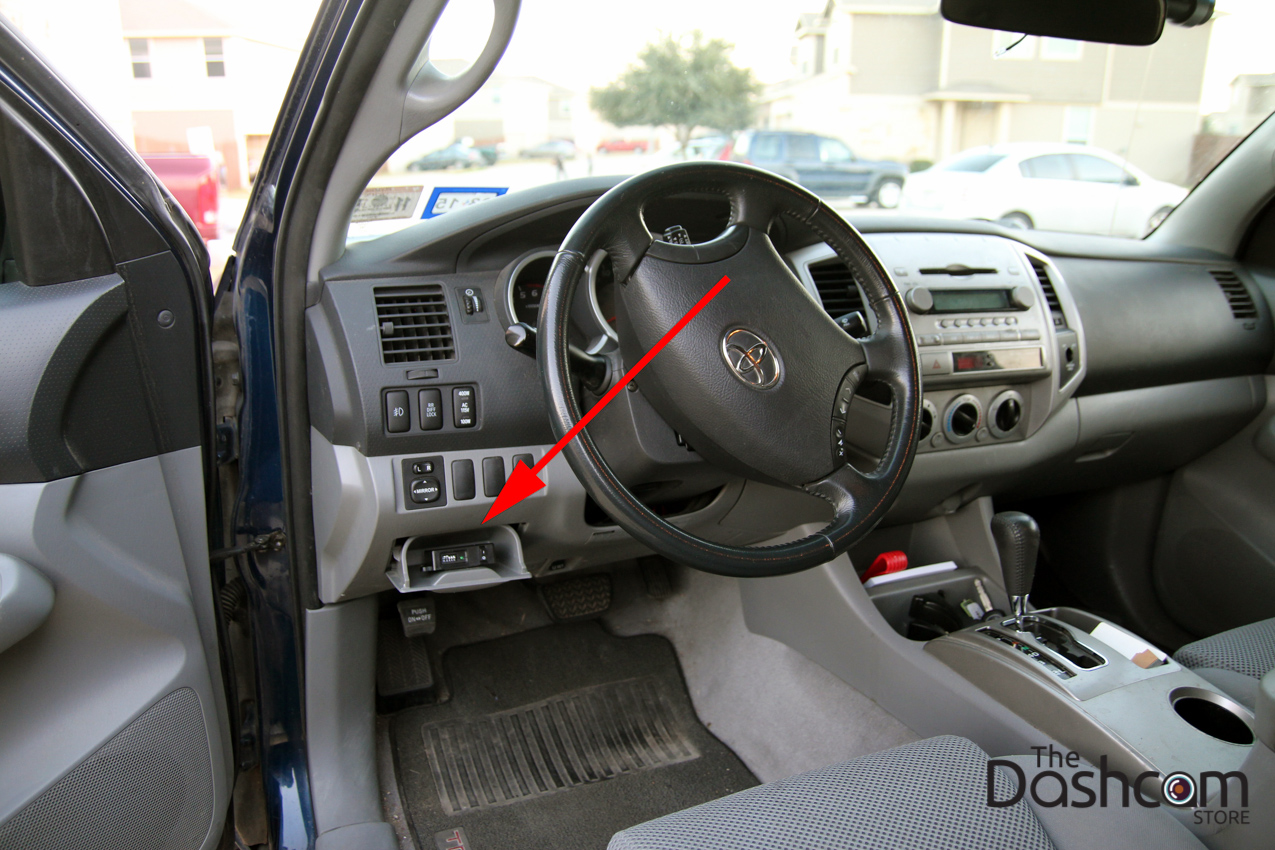
The Power Magic Pro override switch is now within quick and easy reach of the driver:
When the coin tray is closed, the Power Magic Pro box is fully hidden:
Now the output connector for the Power Magic Pro has been run to the passenger side and is ready to accept the plug from the DR650 / DR750. Note that whether you use the Power Magic Pro or not, you still use the same power cord with the BlackVue DR650GW-2CH / DR750S-2CH:
All wiring has been securely tucked behind the interior panels and carpeting:
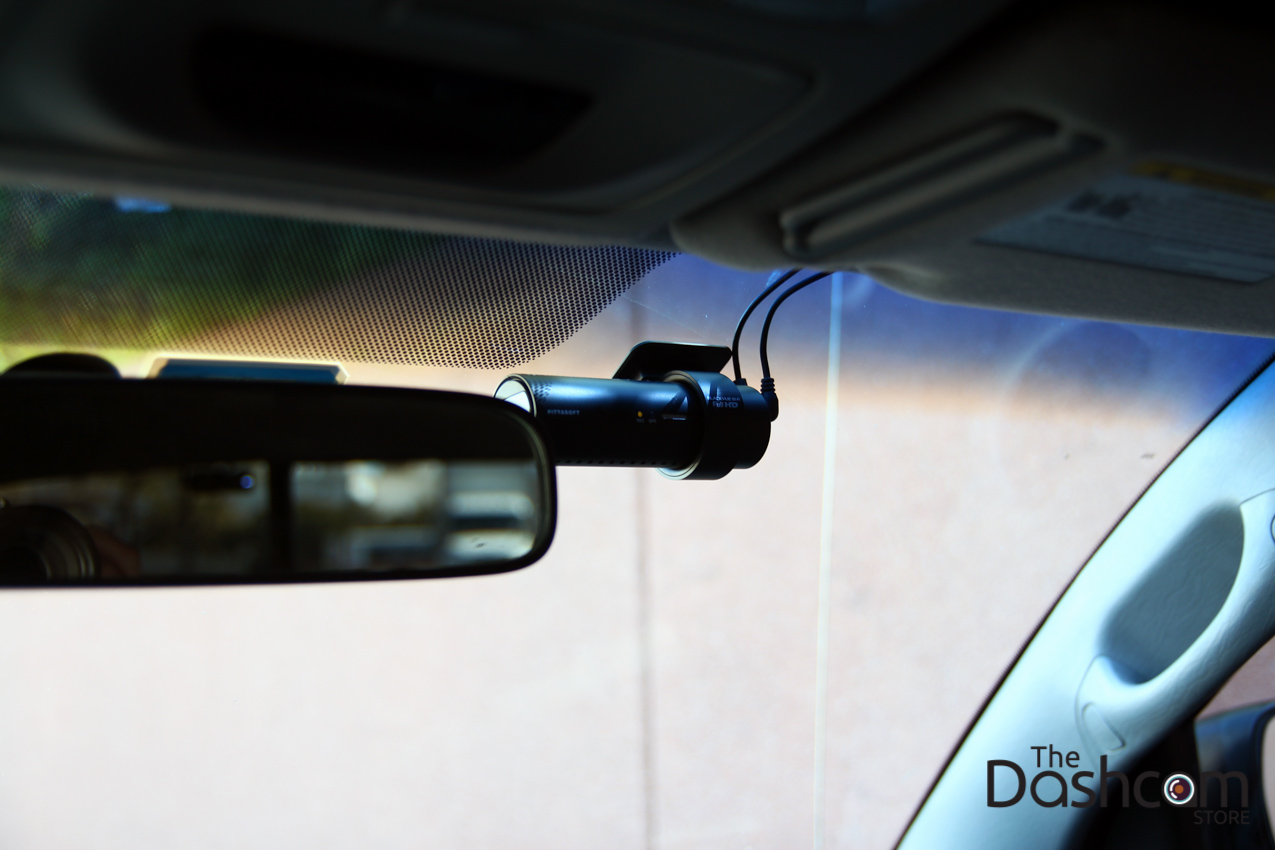
Front camera has been installed in the windshield mount and both cables are now connected:
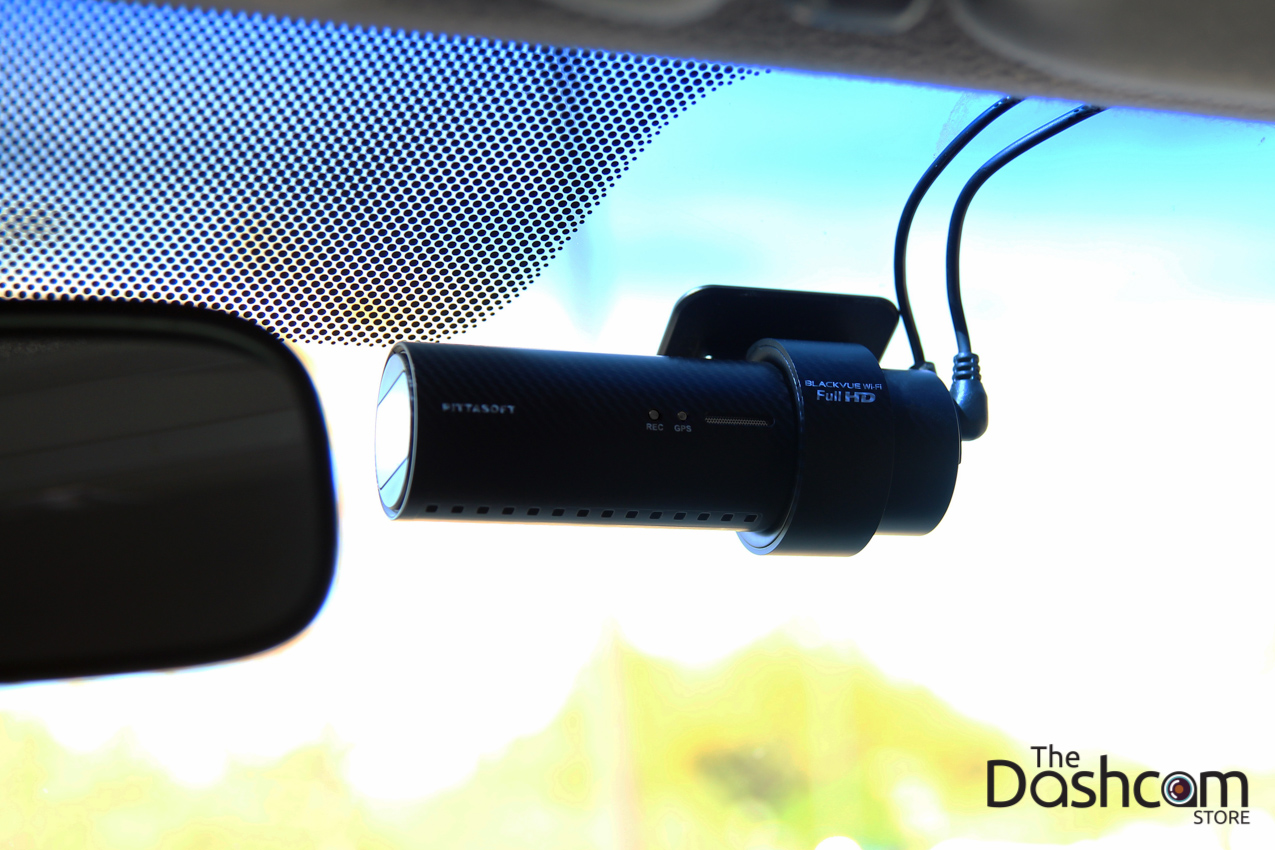
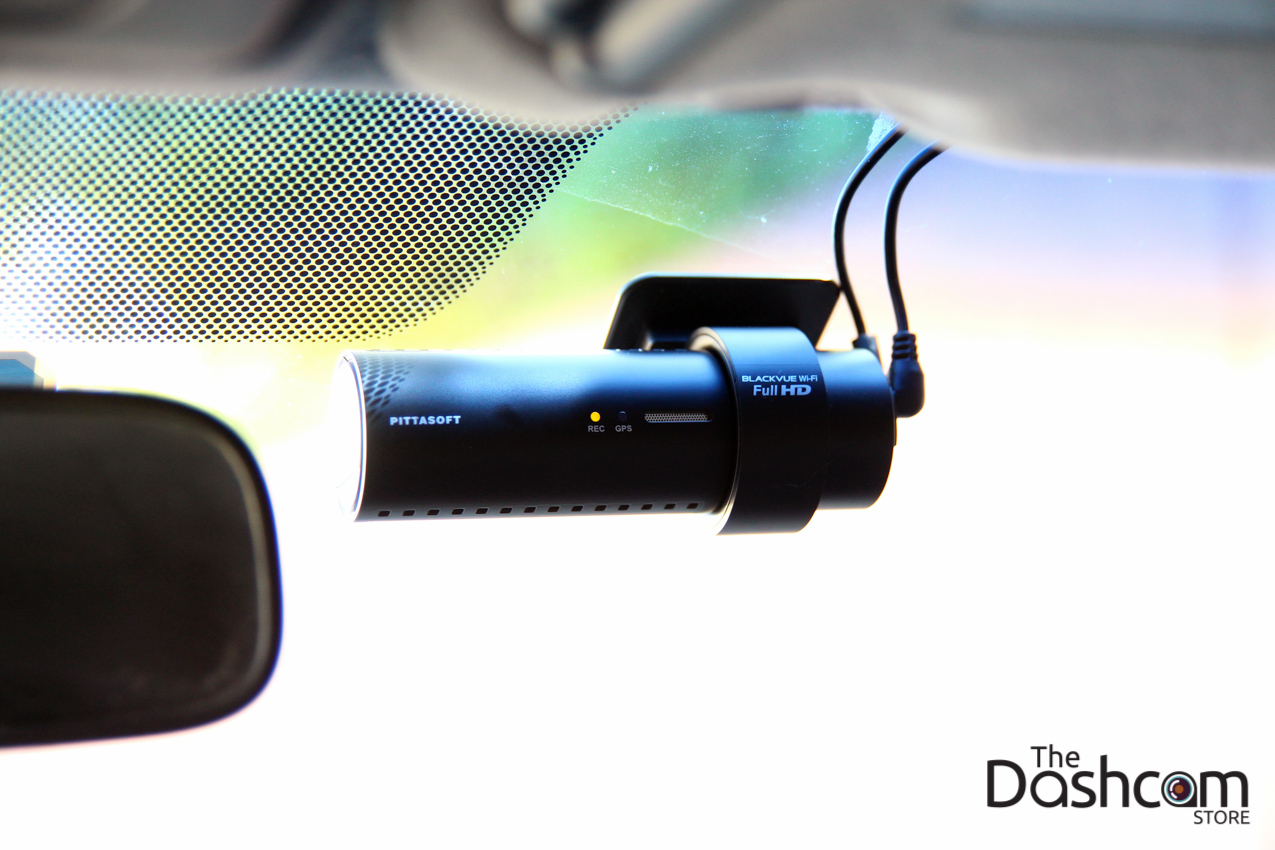
Turn on the vehicle (or the switch on the Power Magic Pro), we have power to the front element!
And the rear lens element as well!
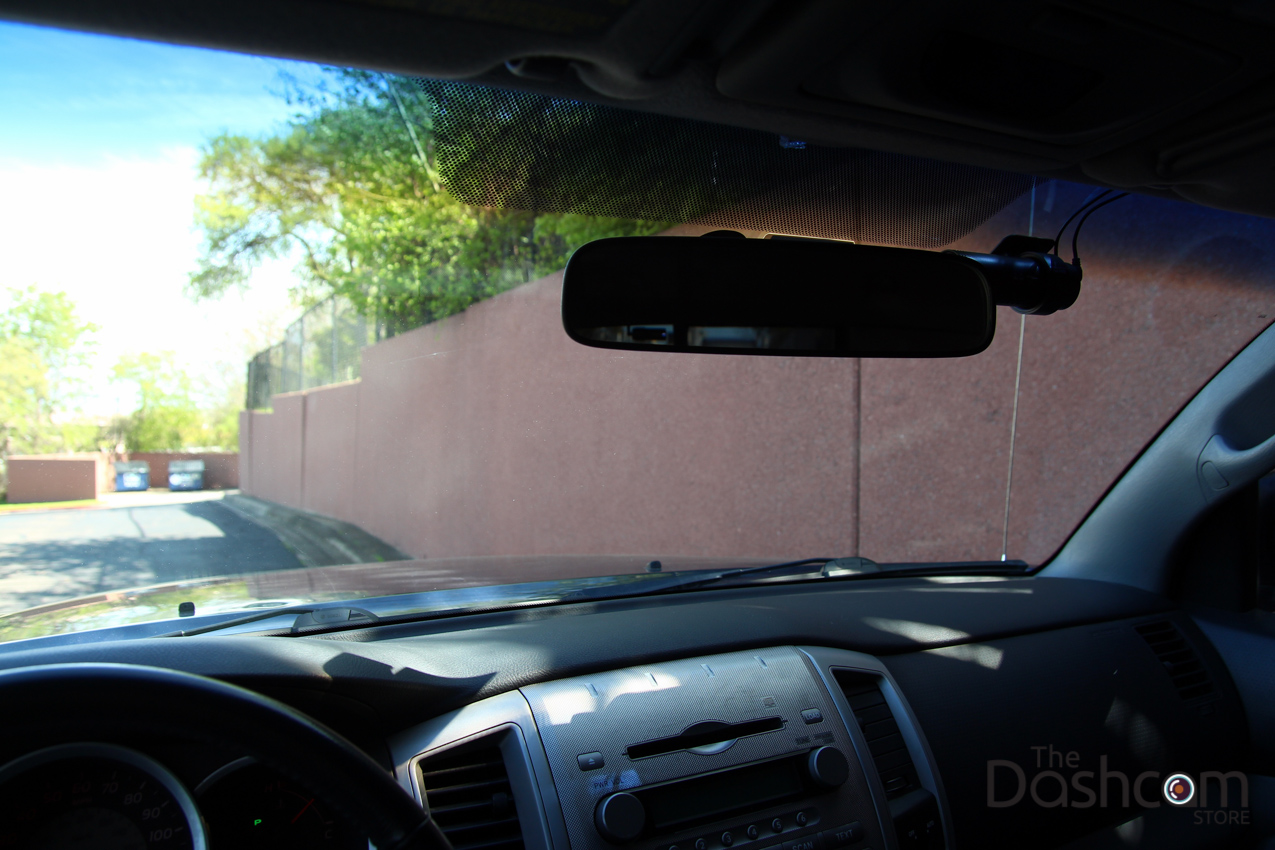
Front lens element from the driver's perspective, it's completely out of the way and does not interfere with the driver's field of view at all:
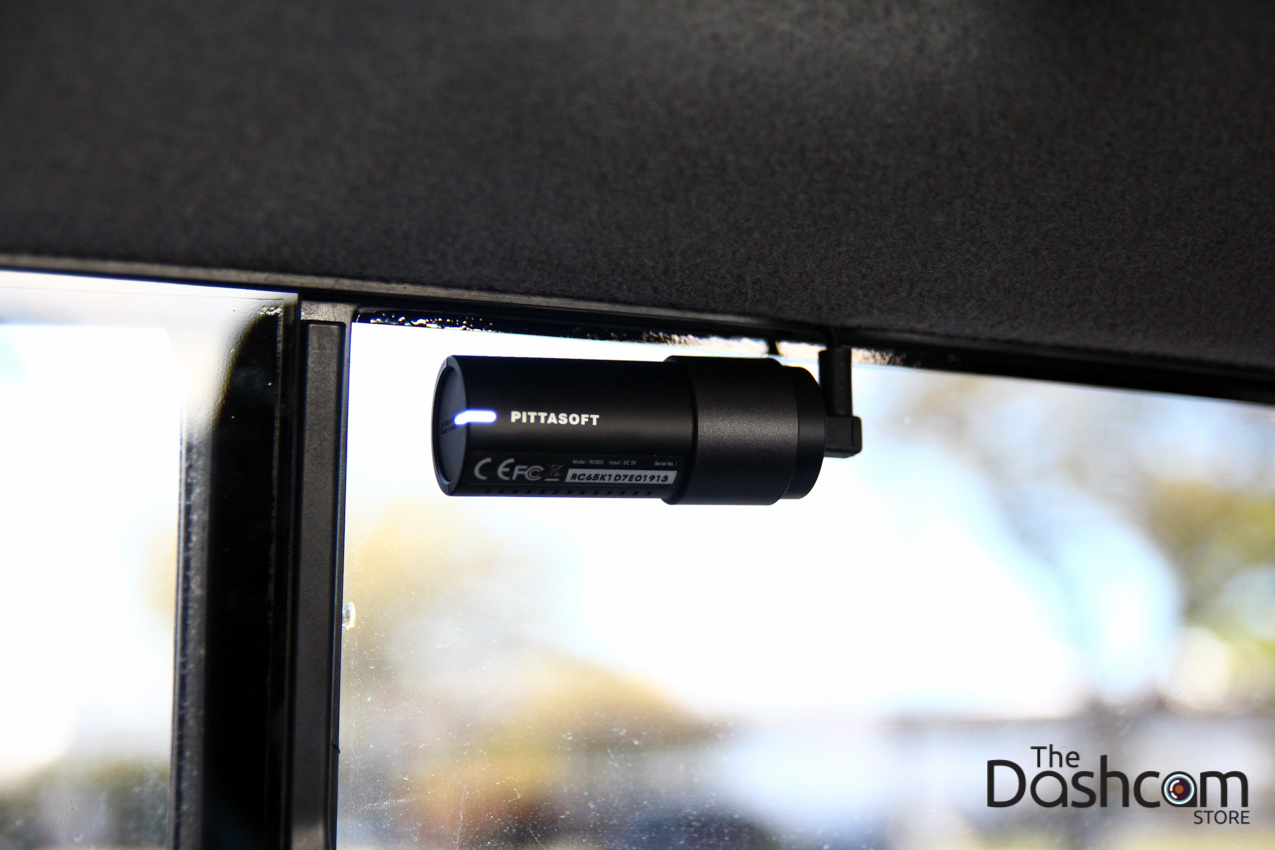
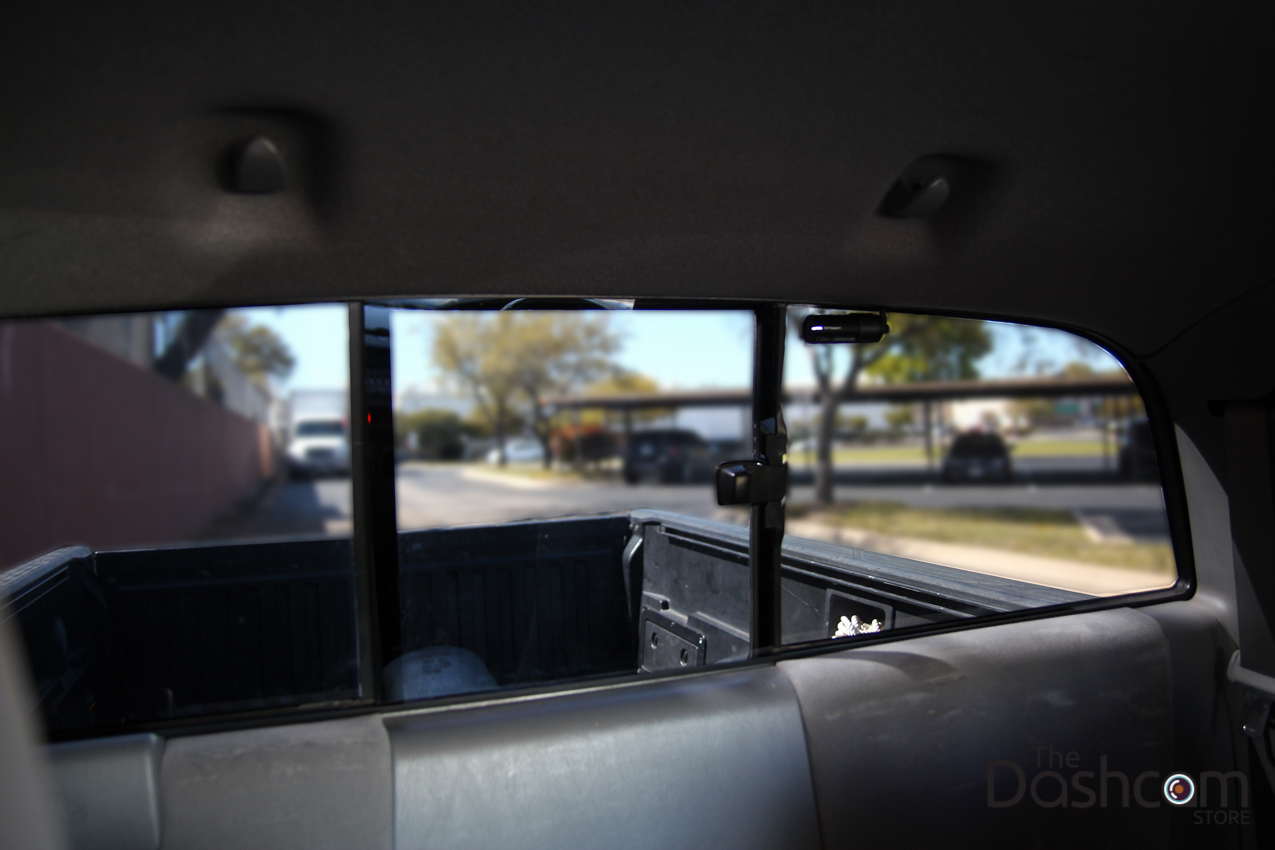
Final installed shot of the BlackVue DR650/ DR750 rear camera:
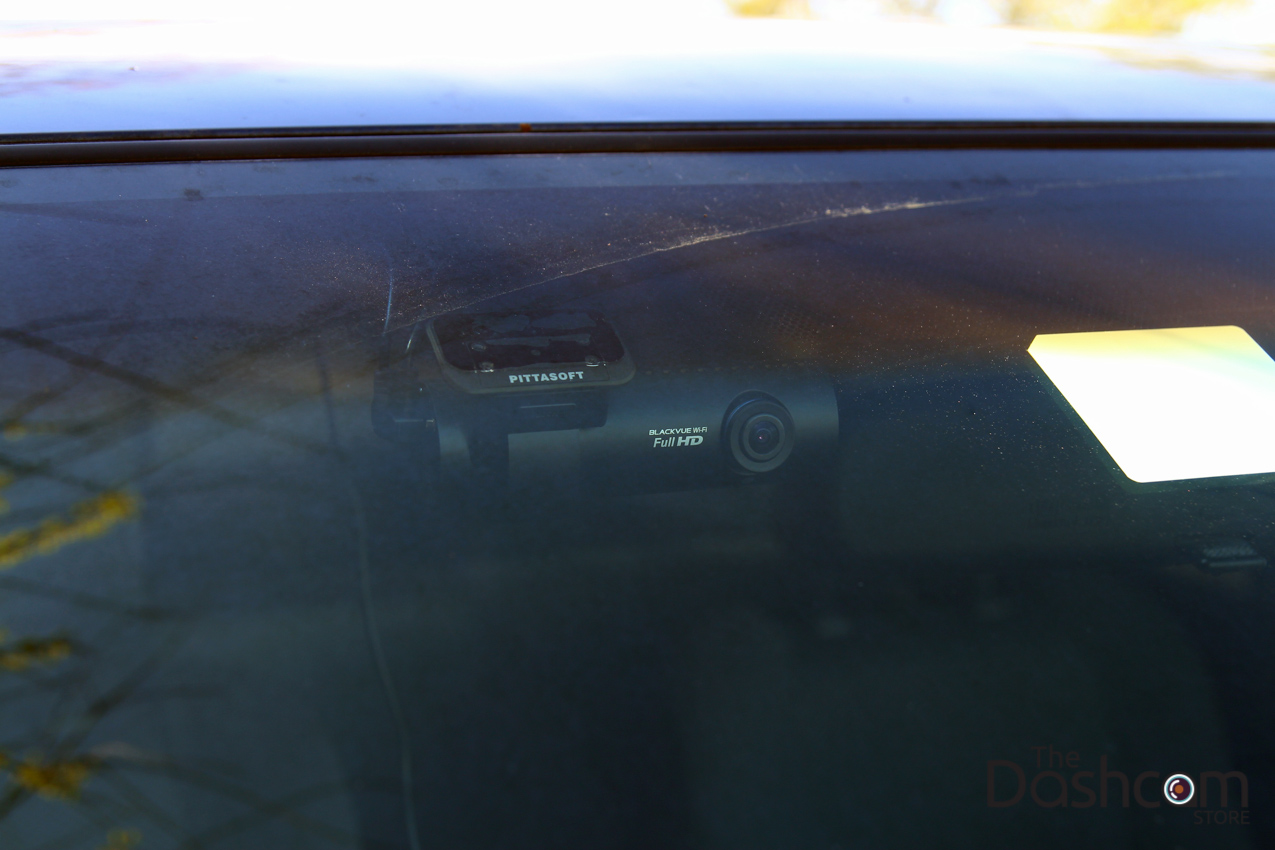
Outside view of the BlackVue DR650/ DR750 front camera, the dark color hides the camera perfectly (the rear camera is not visible at all from the outside):
And here's a still frame of what the video looks like from this setup:

Click on these links to learn more about the amazing dual lens, full HD BlackVue DR650GW-2CH / DR750S-2CH dashcam or Power Magic Pro battery discharge prevention device.
As always, drive safe!
To request additional support information, please use the contact form or e-mail us at support@thedashcamstore.com. We always give our best effort to respond to all inquiries within 24 hours.